Clay workshop week 1


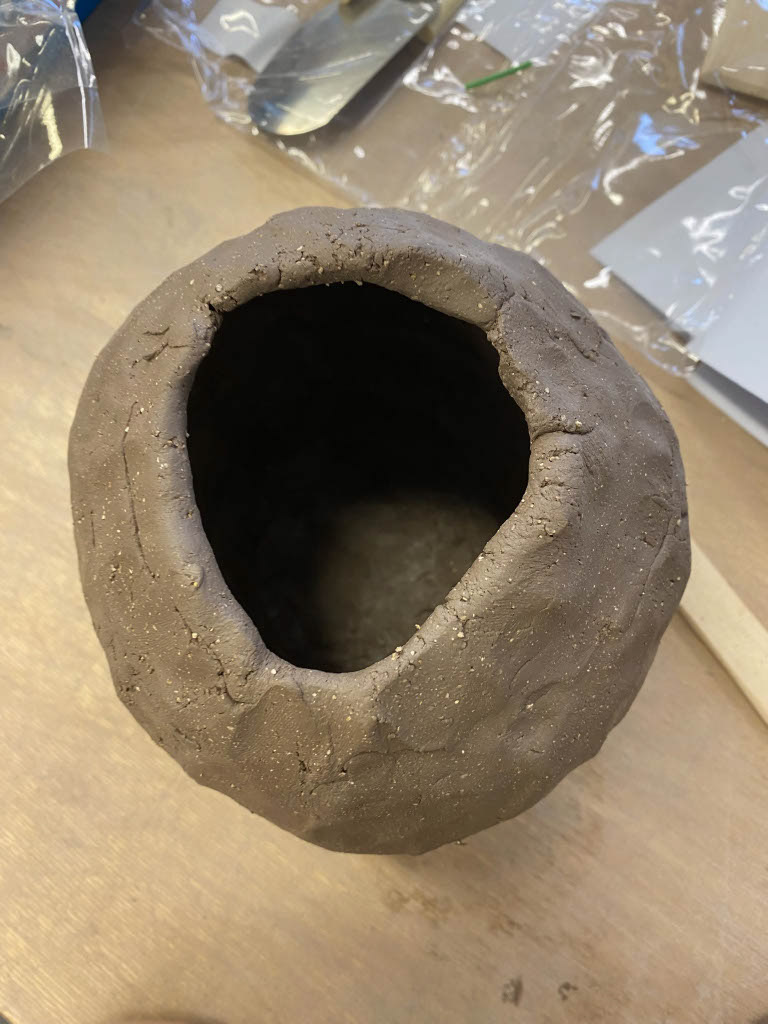


Learining the coil method to constract a vase rofile usiung crank. I found that the chalenges came when I didn't focus on the thickness of the walls resulting in a drooping profile when I built upwards.

Colabrative task 1. We joined eachothers pieces of work together using slip taking turns in 30 second work times. This resulted in an evolving composition due to the individuals input.
Colabrative task 2. We repeated the same exersise as before but gave the person constructing a type of movement such as swoop, to create wilst putting the clay components together. This resulted in a faster and bolder construction where individuals wasnt afraid to completely reshape the work.
Through these colabrative task I discovered the importance of loosening up and allowing mistakes to happen as a more meaningfull result may ocour.
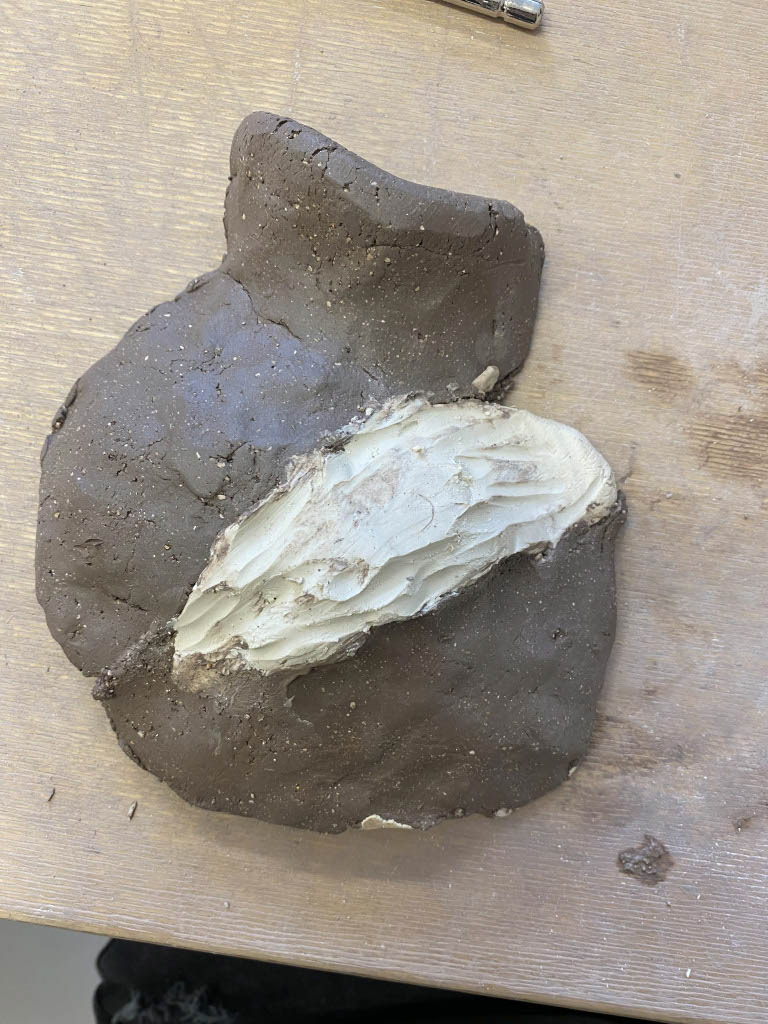

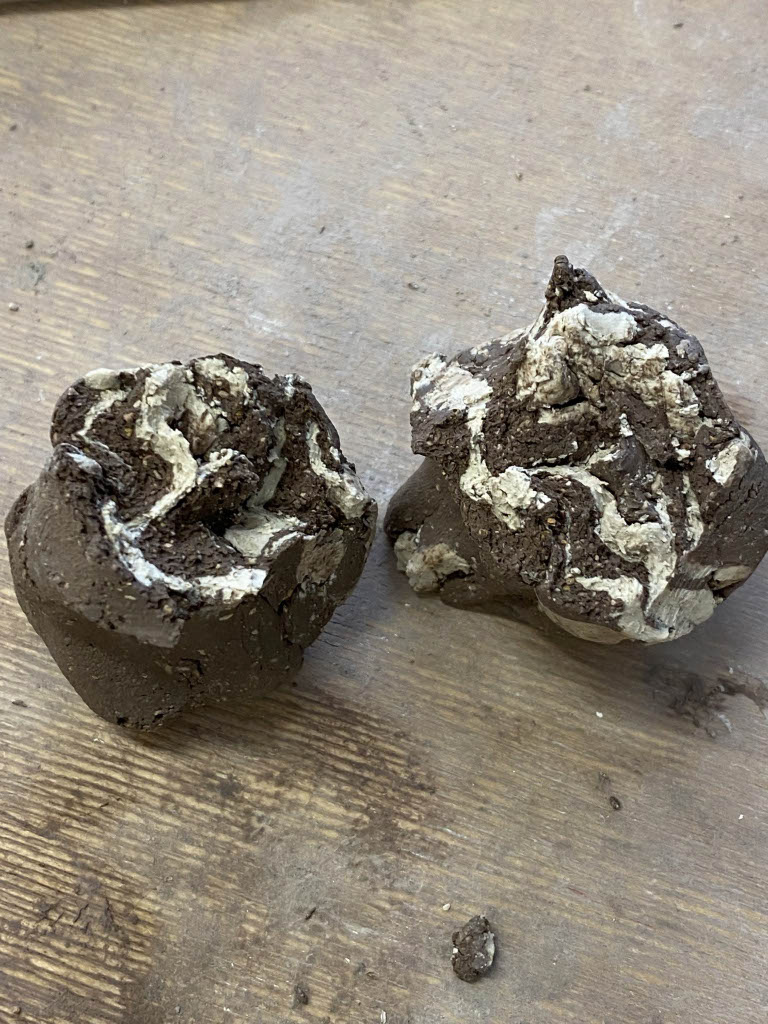


Exploring the ideas of mixing diffferent types of clay to generate visual contrast through colour and texture.
Clay workshop week 2
Exploring the adition of coloured slip onto clay.
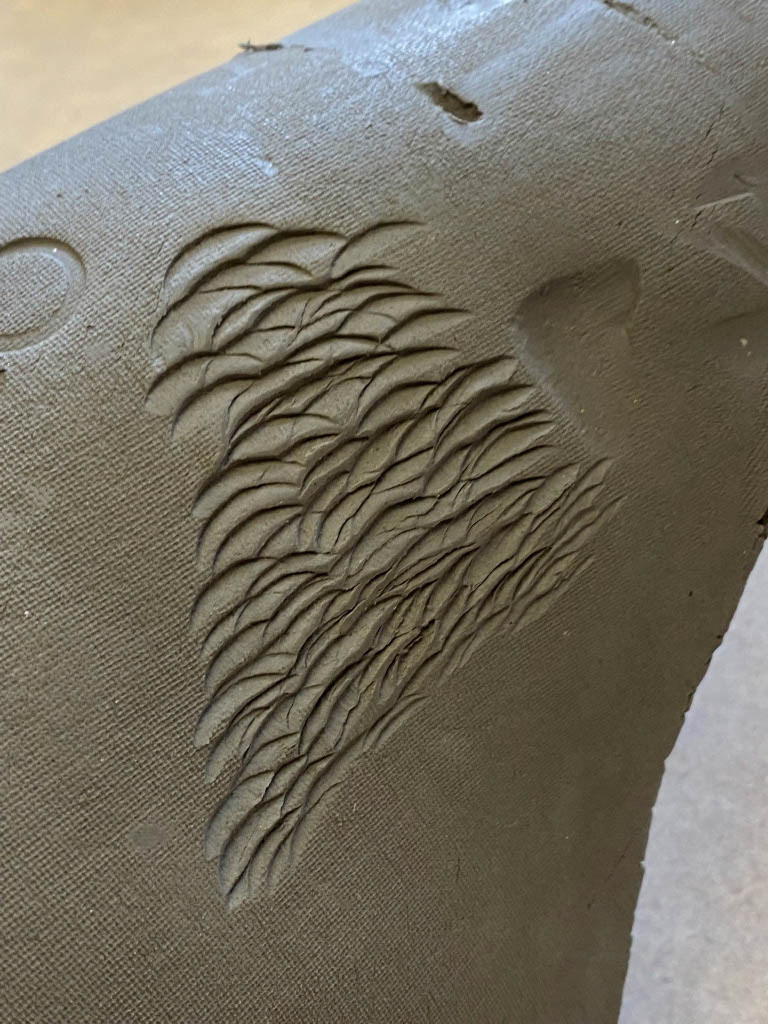
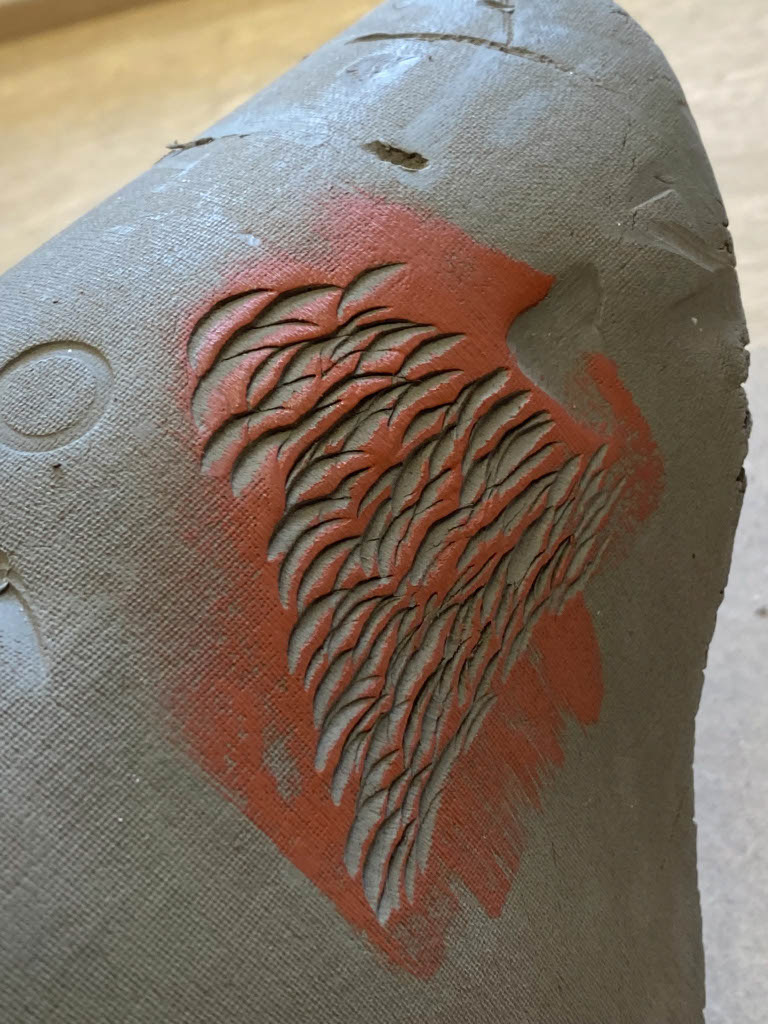
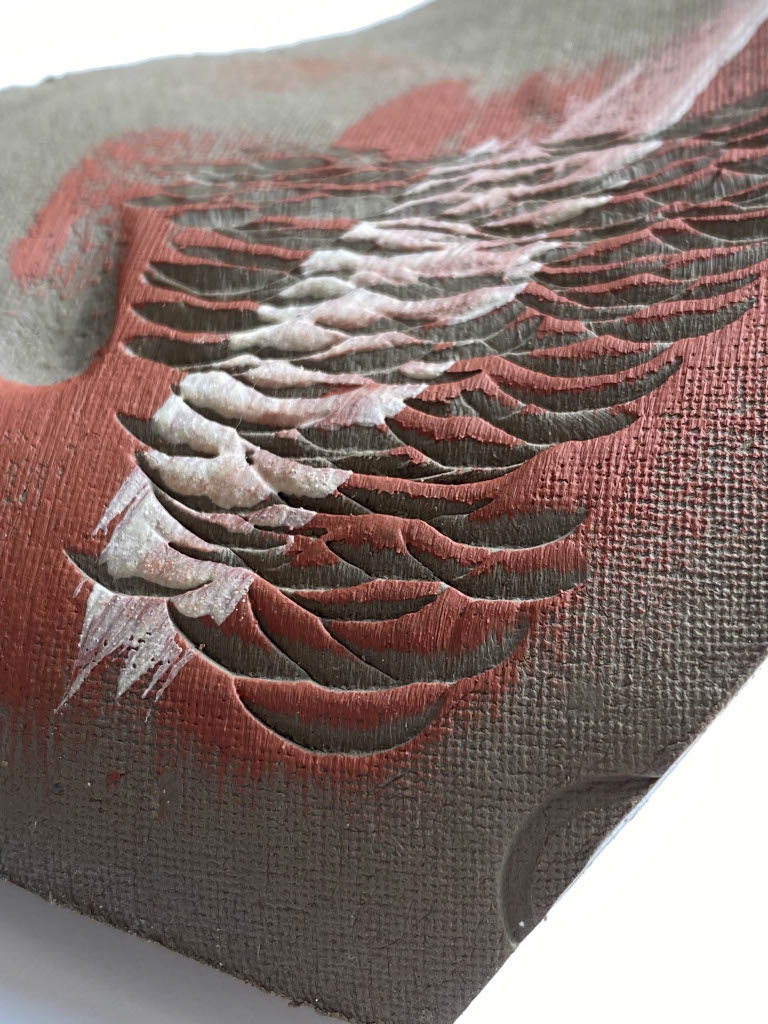
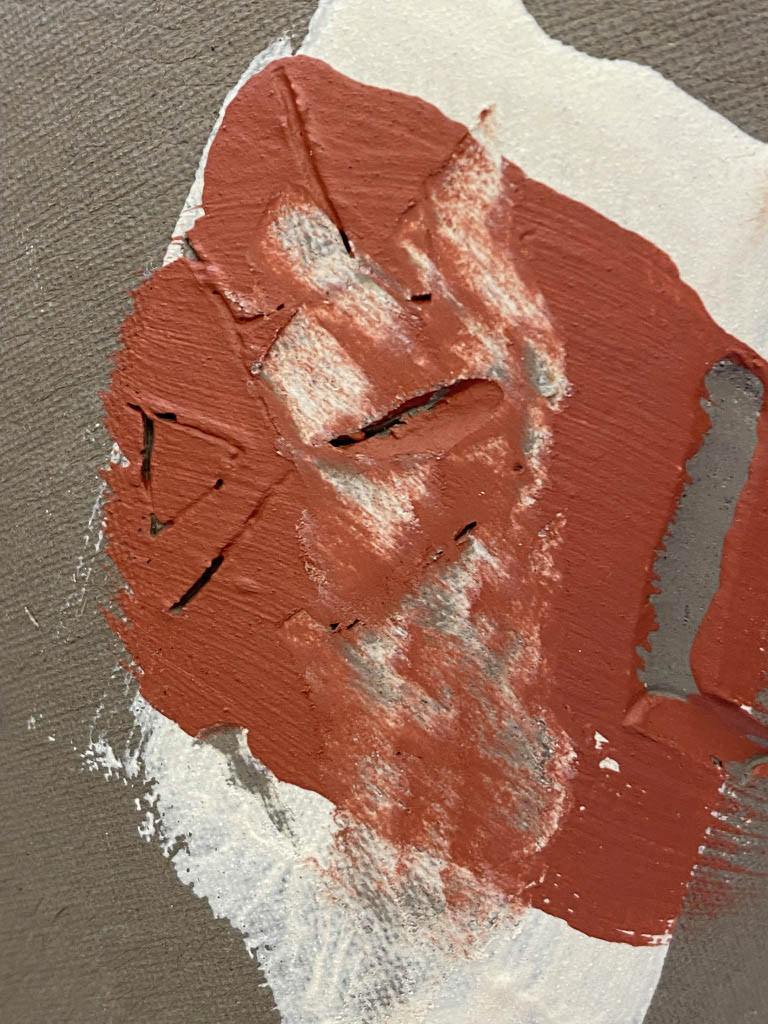
Adding texture using a repet motion of hand tool and dry brushing slip over the top to highlight the raised areas.


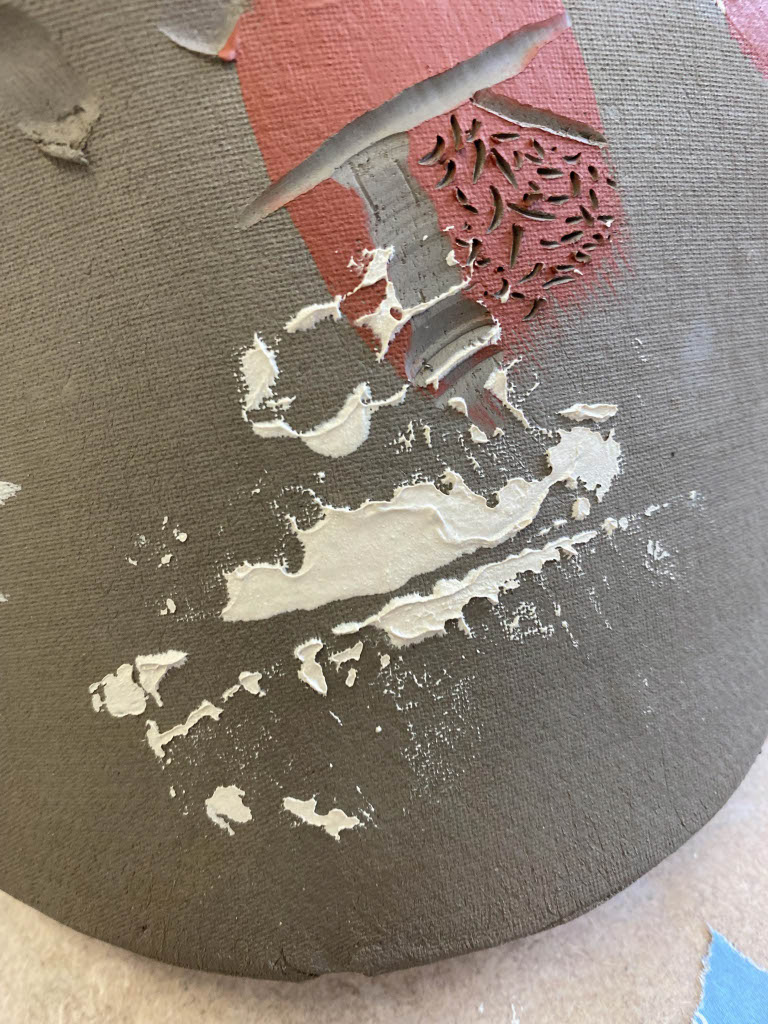

Investigating applying slip through the use of newspaper. I like the outcomes of this process due to the unpradictable nature of the aplication where different parts dry faster resulting in a unique printed design. This technique also buildes elevation out of the pieces surface.

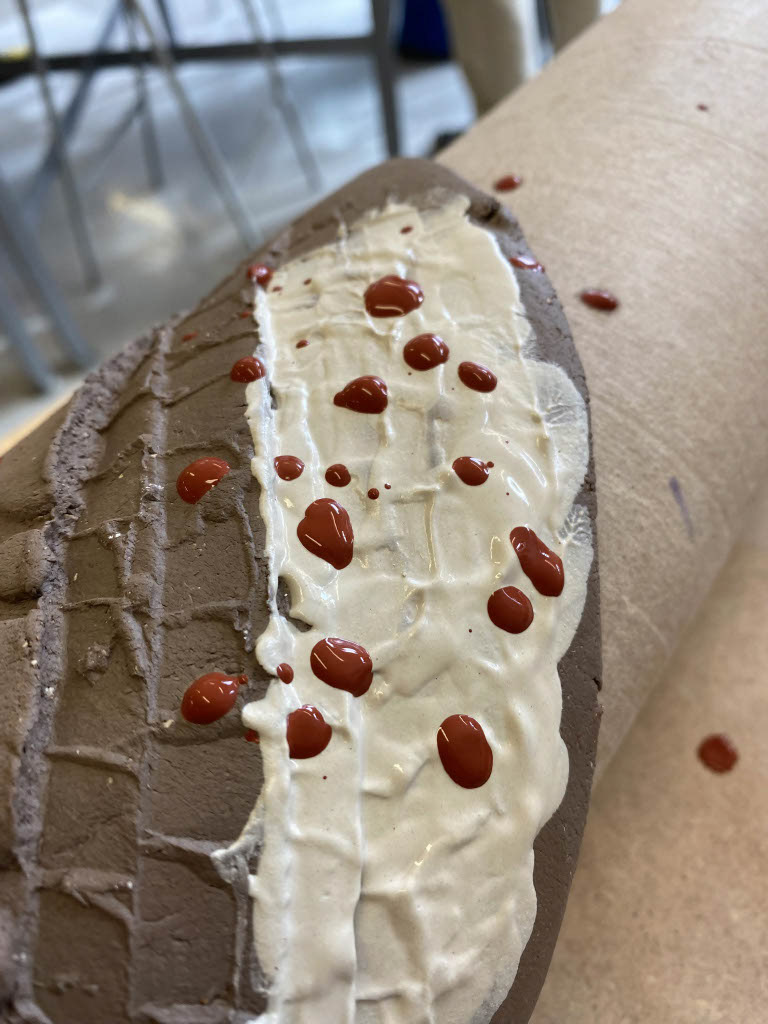
Direct aplication of slip through brush work and dripping. During my investigations I found that the best results work when the slip is fully dry before additional layers are aplied otherwise the slip colours and clay start to mix if too much work is done at once.


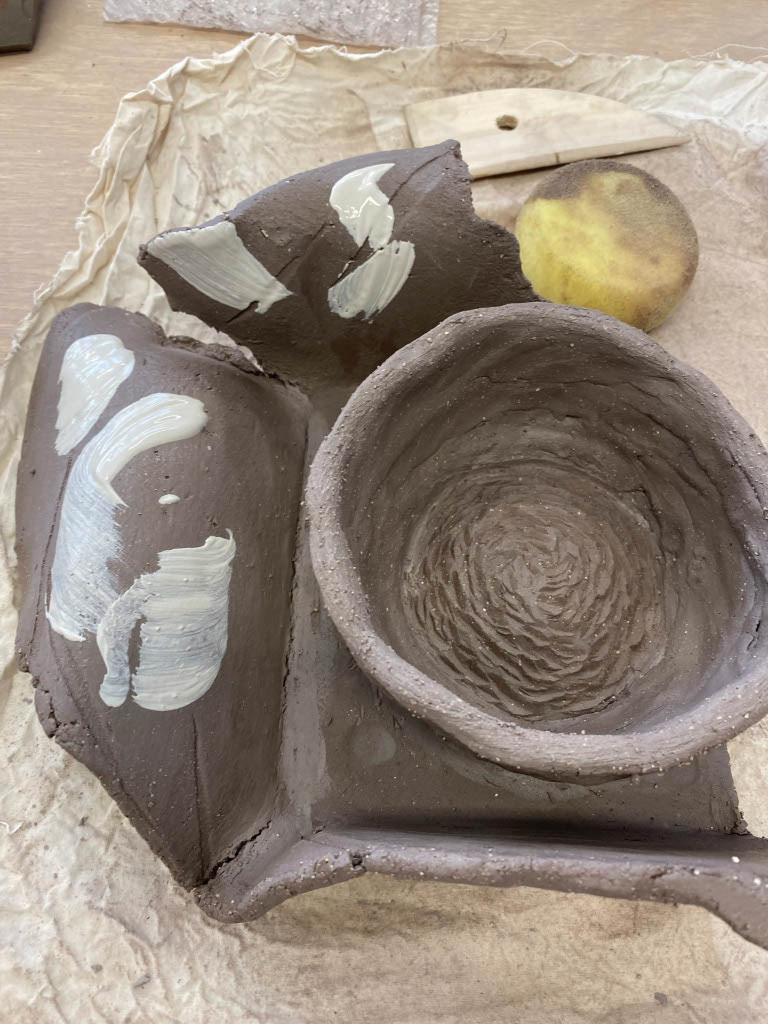
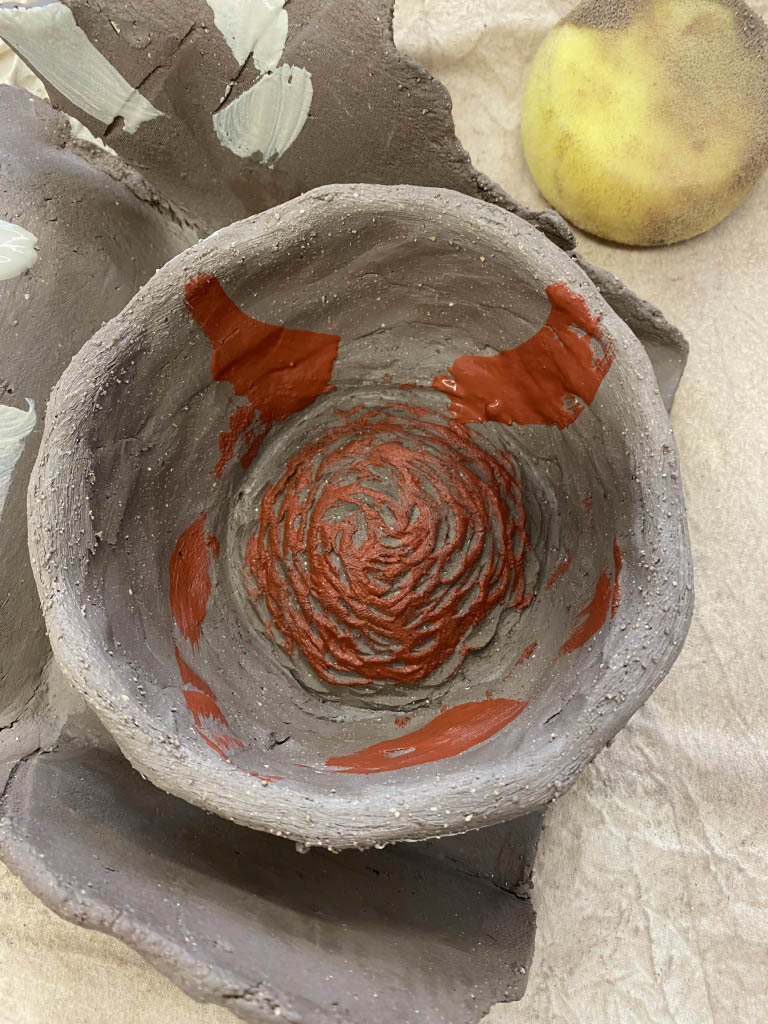


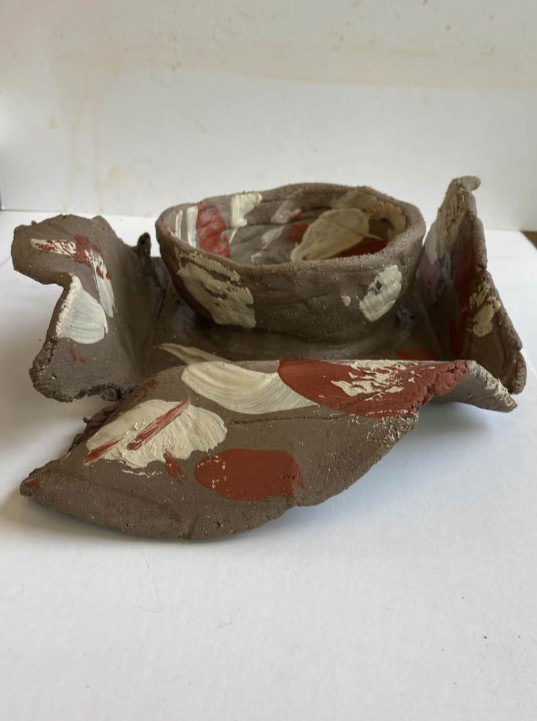


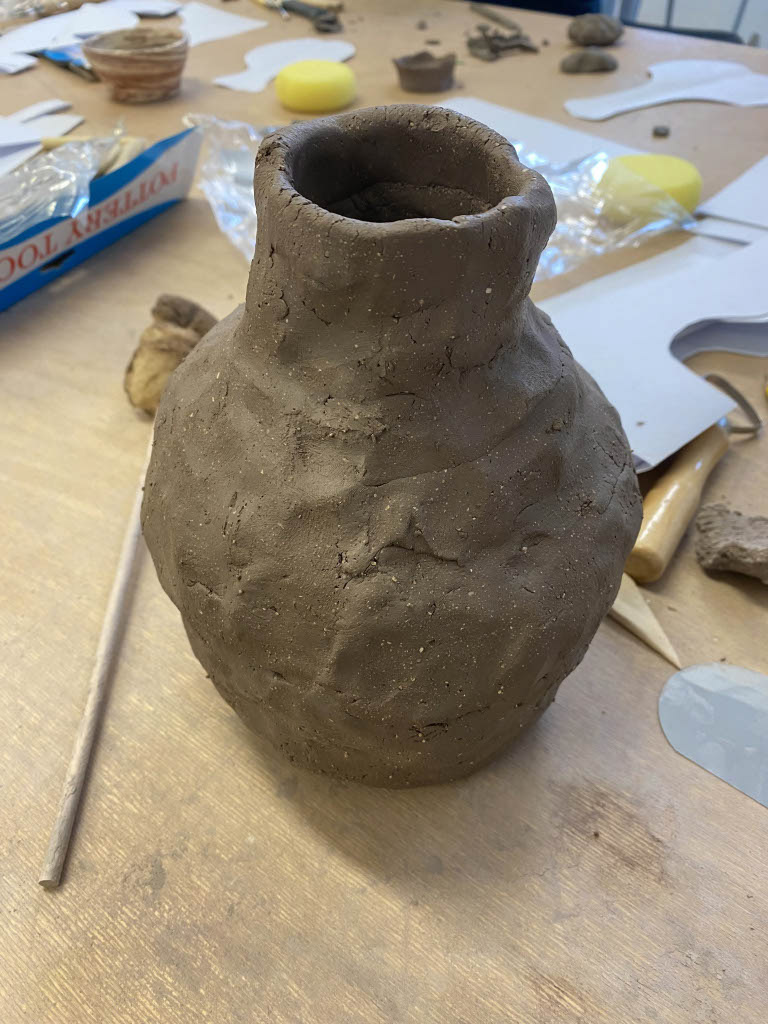
In this investiagtion I inetended to bring all the key components that we had lernt into one piece. I started by using the slab roller to create a uniform thickness off crank. I then used a plaster mould to slump the slab over and let it draw out the moister until it reached its leather hard state. At this point the piece had enough structural integraty that I could flip it over and start to construct a vessel shape using the coil technique form the week prior. I then introcuced textute to the piece through the use of hand tools and printing coloured slip onto the surface. Finaly I introduced colour through the use of slip and brush strockes to enhance the energy of the piece.
Plaster workshop week 1

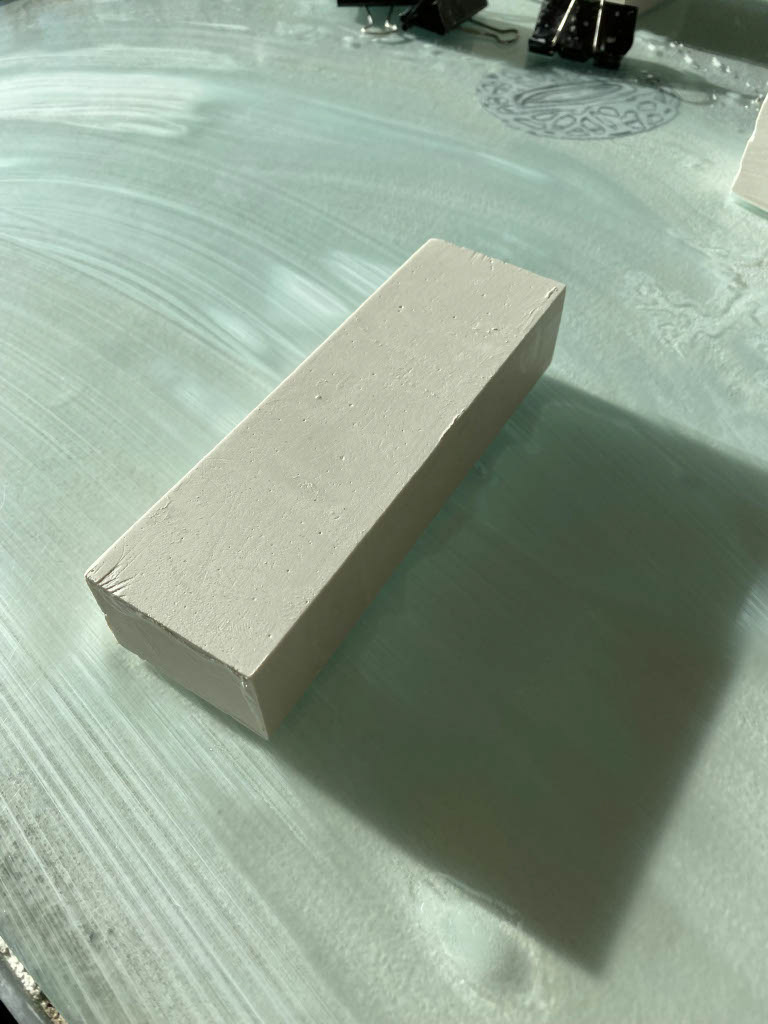


Learing how to create a block of plaster using cotels and cutting it into sections to be joined together. I discoverded the importance of adding water to the piece when cutting to help the teeth glide through smoothly without cologging up.


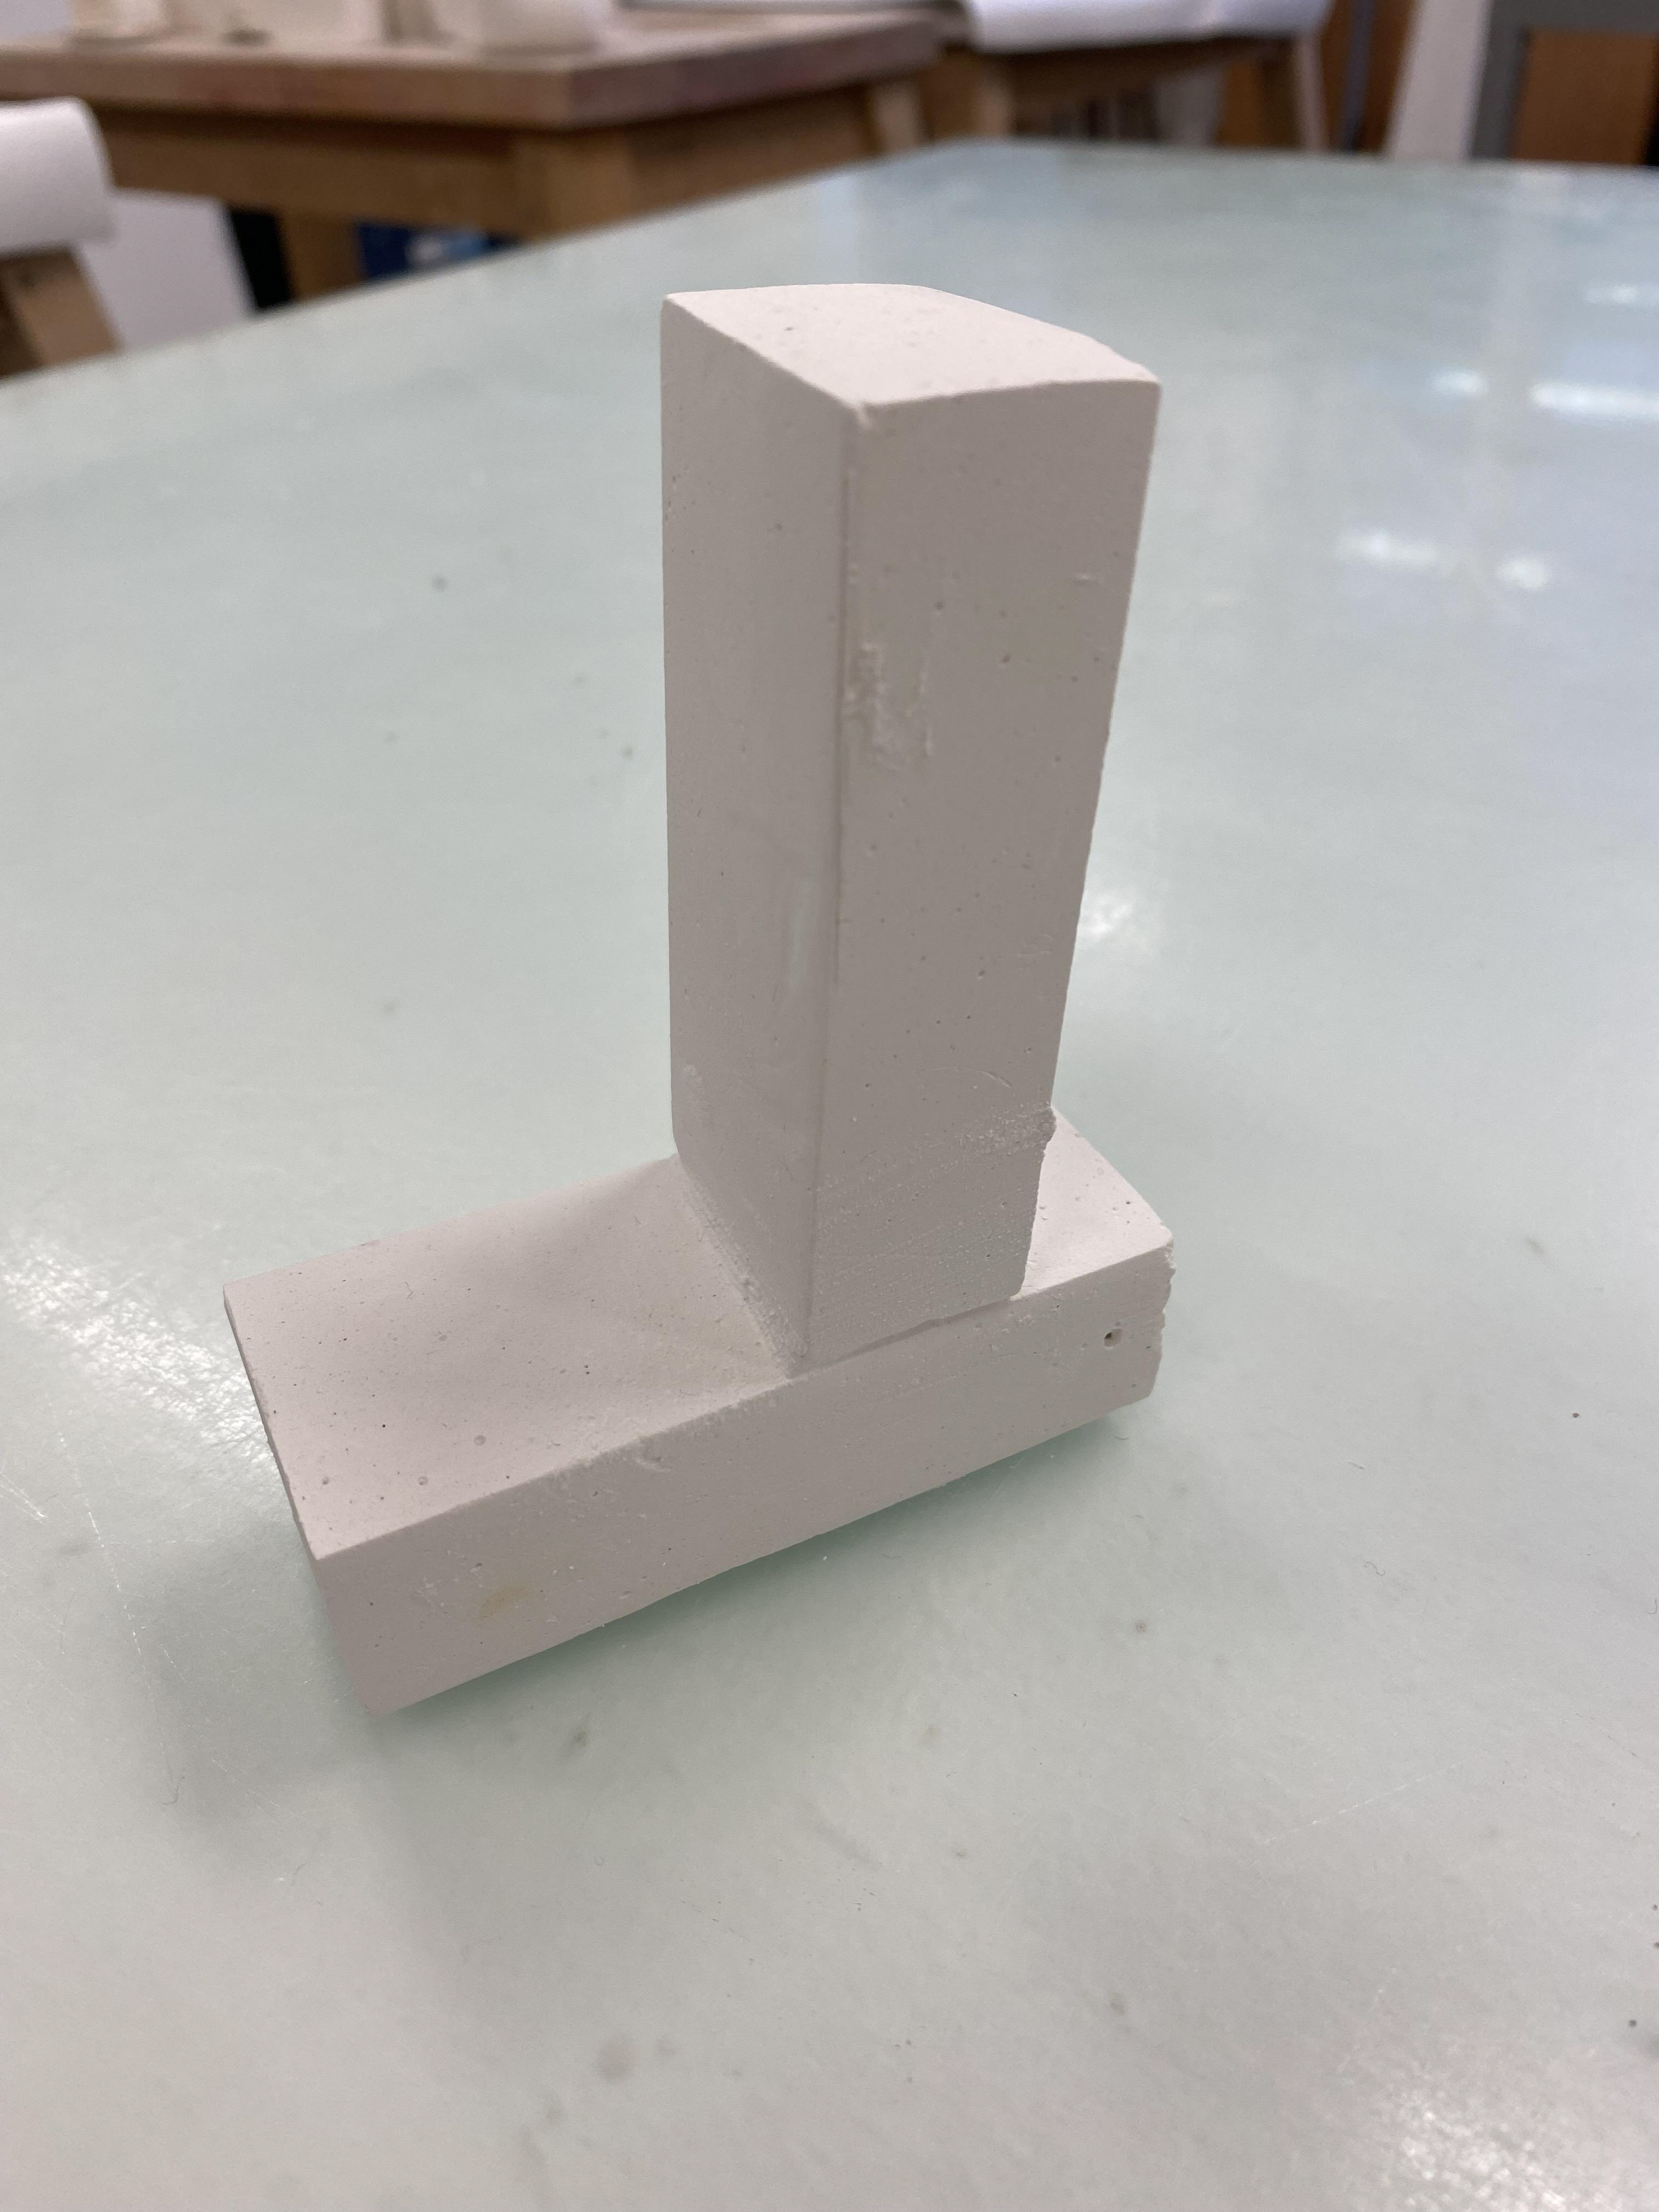
Advancing the skills of cutting and refining blocks of plaster to create a structure. I repeated the same processes as above but cut the plaster into 80 20 20mm blocks and ground them down to achive a uniform and smooth finish with the dimensions 76 18 18mm. I then aranged them into the required design and marked out the locations to rough up to allow for better adhesion.
This activity challenged me to work on acuracy and pay atention to the integraty of the conections.
Plaster workshop week 2
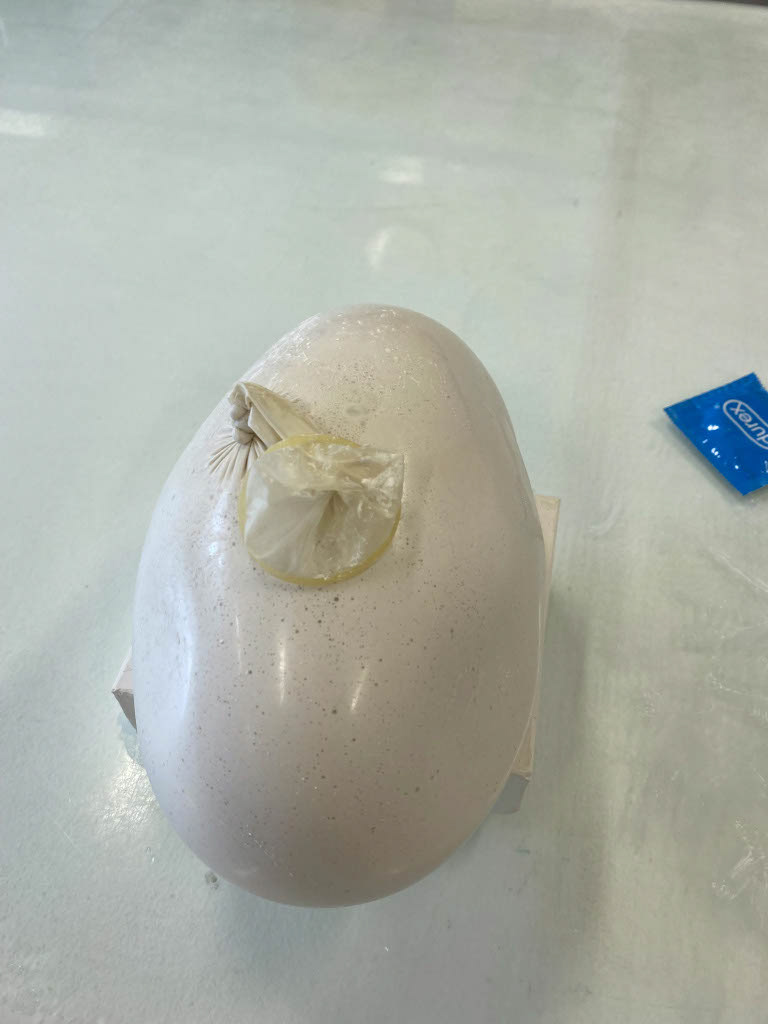


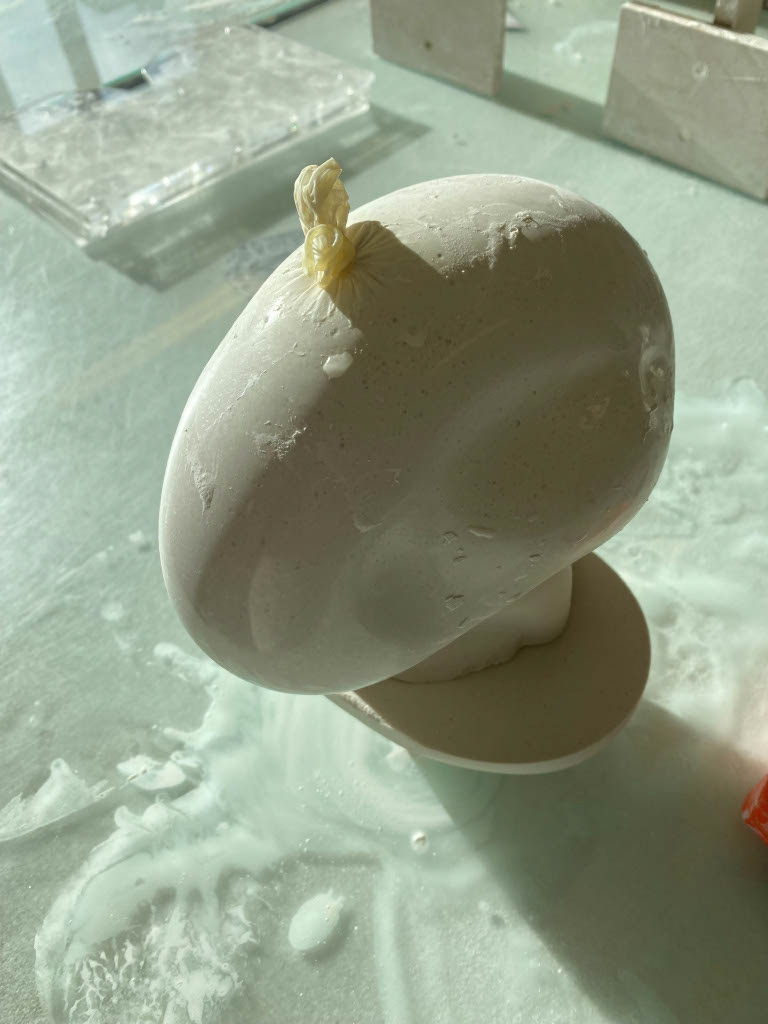


Casting using latex condoms to create organis forms. This process allowed me to generate and mold forms directly with my hands rather than creating a mould or cuting a block up. I experimented with placing the first condom over a plaster mold that I had previously created to add angular forms that I couldn't get by manipulating it with my hands. I furnthered this by placing multiple casted forms on top of eachother. Aditionaly I cut and rotated these castings to alter the composition further.
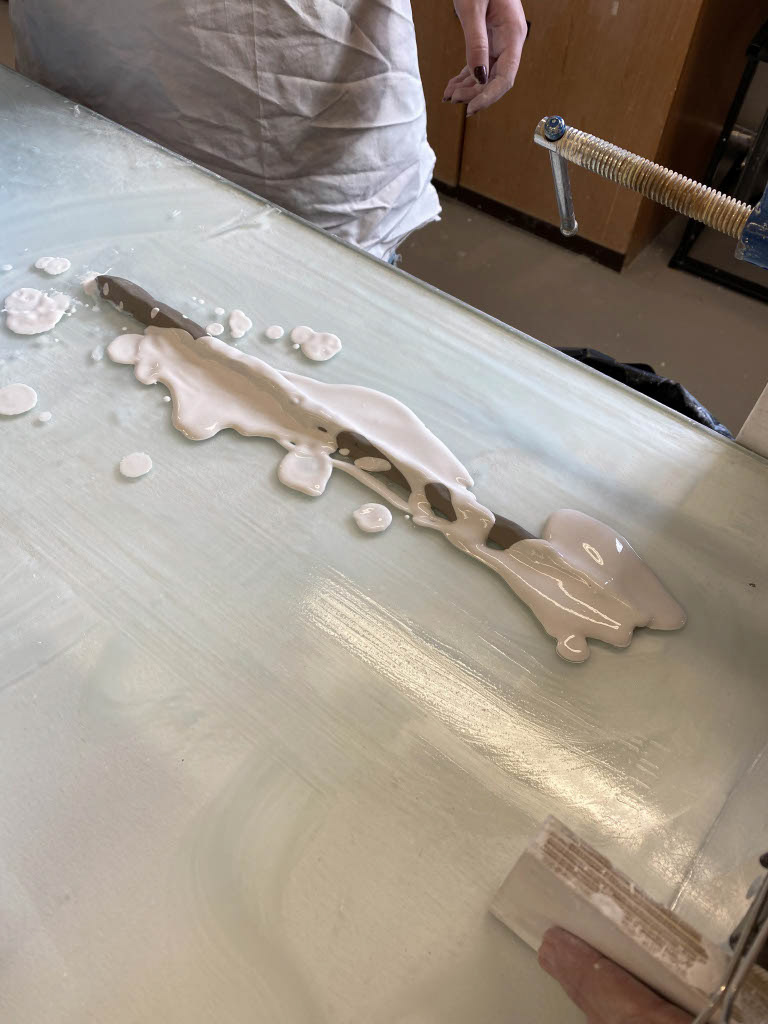


Practacing creating extrueded shaped form through the process of sledging. Unlike traditional extruding processes sledging is the process of building up plaster and then using a sledg with a profiled section to remove the excess. This process required lots of teamwork where different people were requied to do tasks simultaneously. The main chalanges was working with the plaster in its different stages of curing to build up structure and create a smooth surface.
Transforming 2D drawings into a 3D object
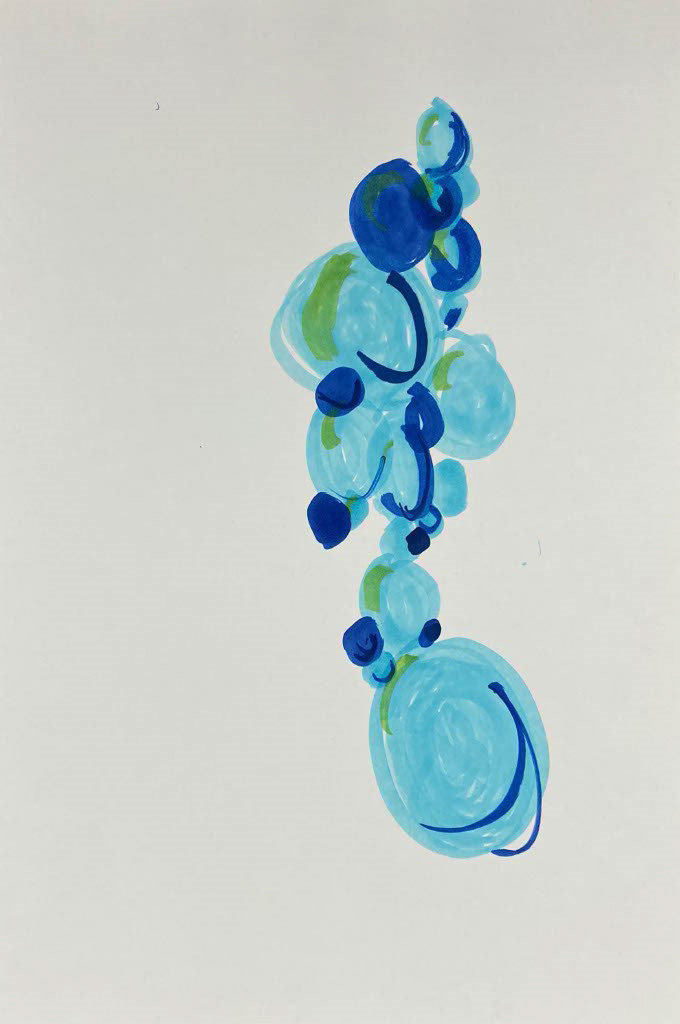
I was tasked with creating a 3D interpretation of one of my drawings and chose to adapt and explore the image above. I wanted to harness the repeating forms through a series of work. I chose to work in plaster and used the latex condom casting method to create round forms. From my previous experiments with this technique, I found that the best results came from manipulating the plaster whilst it was in a very liquid state created the most unique and fluid forms. This time I experimented with tying rubber bands around the condoms to create separated bubble like section. Repeating this method whilst laying the liquid plaster over a pervious experiment created the effect of cascading blobs bunched on top of each other reflecting the forms in the drawing above.
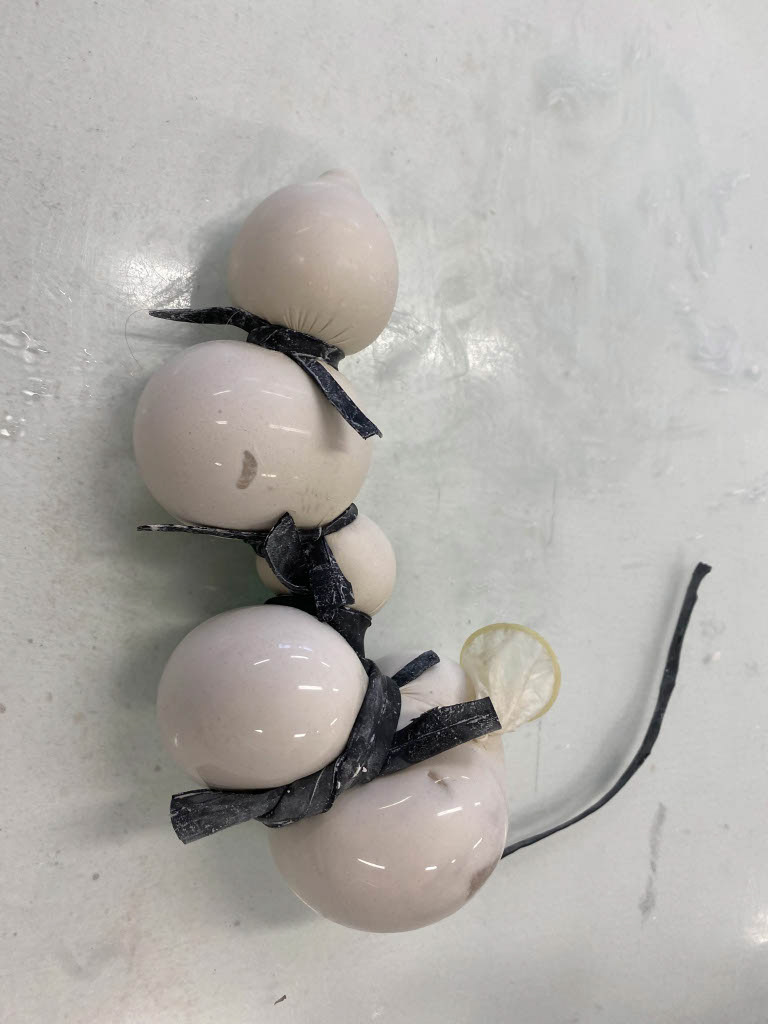


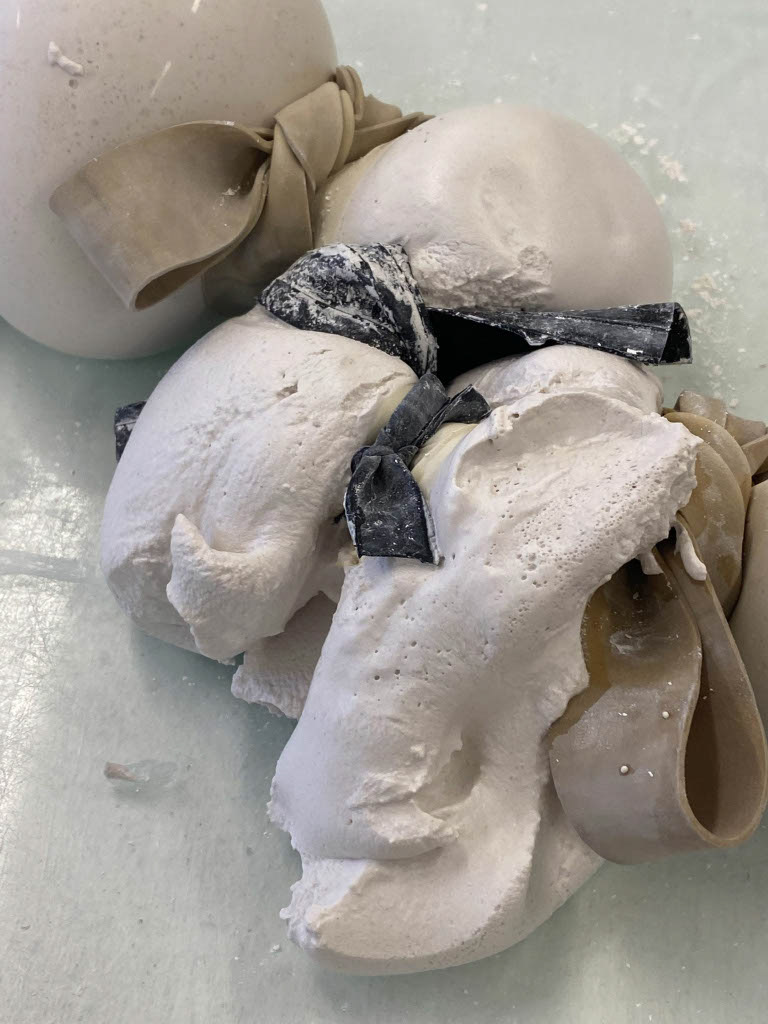


When exploring the effects of this technique I found that there were certain limitations that I had to respect so that the condom wouldn't burst. When tying the knots in the rubber bands I discovered that if the bands were too tight there wasn't enough plaster to keep the forms together once the plaster had set. Also, I found it easier to tie the rubber bands around the condoms once the plaster had begun hardening as the plaster in its liquid form tended to try and equalise the amount that was in each sectioned area or group together in on place removing the rubber band itself. This resulted in a balance between adding the rubber bands early enough so that I could create multiple sections and respecting the different states of the plaster as it cures.
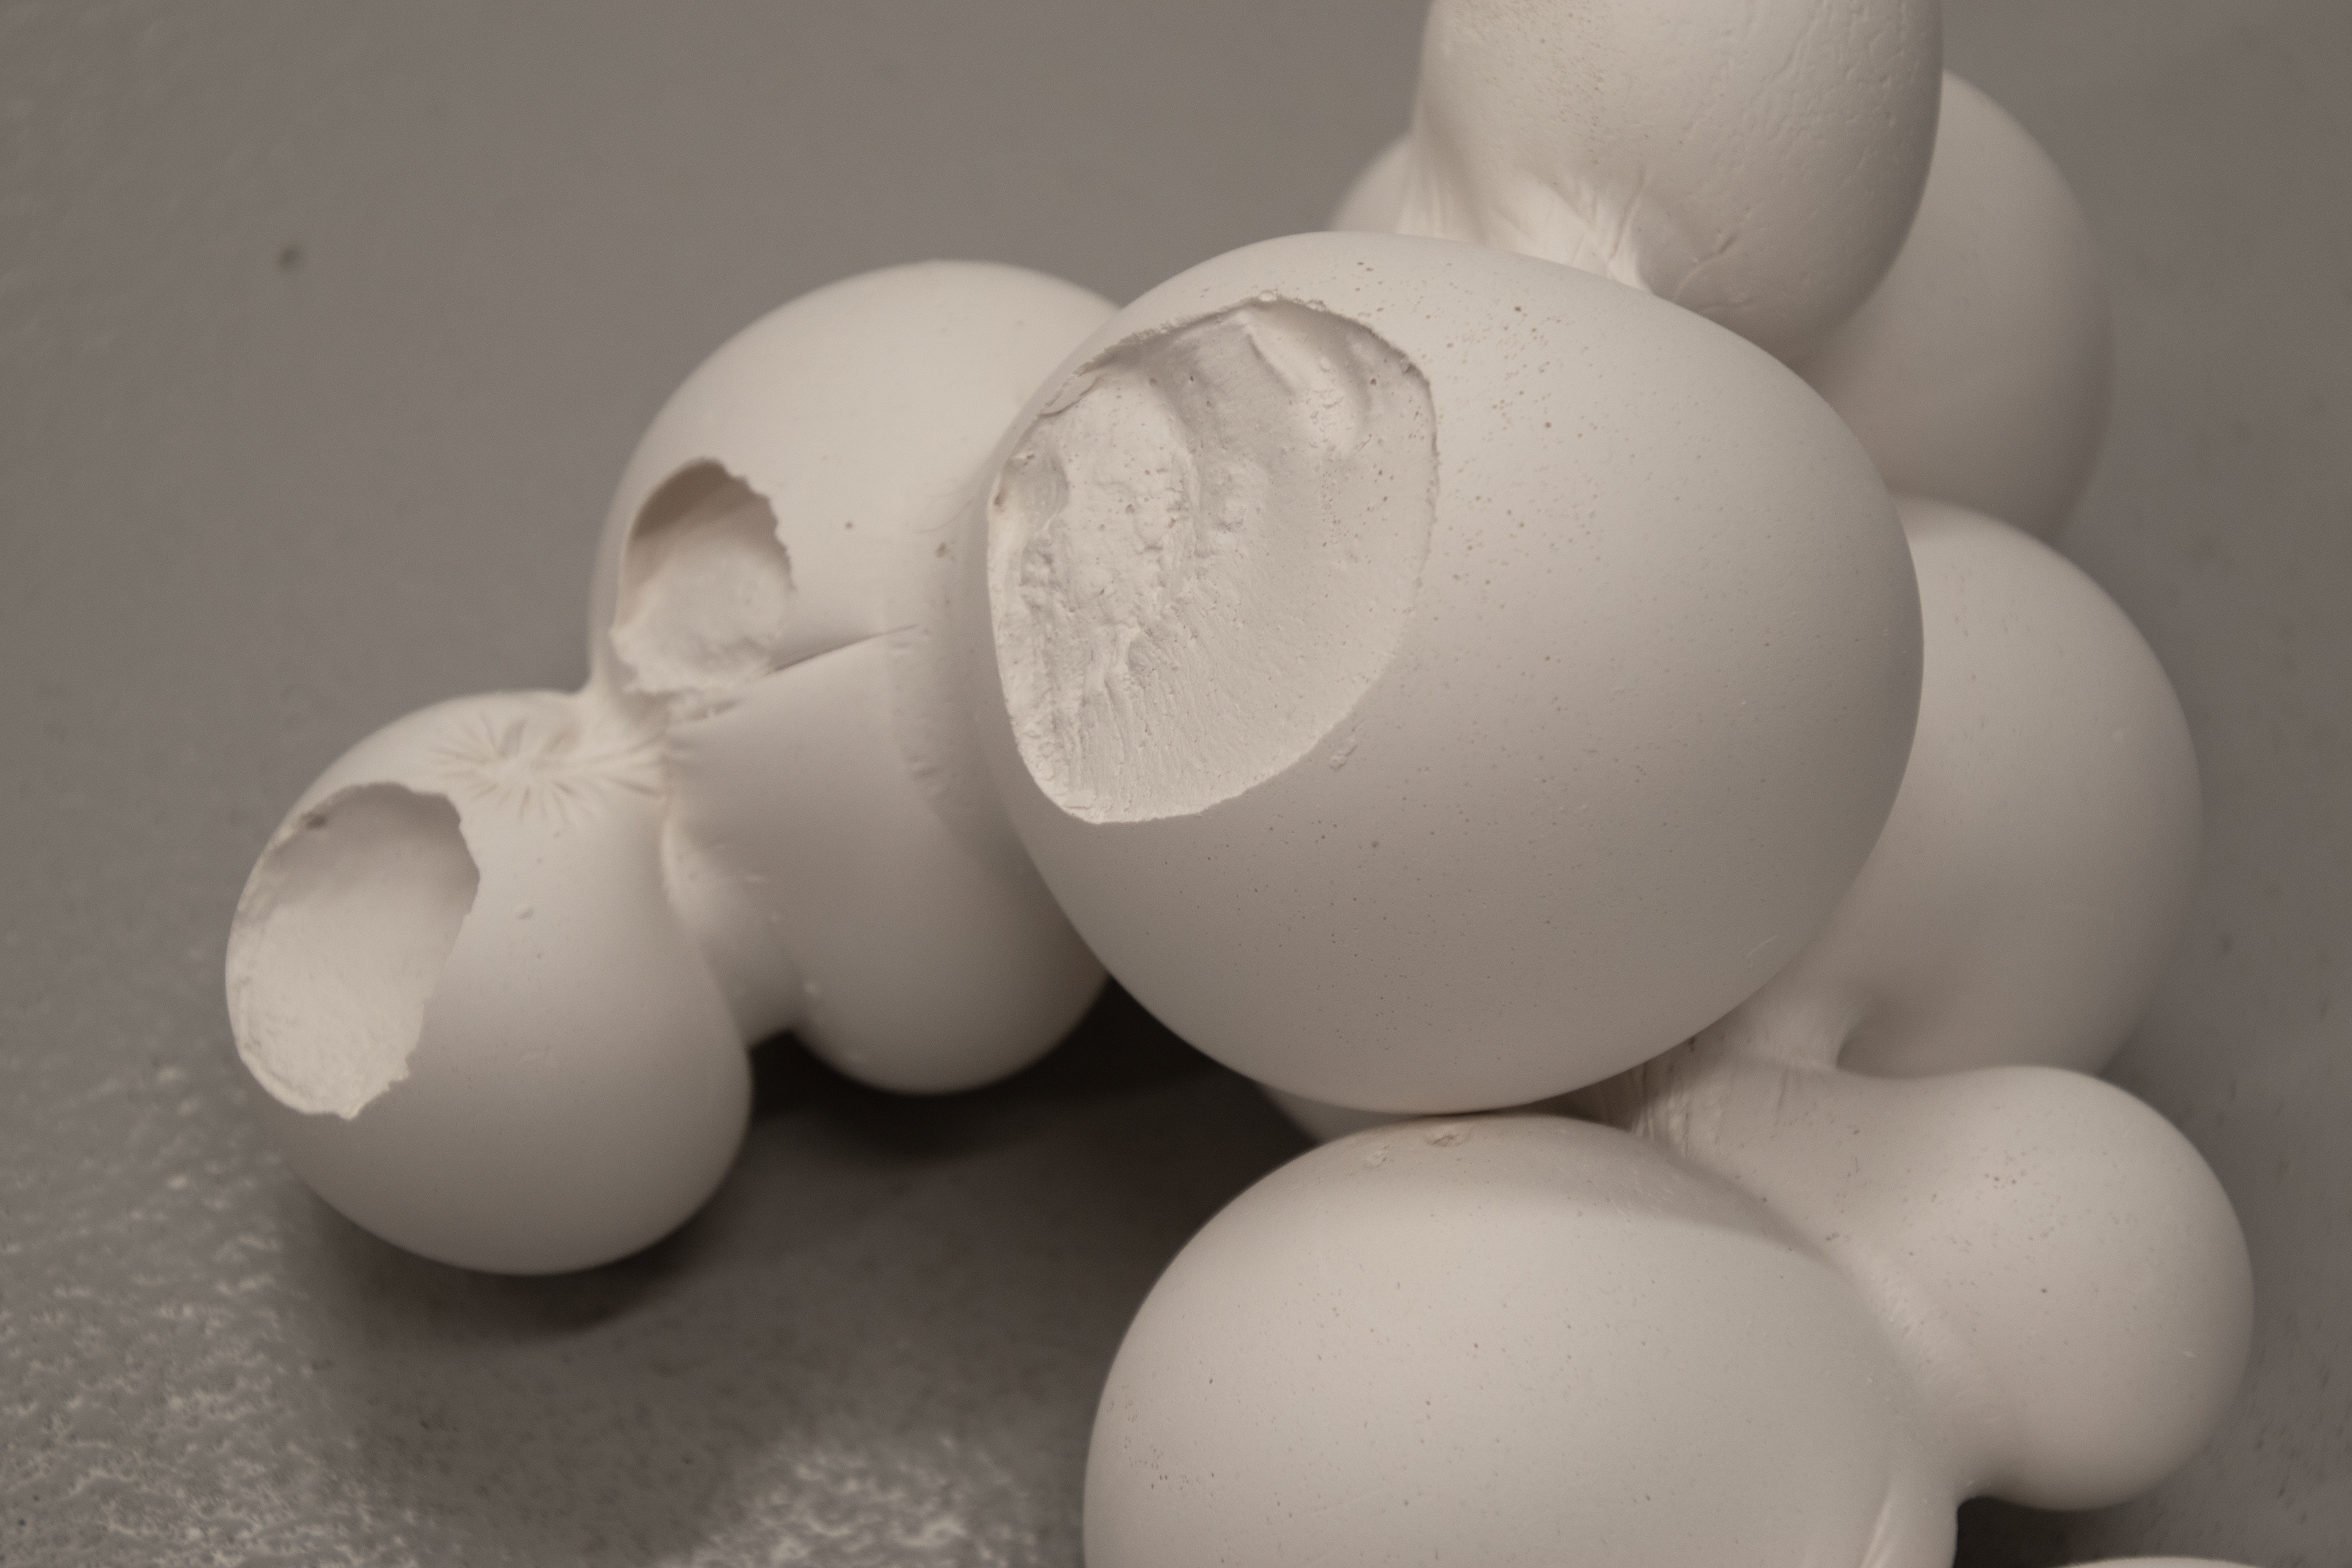
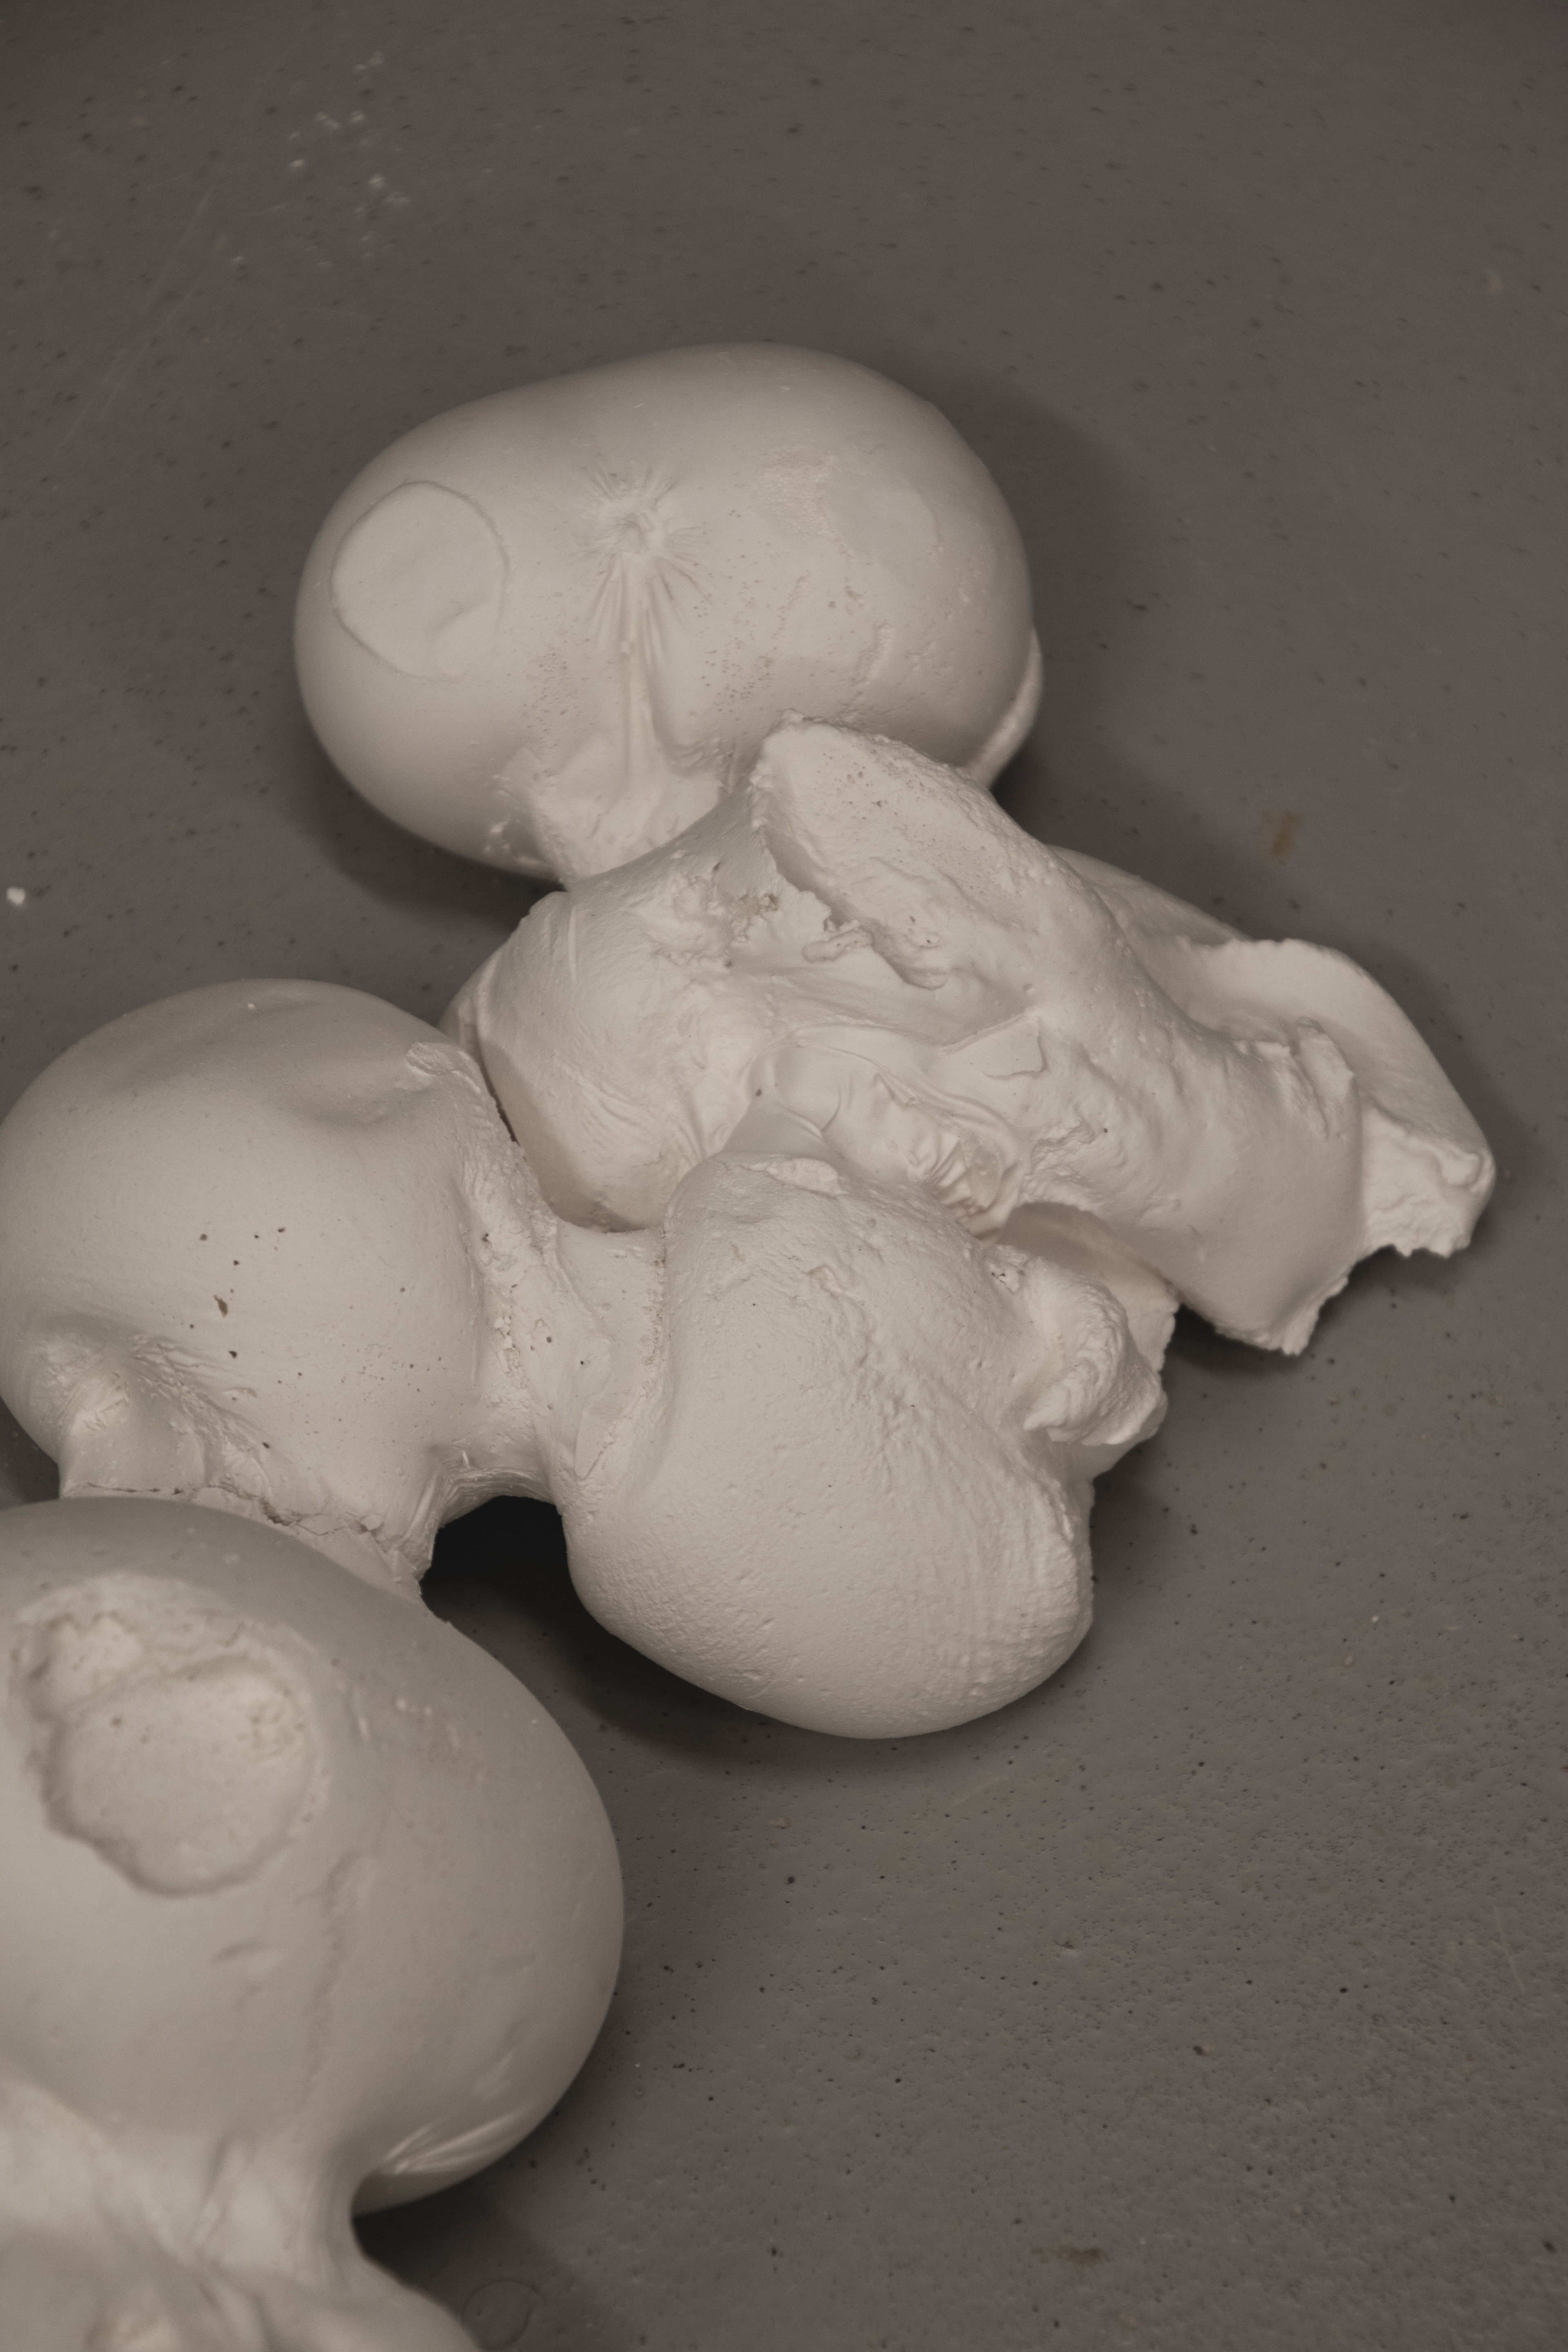
I also experimented with the positioning of the forms on top of one another and also suspending the mould in the air to create perfectly round forms that doesn’t have a flat spot from laying against the table. Also, through my investigation I found that a trapped air bubble would create broken flat spots that would disrupt the perfection of spherical forms. Alongside this the condoms would crinkle and stretch due to the rubber bands leaving imprints. I liked both imperfections and chose to incorporate an element of imperfection.


Looking back at my reference drawing I wanted to create a composition of these forms that transitioned from highly refined spherical shapes to more mutated and looser expressions. I also explored the ideas of layering and separation. I used the knowledge of when imperfections were created from my experiments to purposefully introduce them and at higher frequency. Form the final form I had one of the condoms explore due to too high a tension from the rubber bands. However, the plaster was very close to being fully cured so only part of the overall form was disturbed creating an unintentionally emphasised imperfection.


I wanted to explore reintroducing the colours from the drawing back into the piece so I digitally painted over one of my photos colours watching from the original.