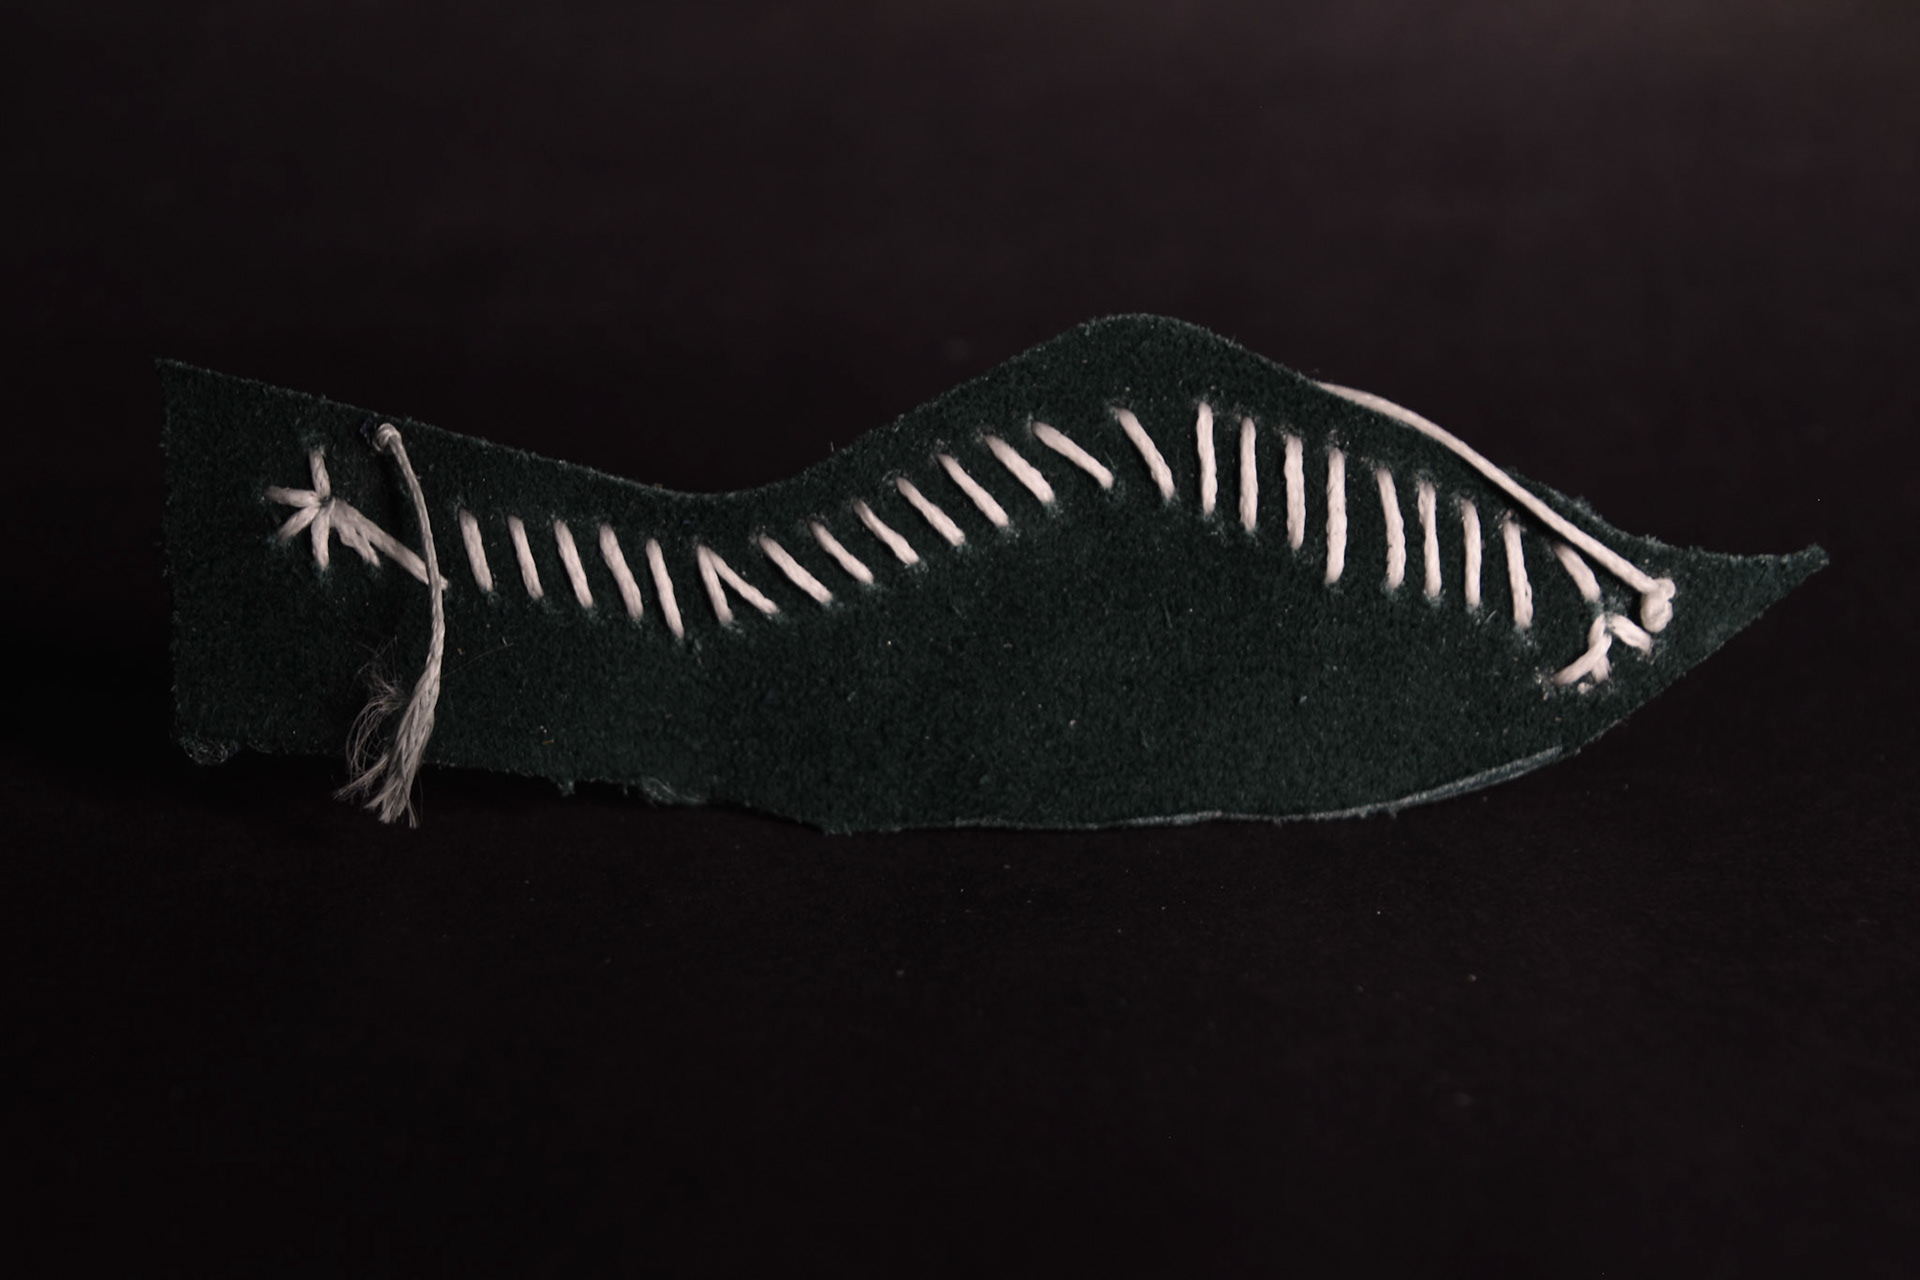
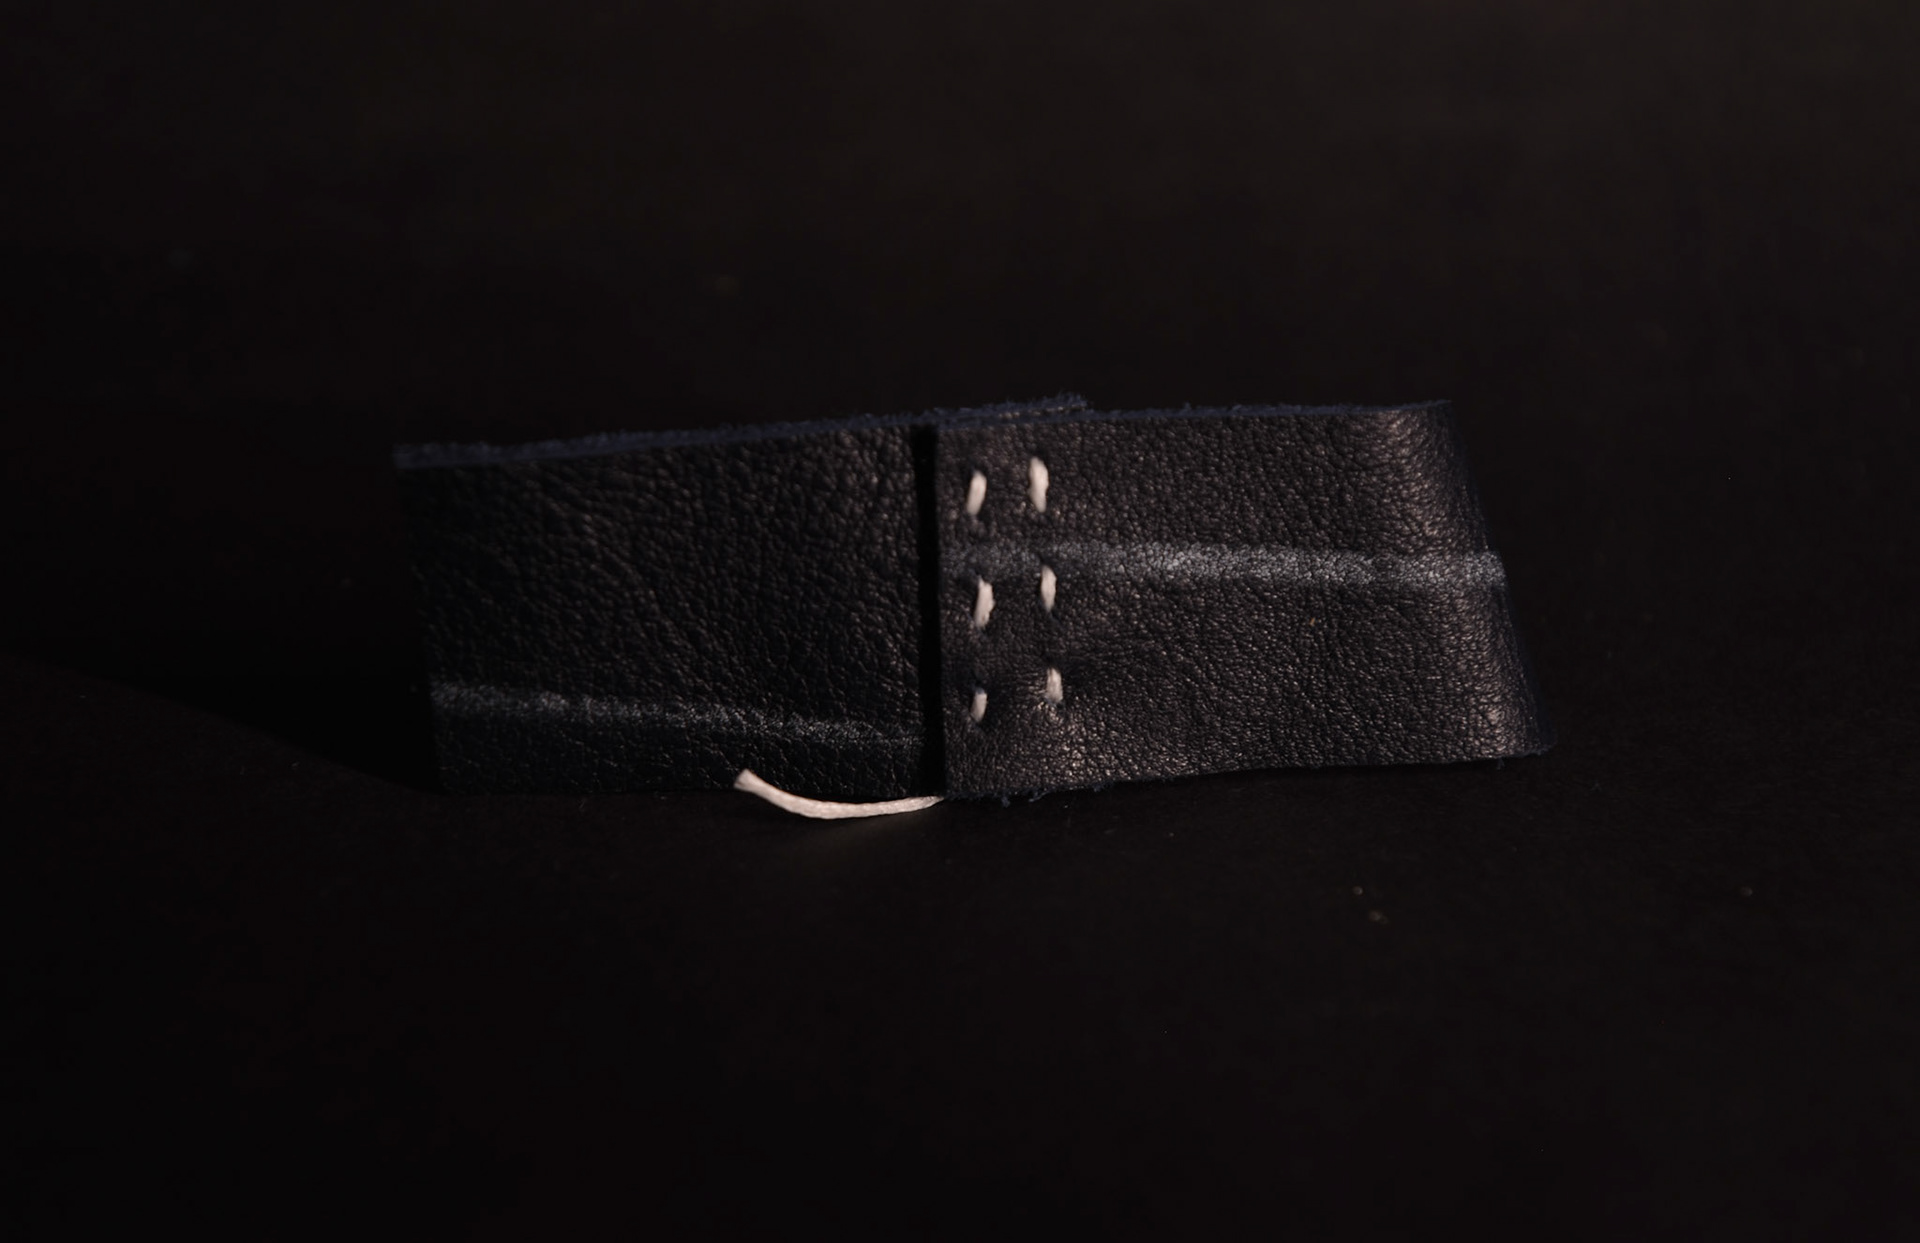
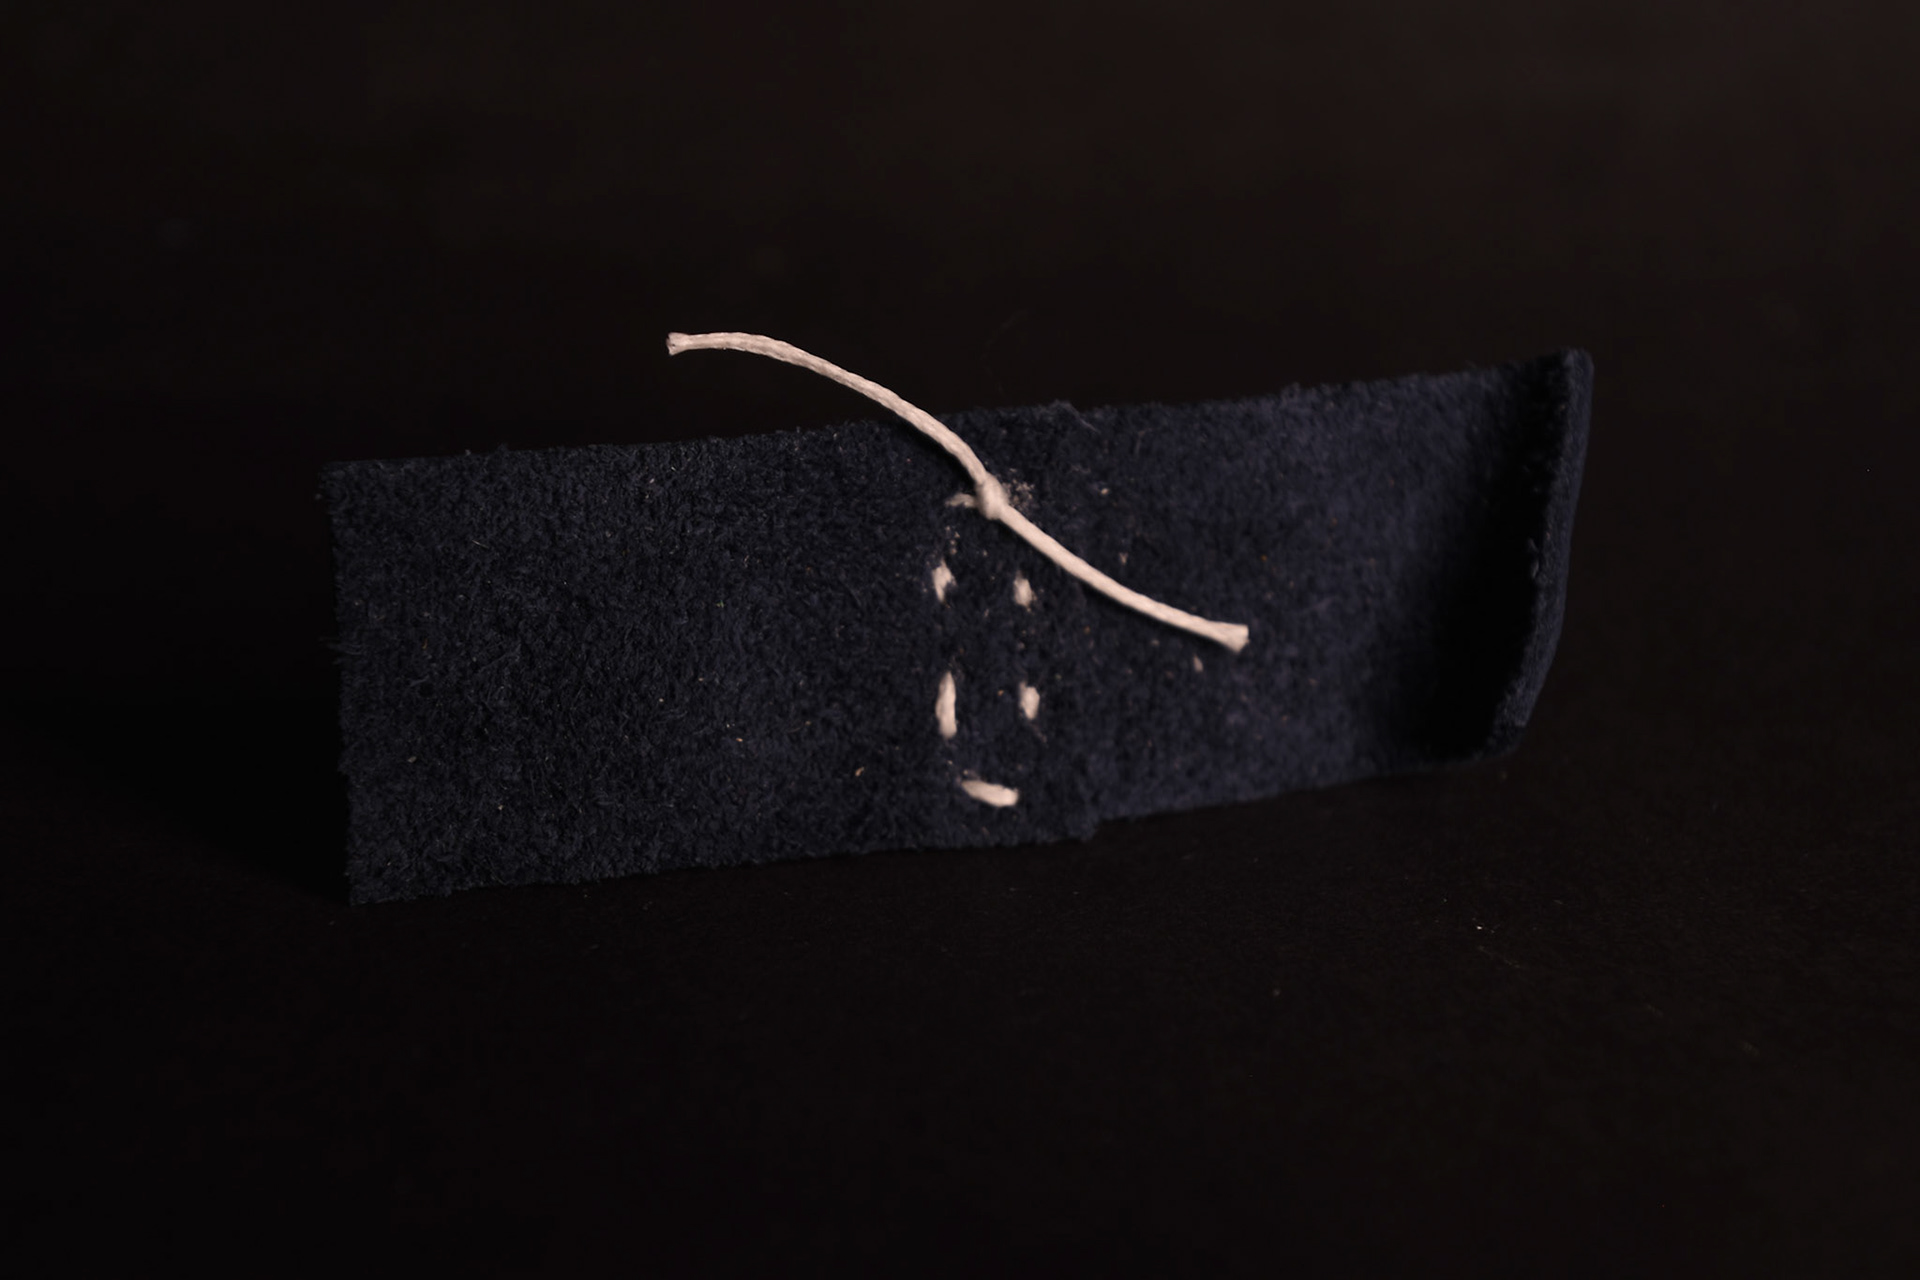
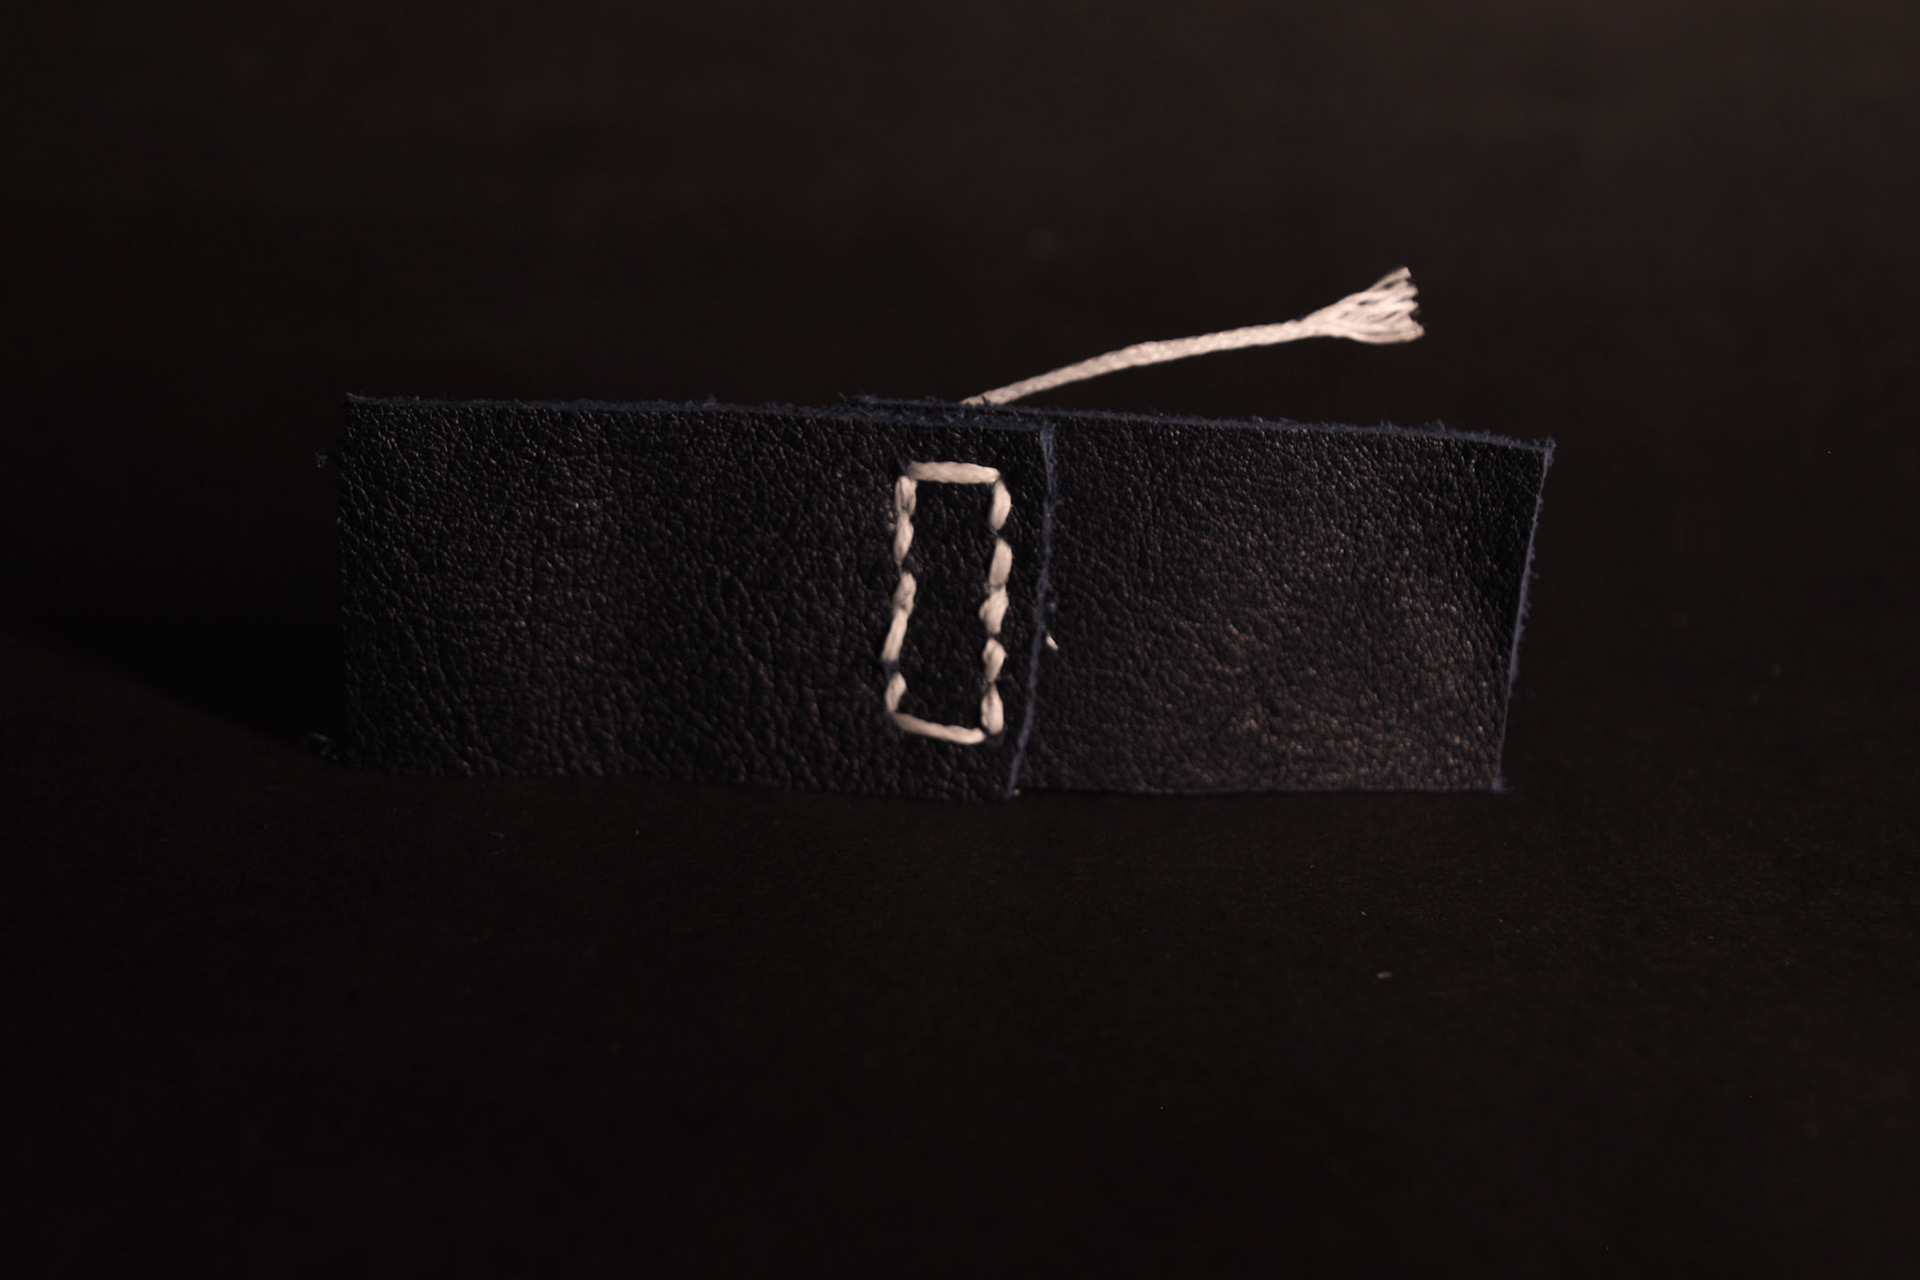
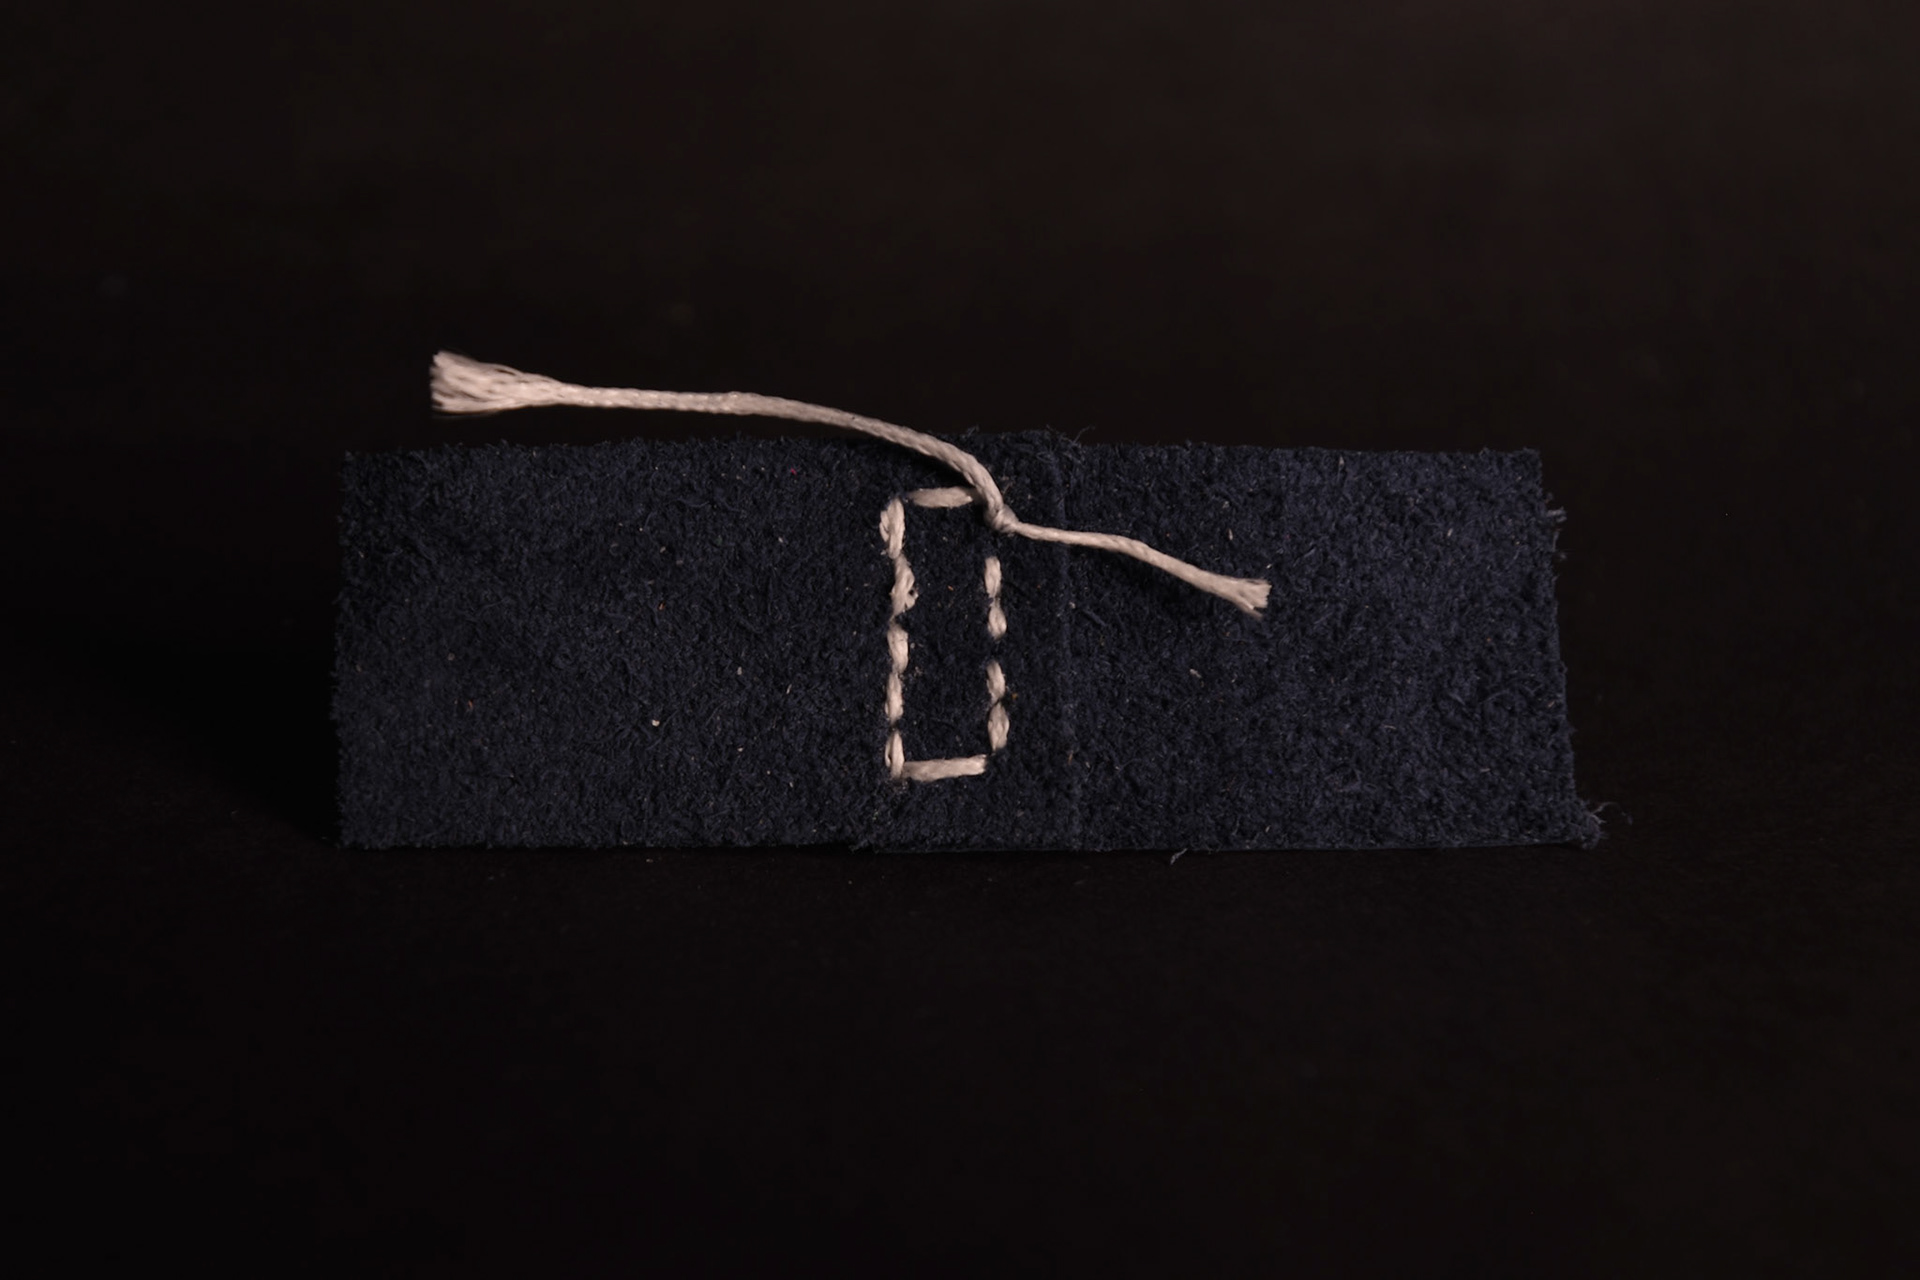
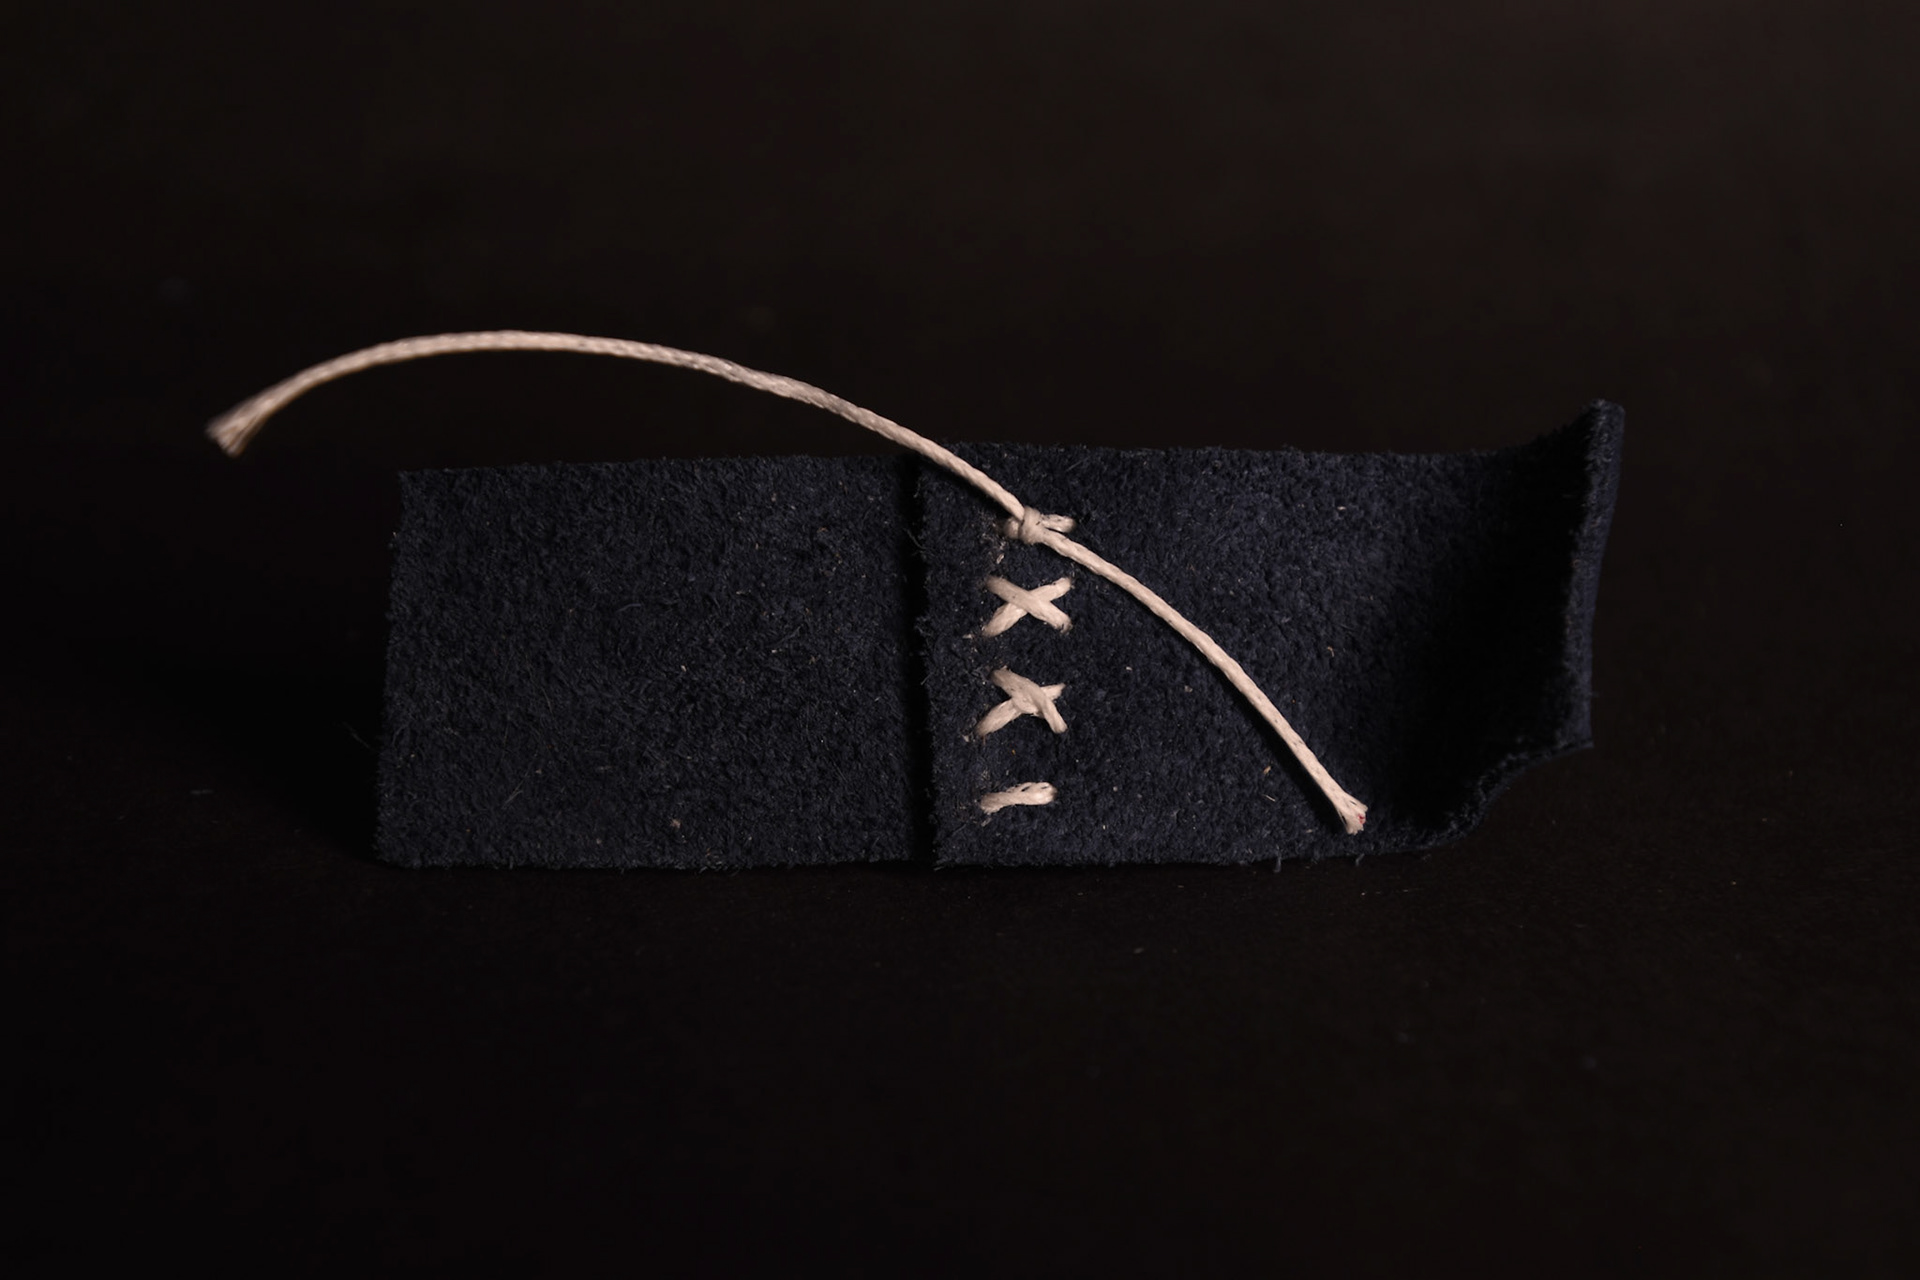
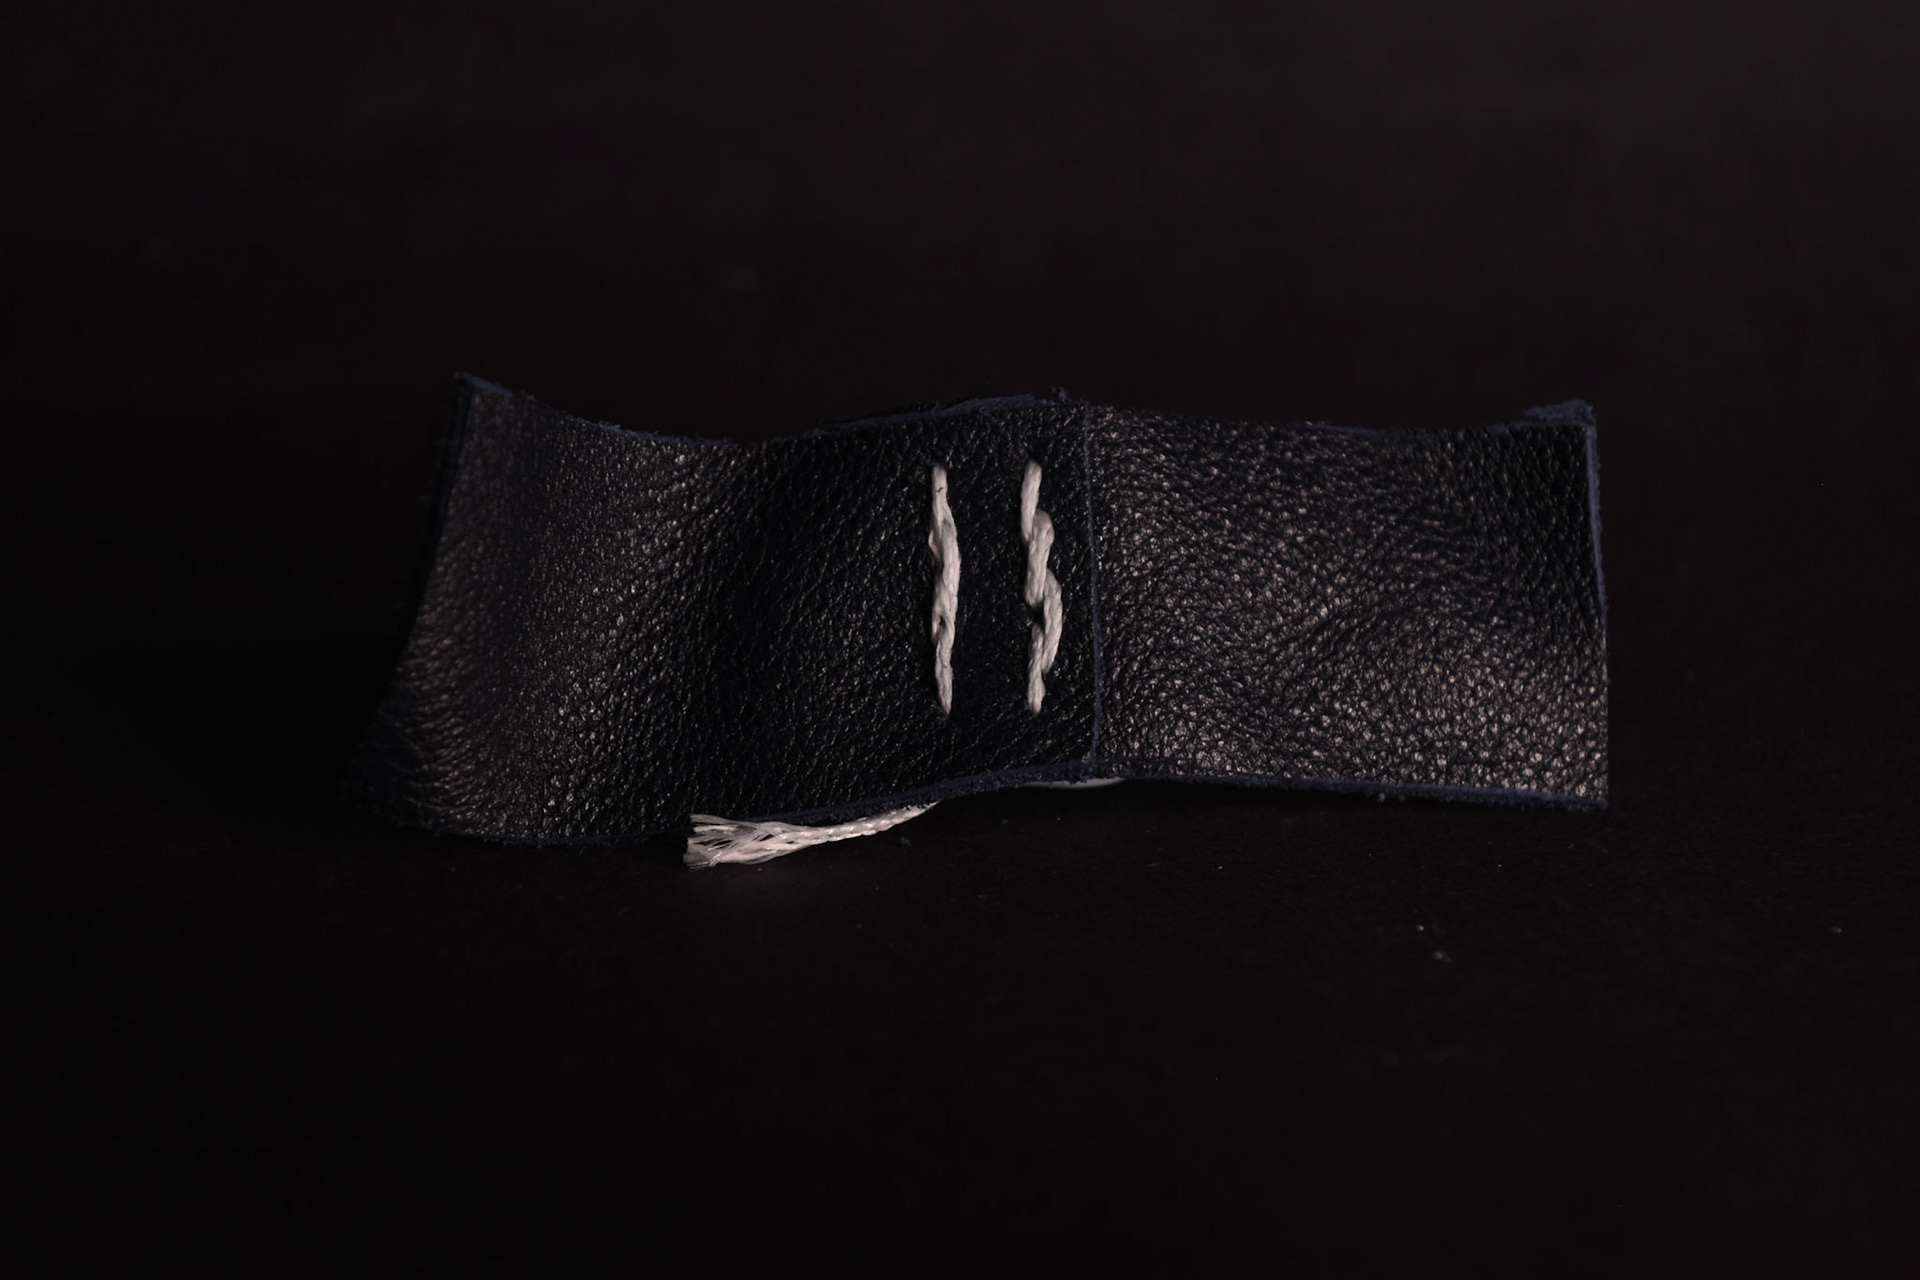
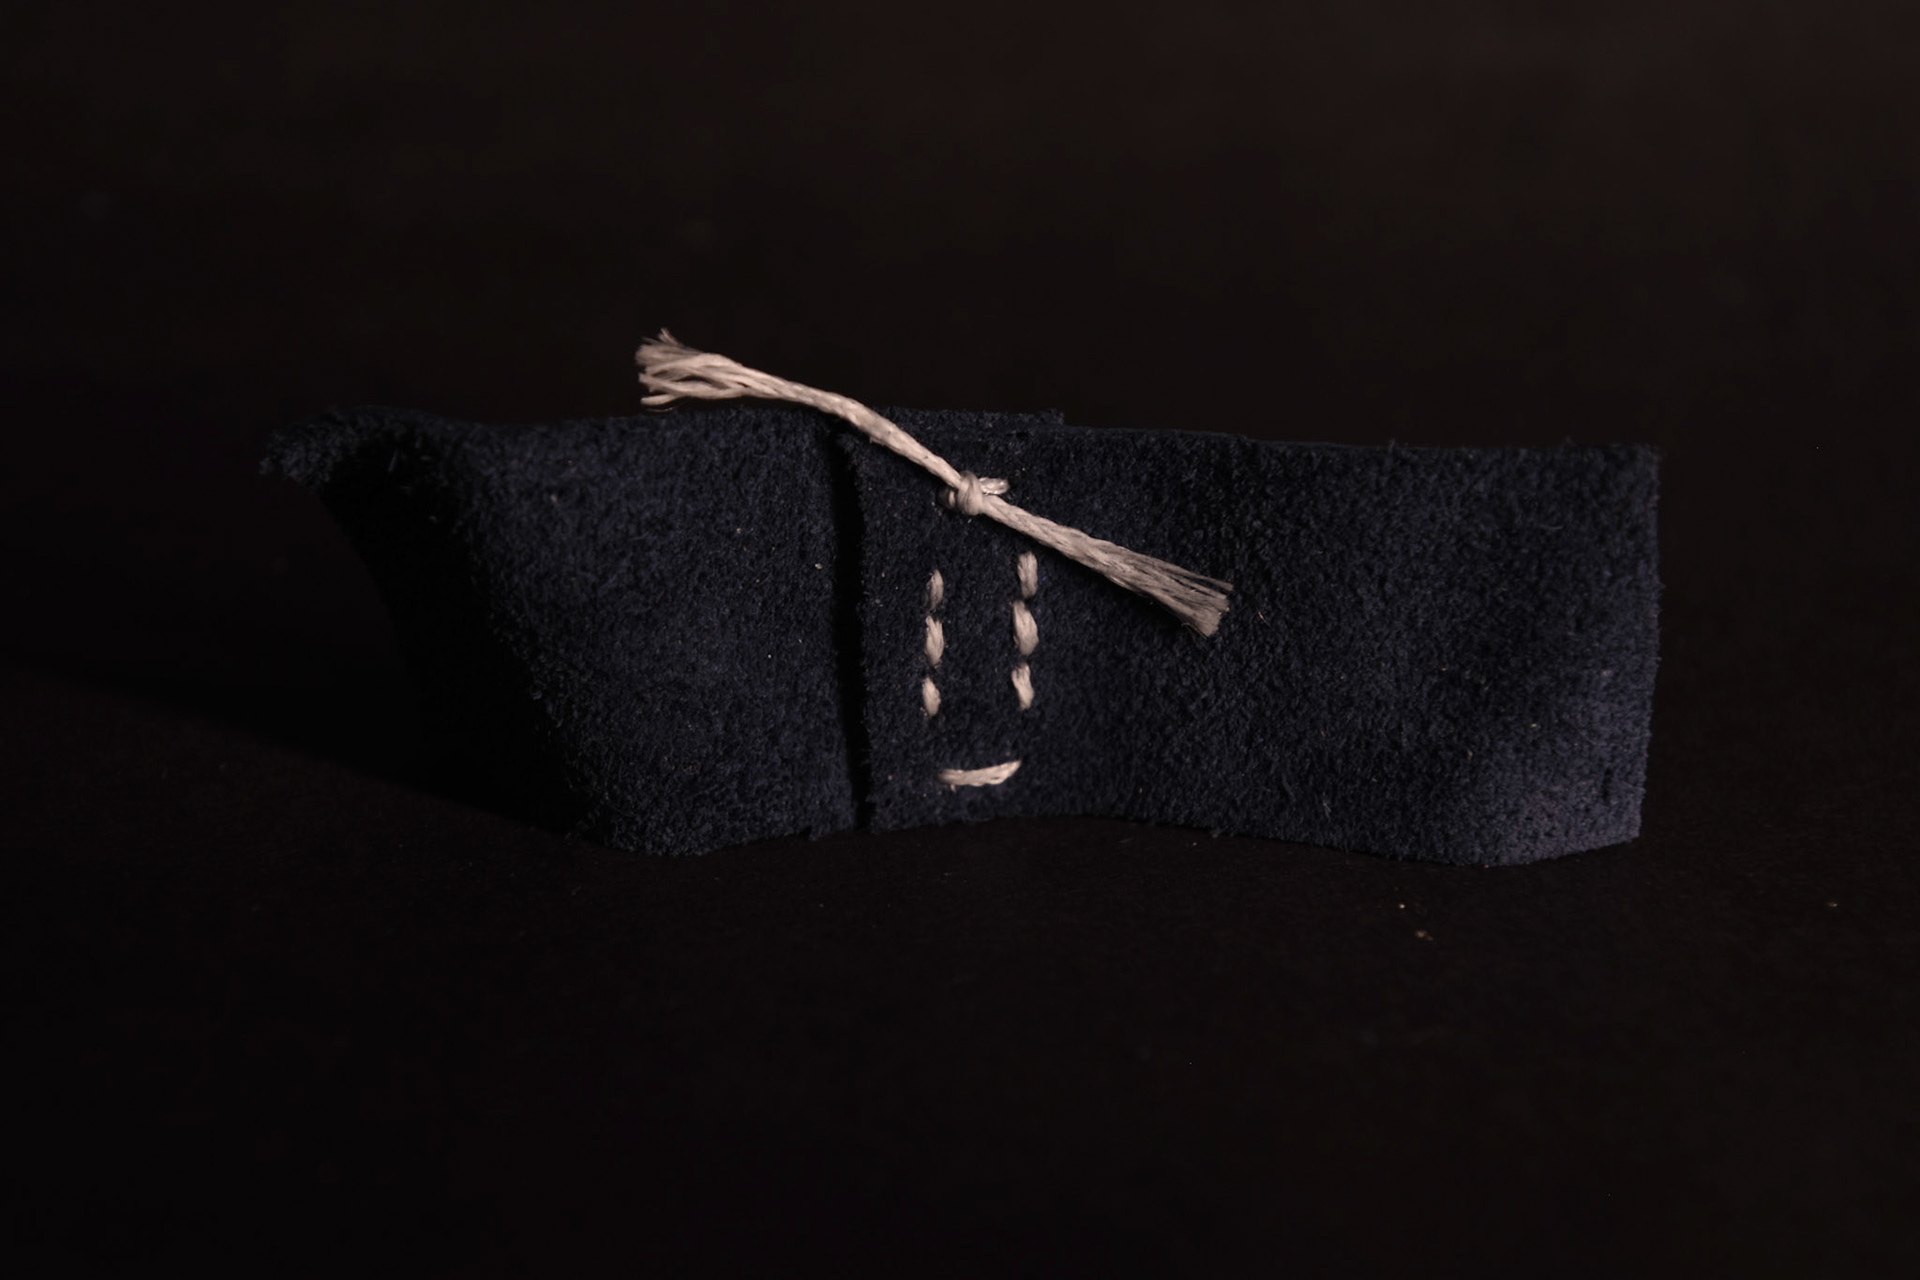
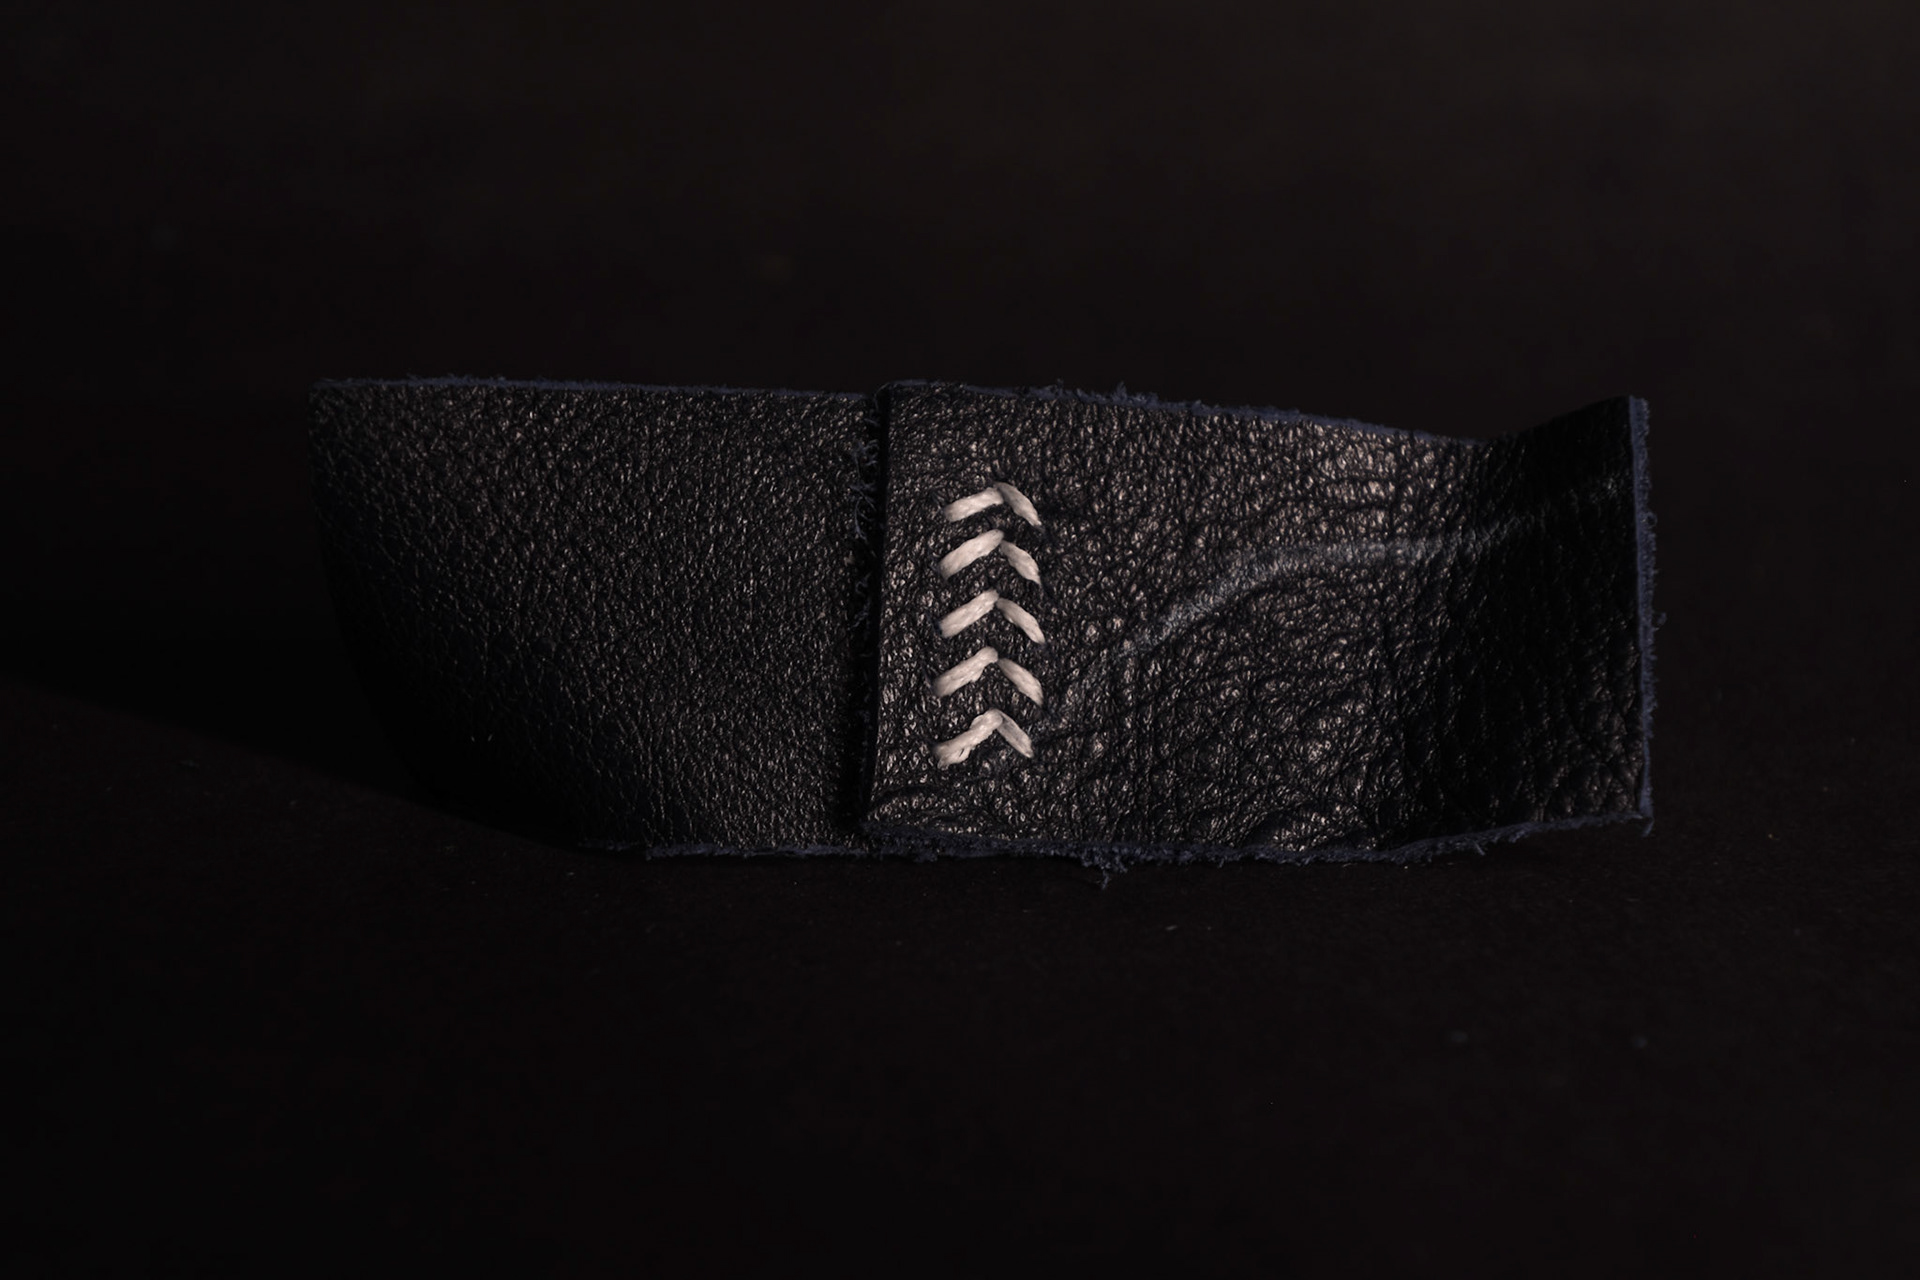
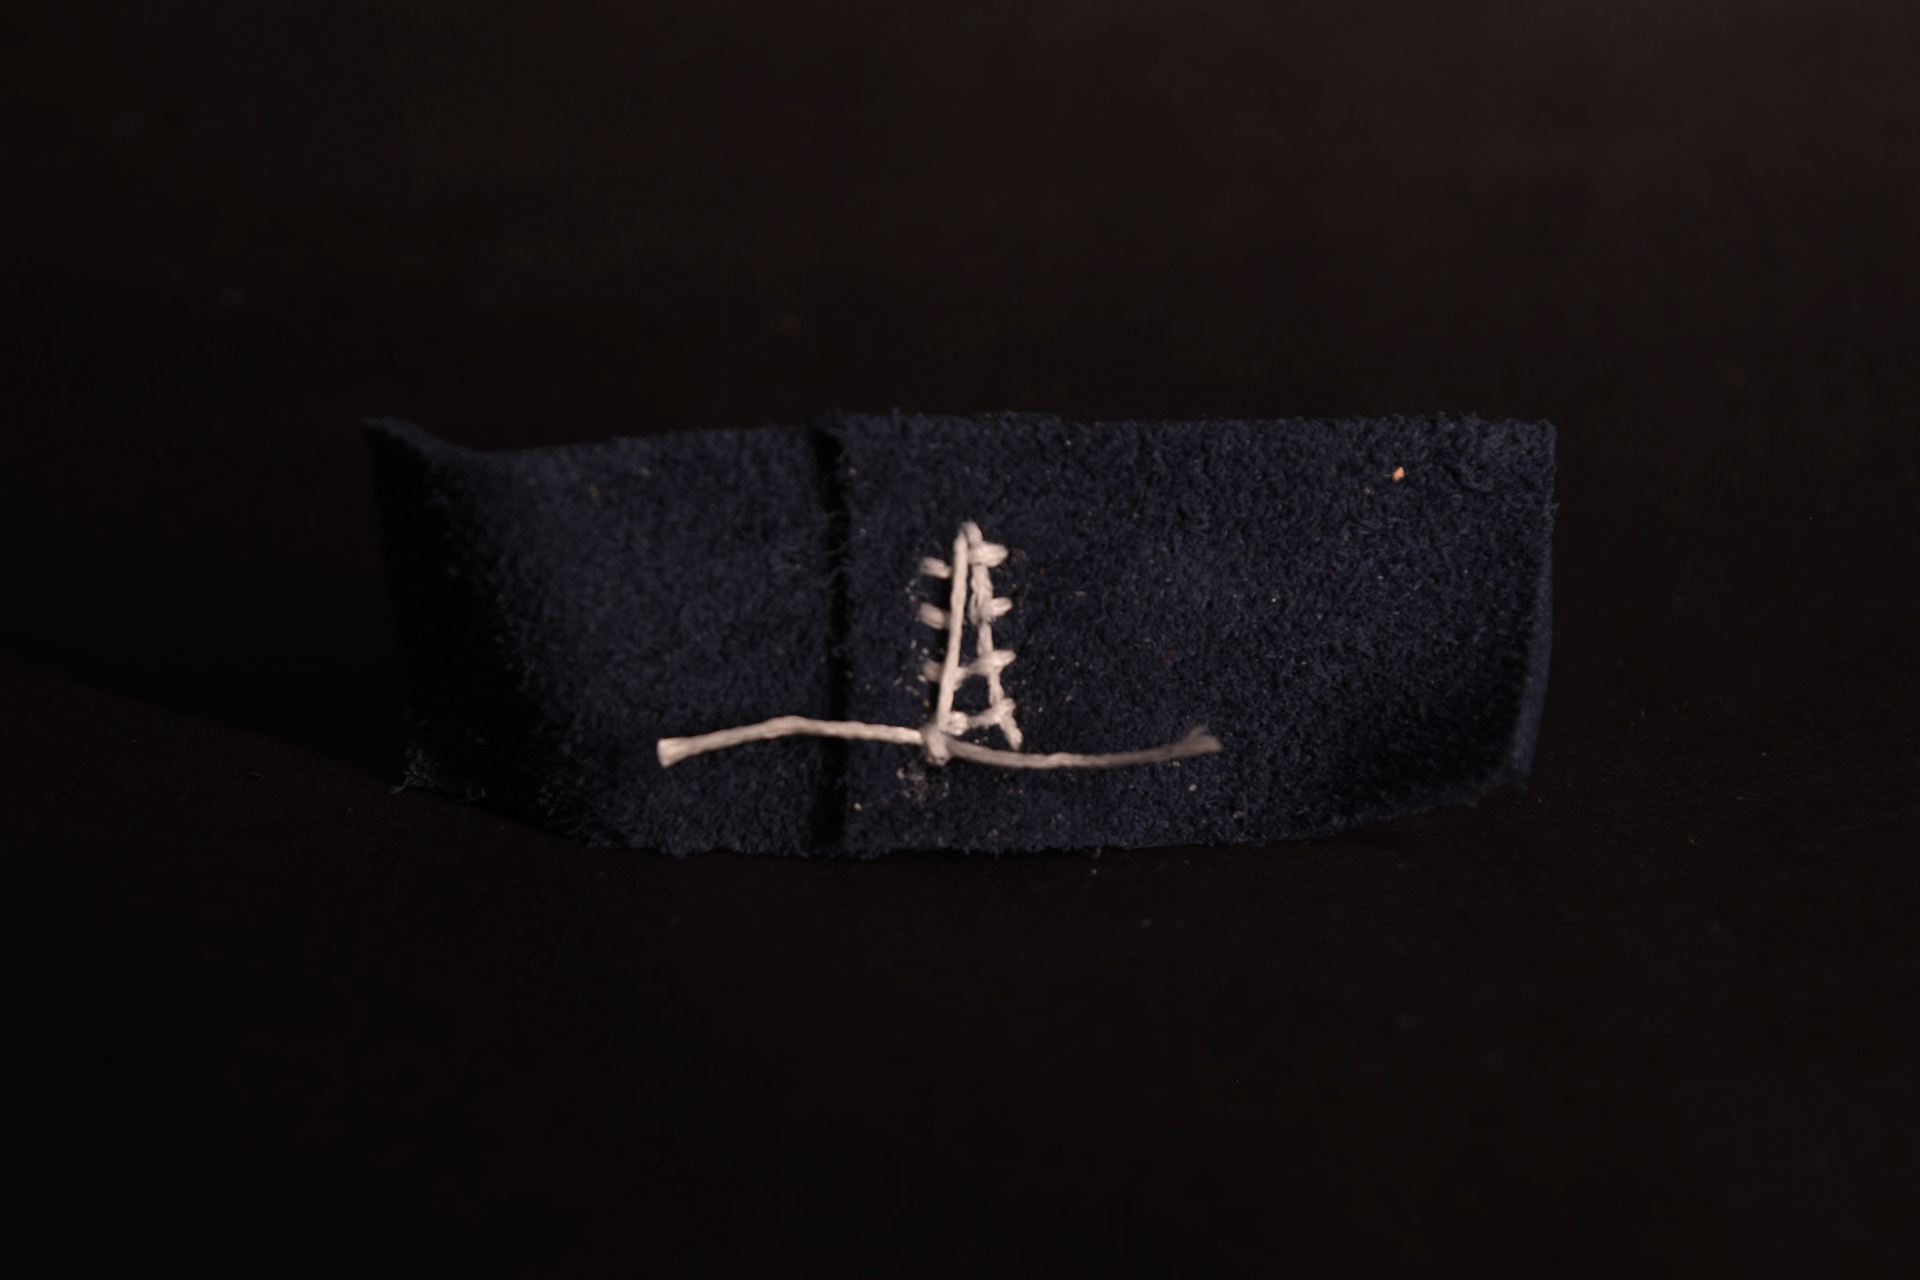
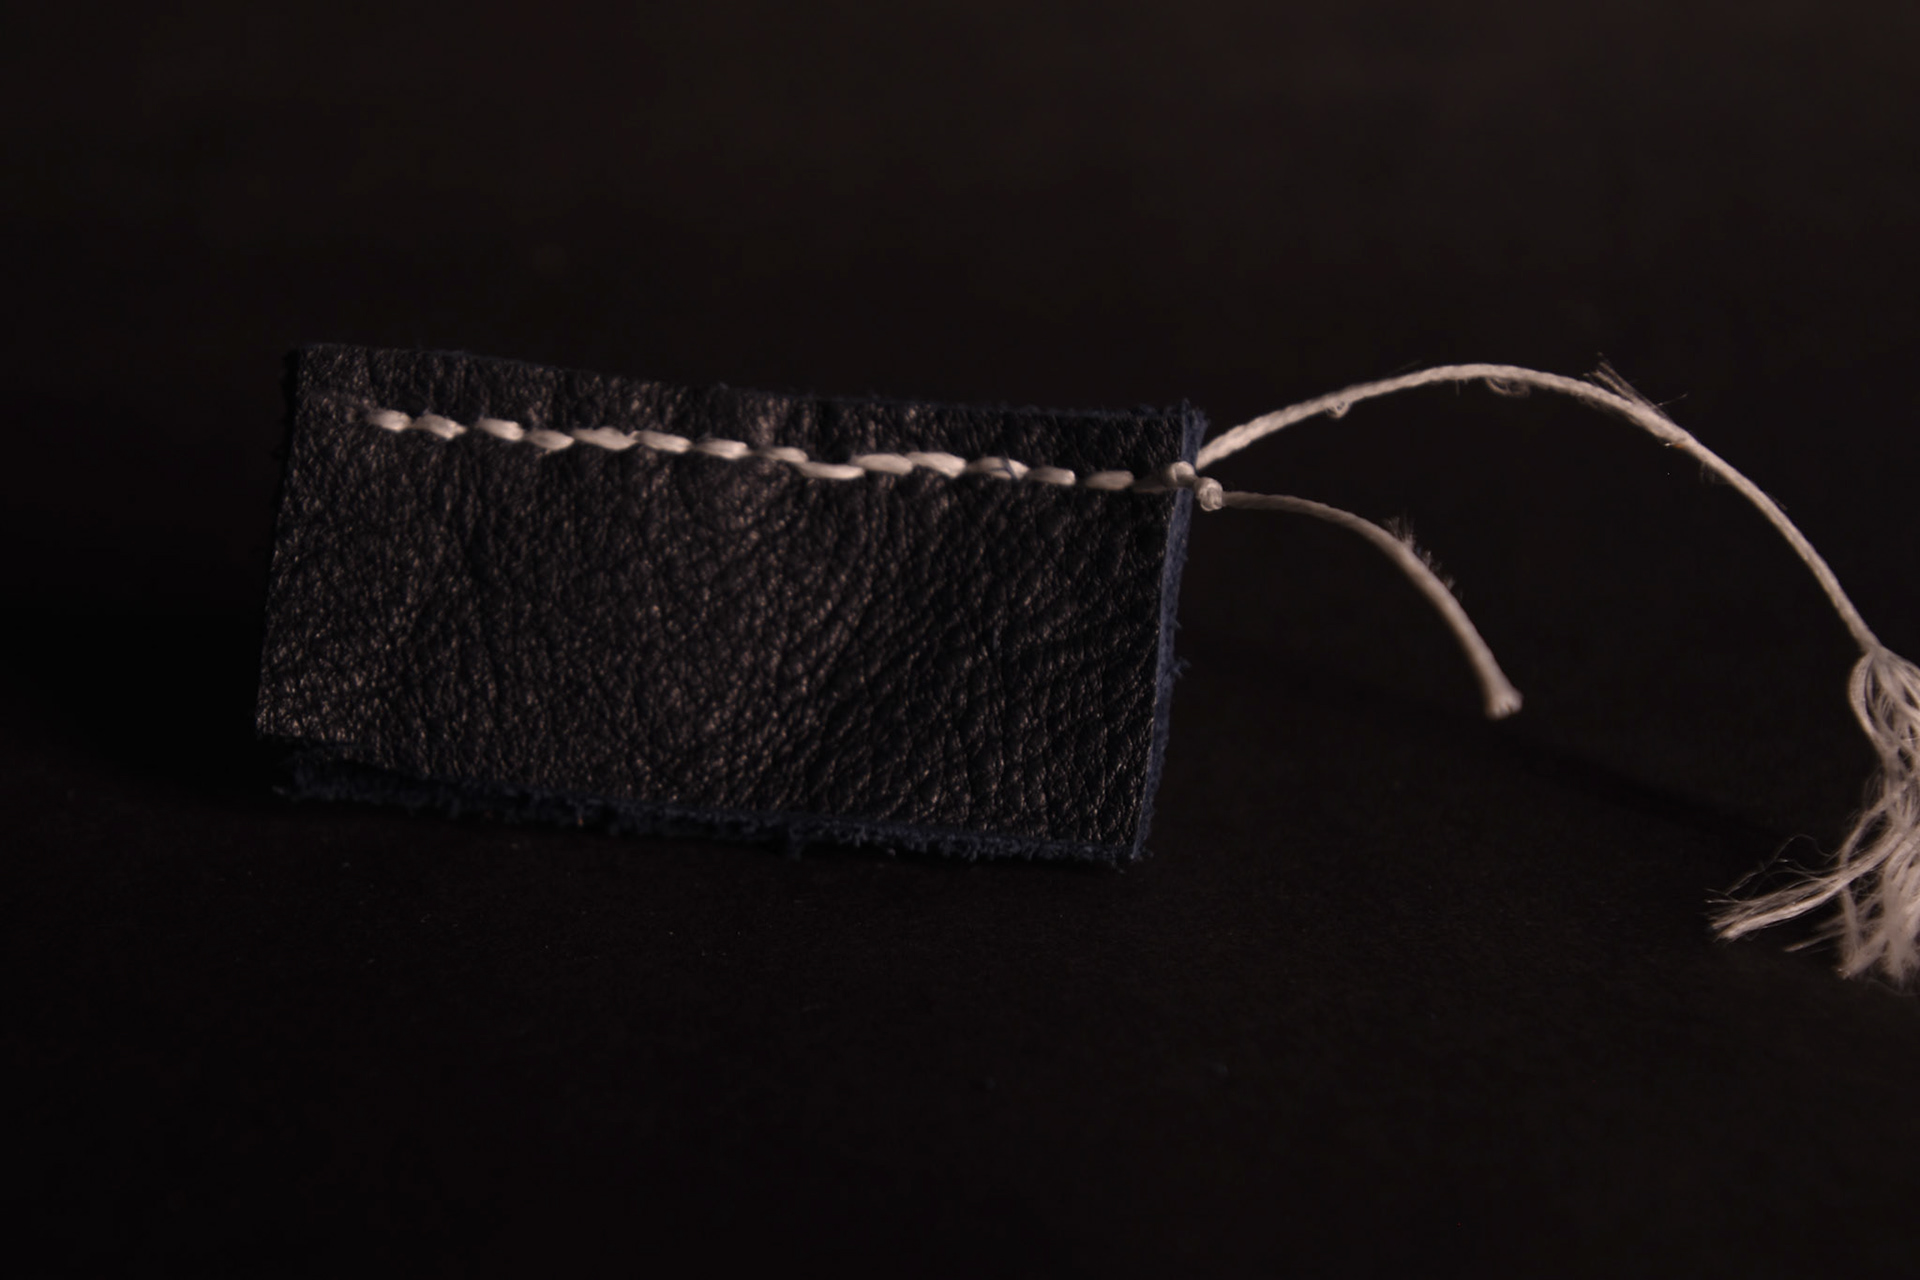
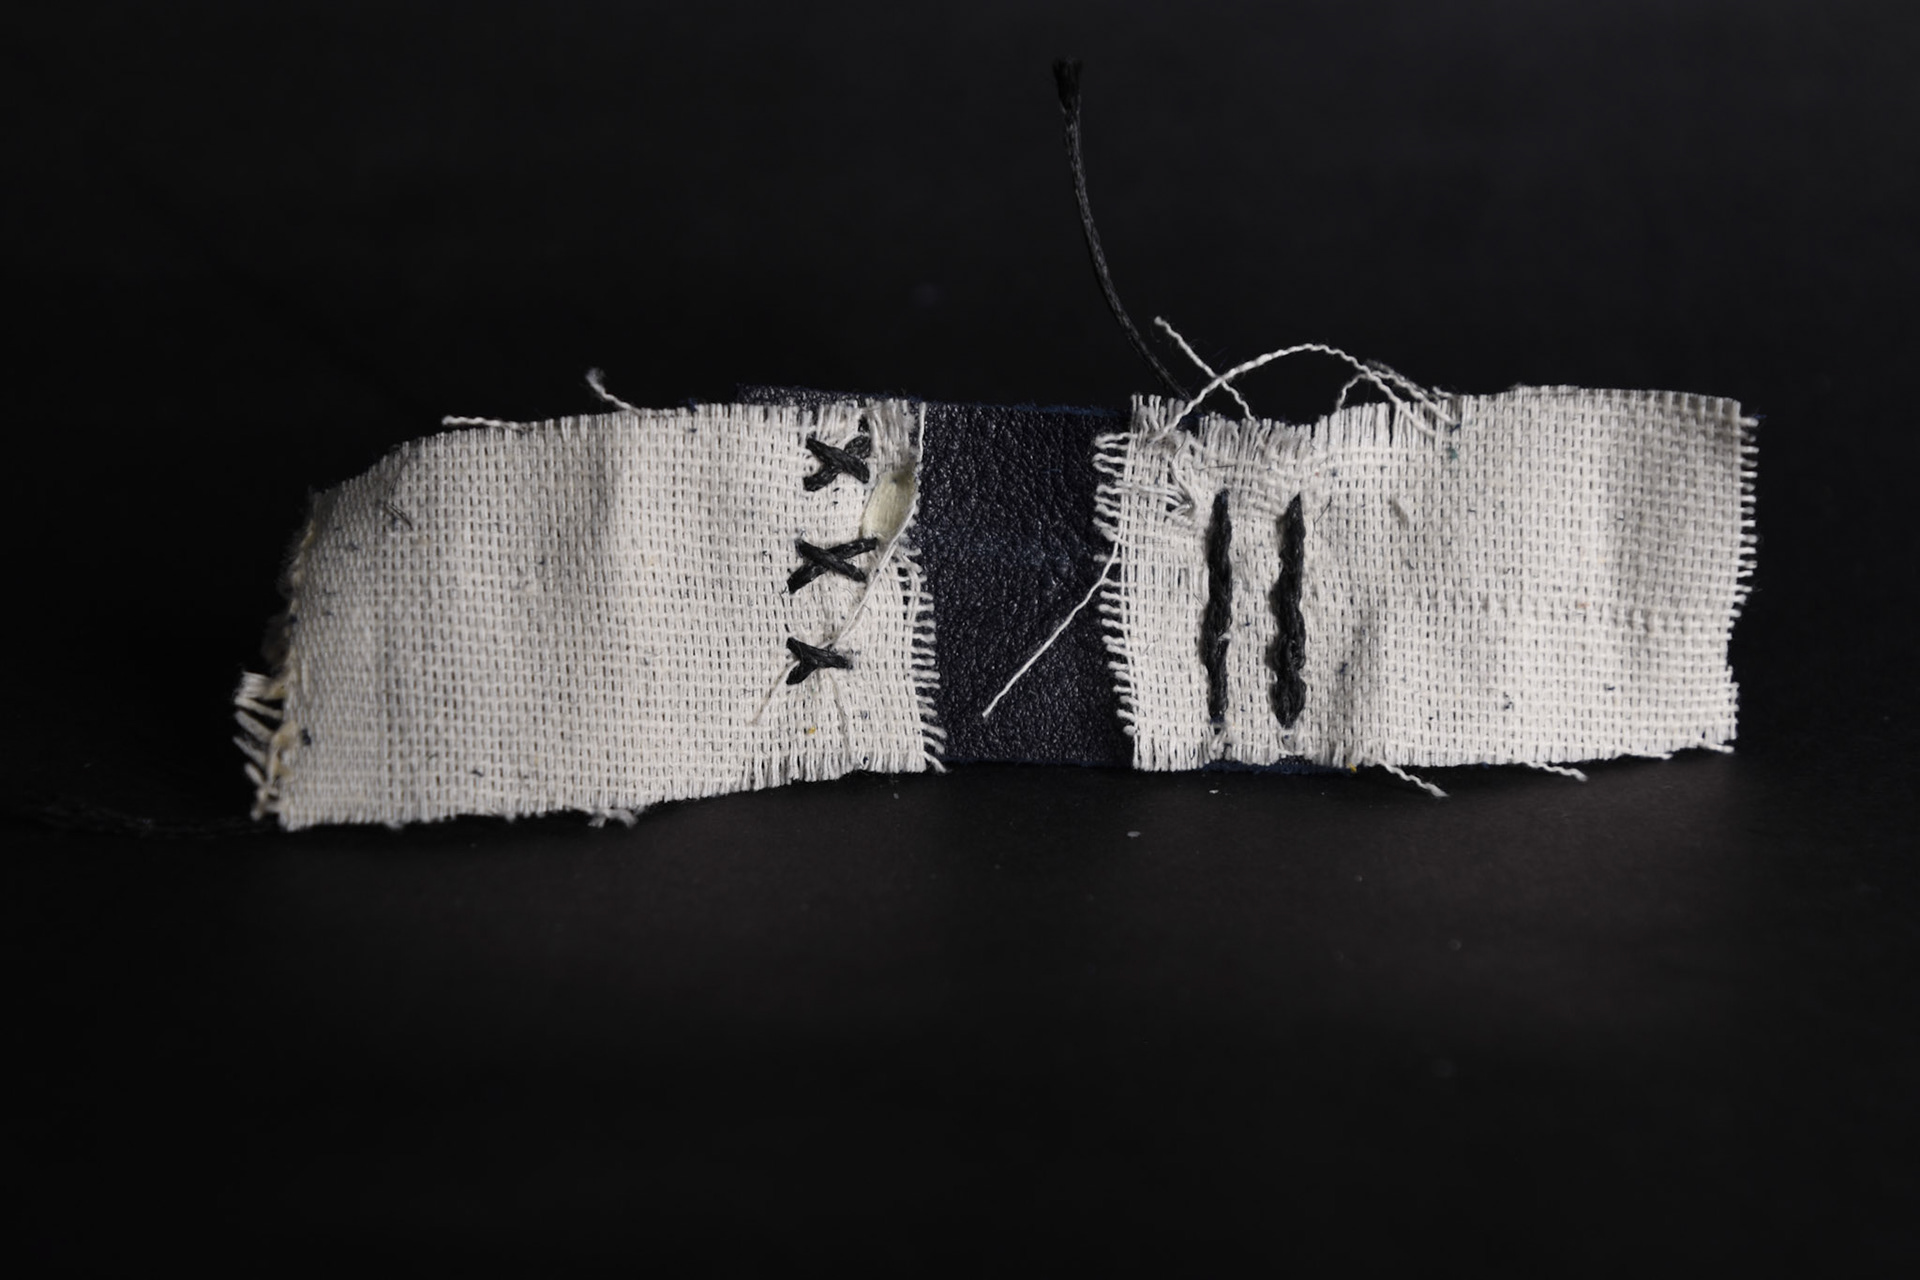
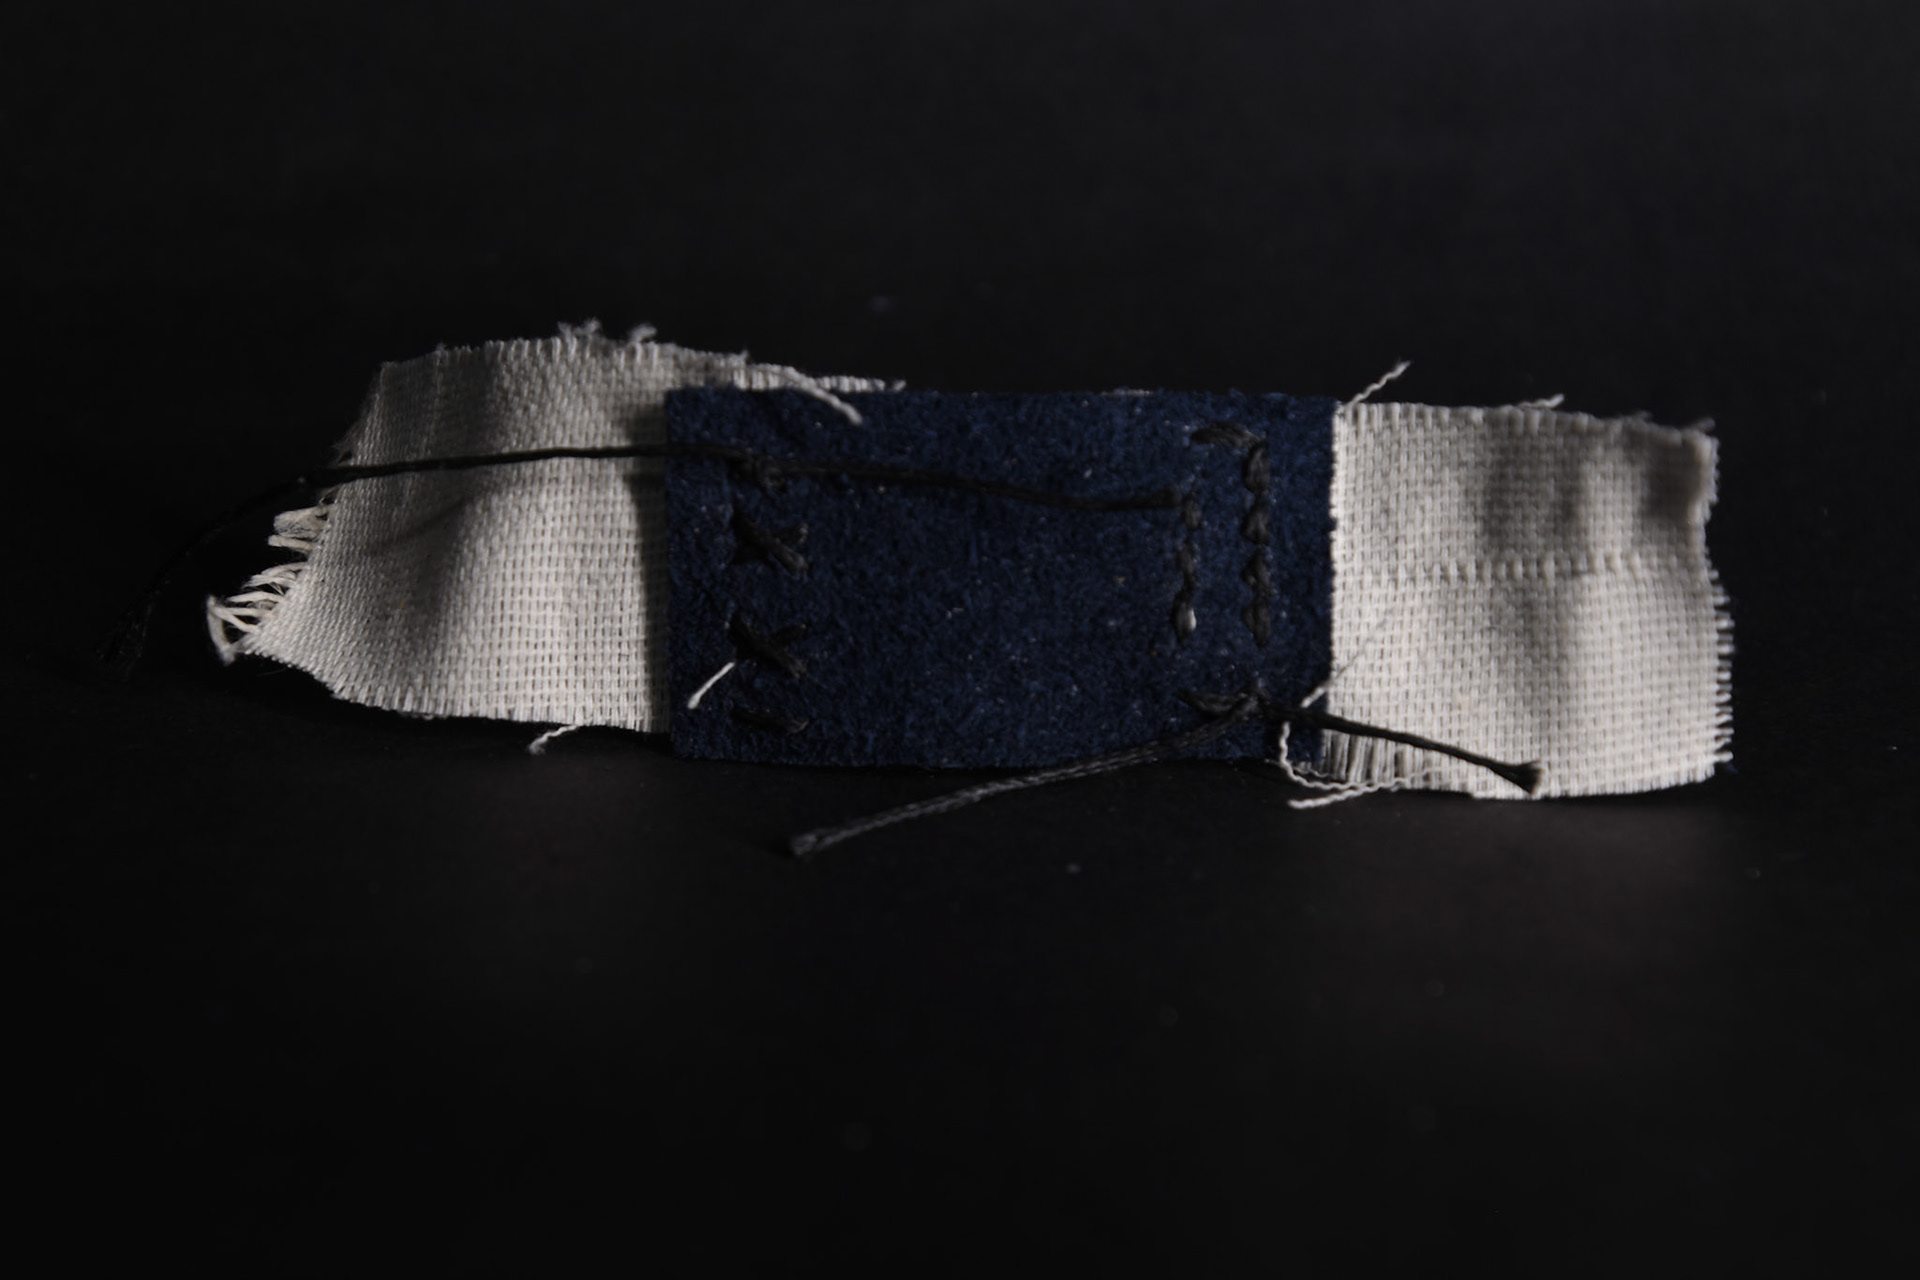
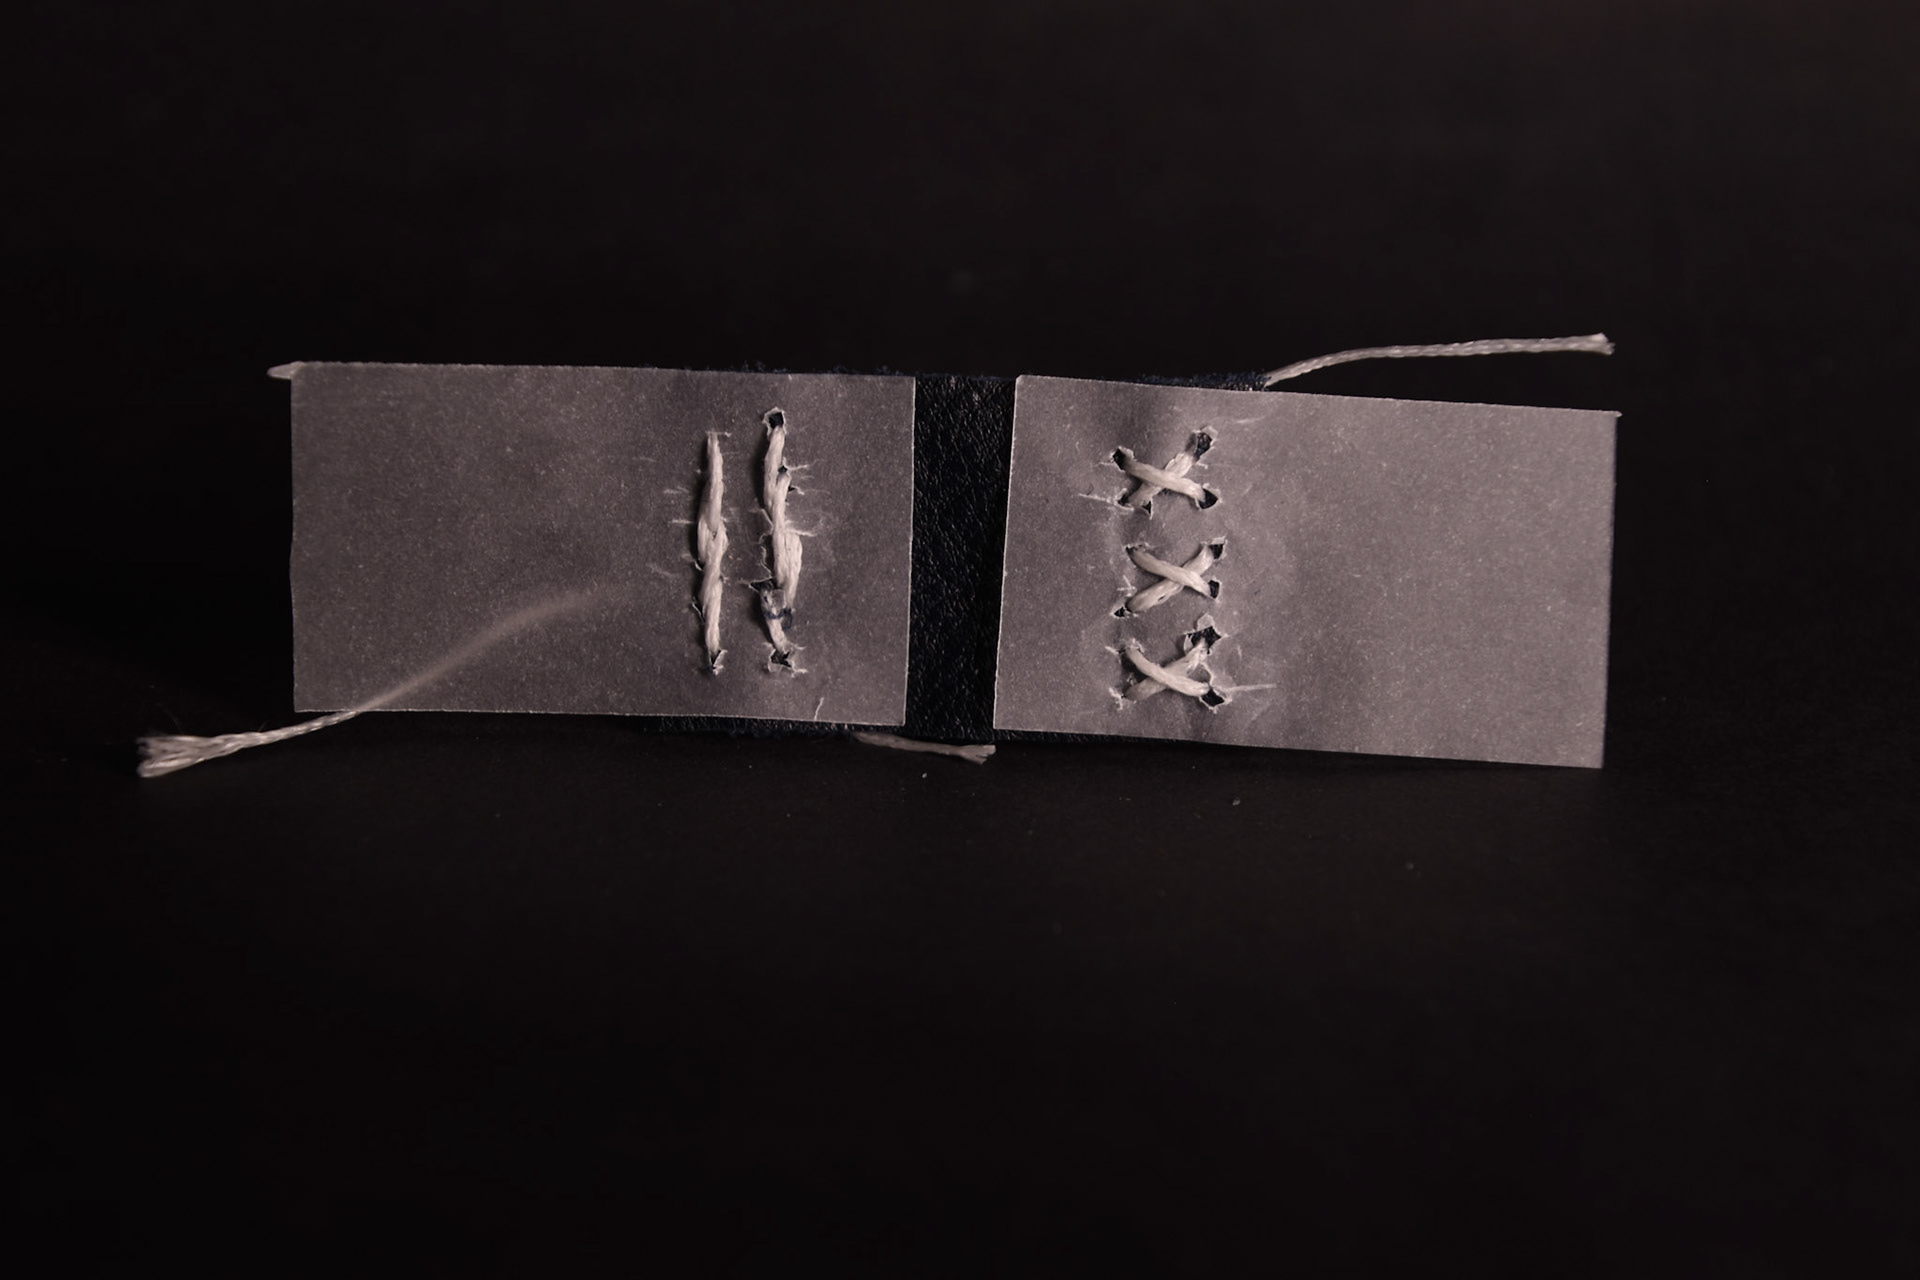
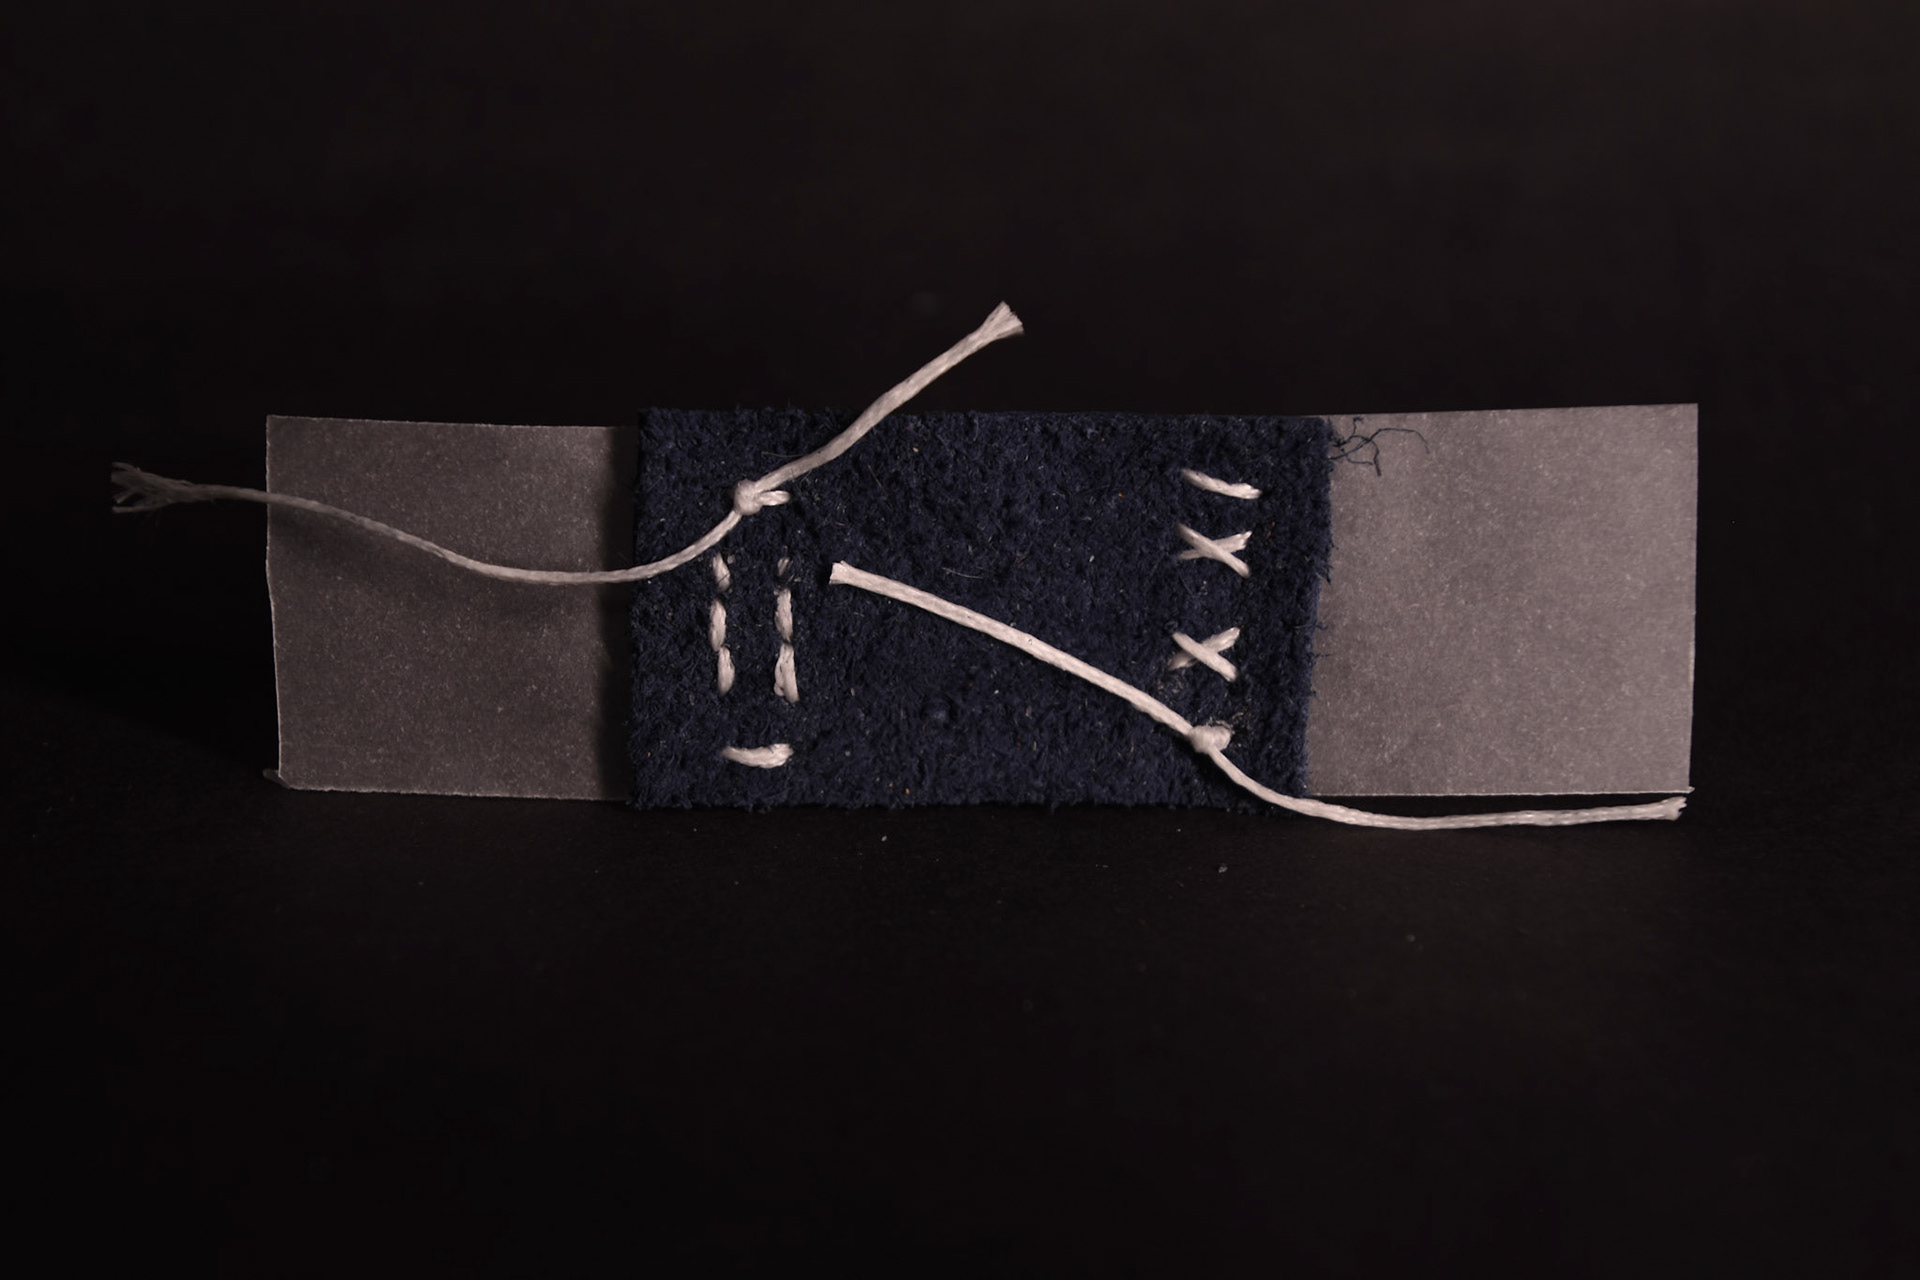
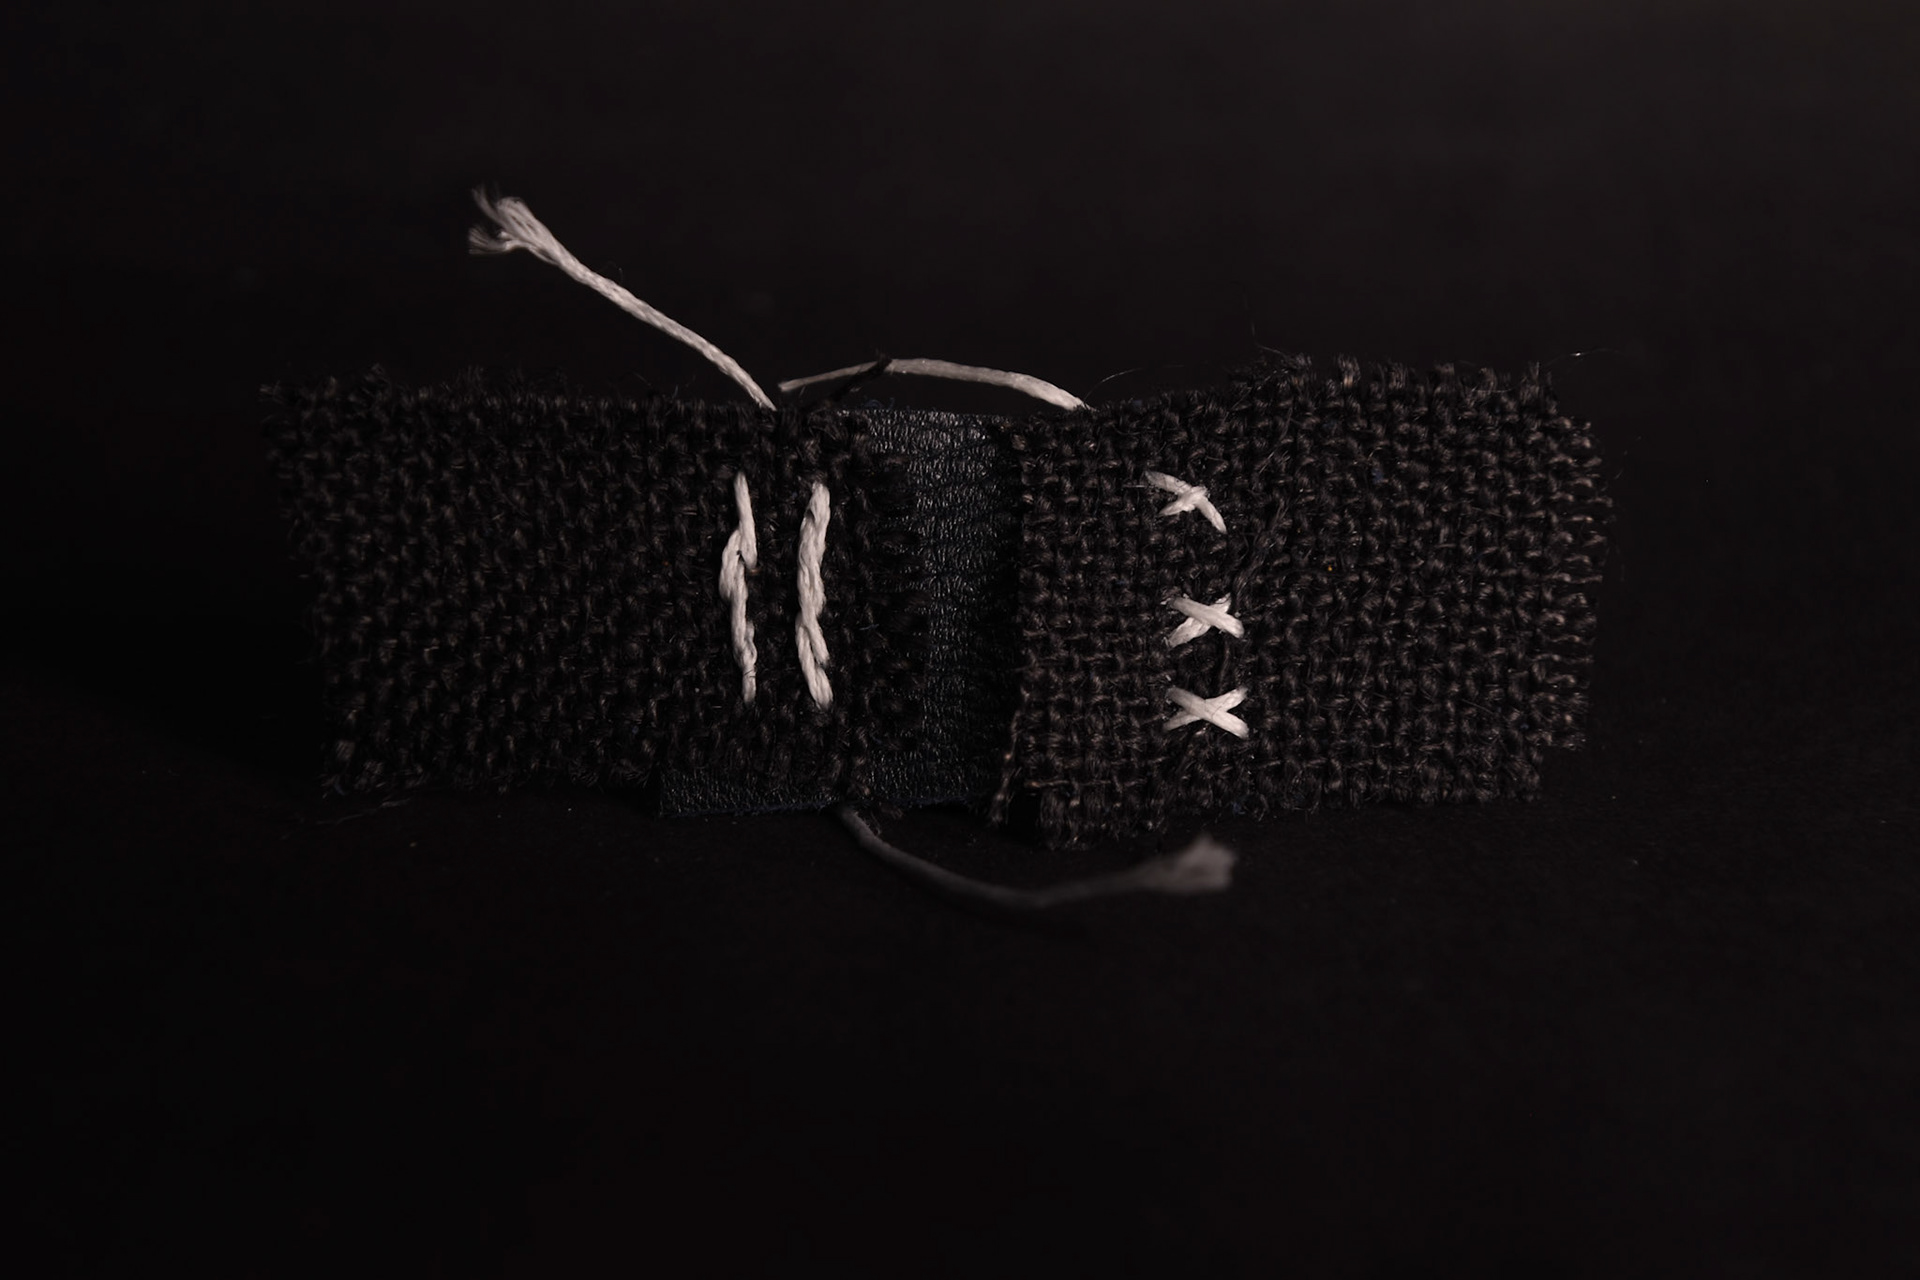
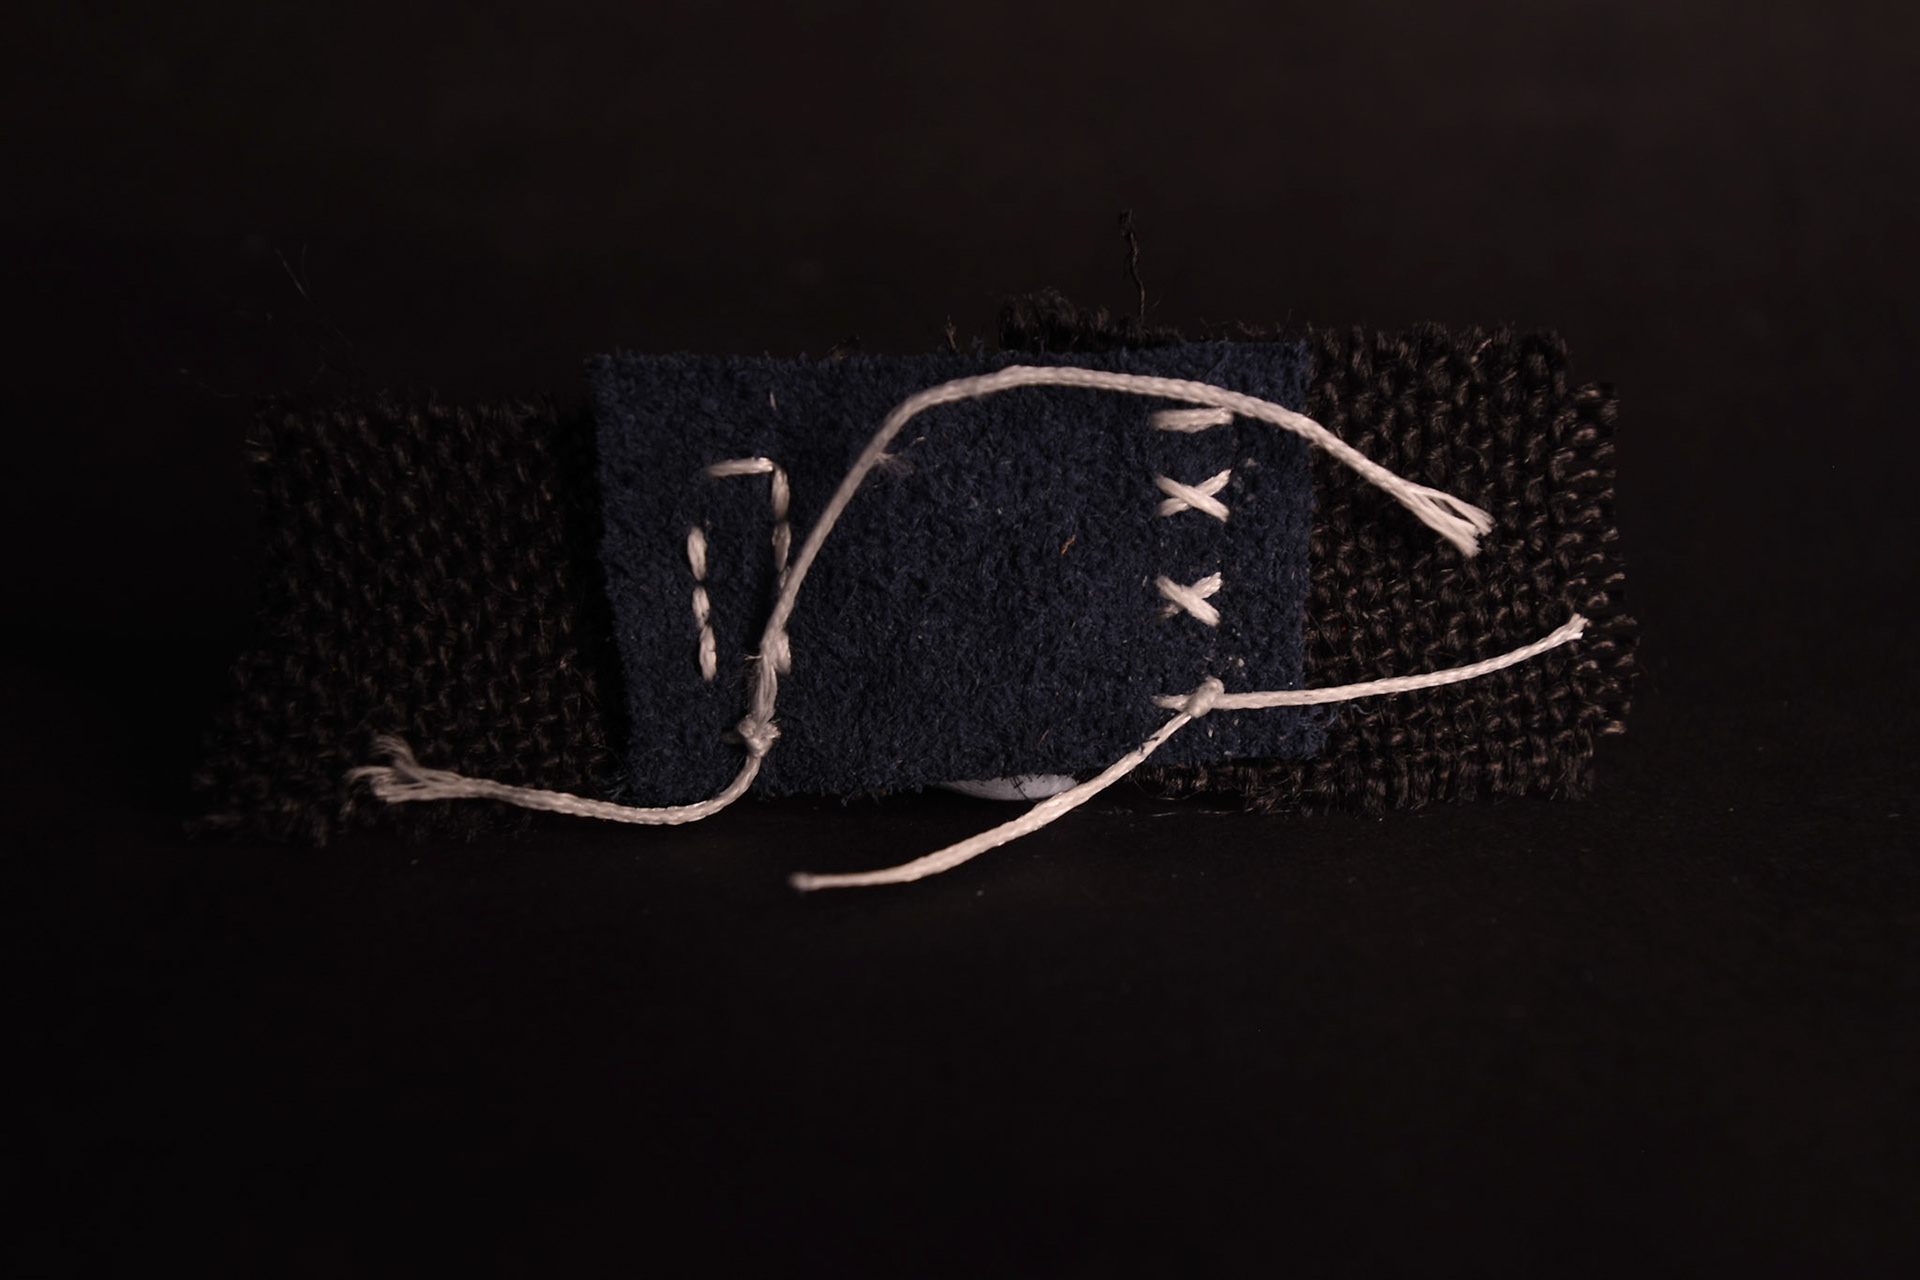
To take my leather working further I tested different stitches that connect two pieces of leather on top of each other. I wanted to stick with overlapping the leather as this highlights the ideas of connections. Also, I kept the threads ends after knotting it rather than cutting and burning it together, to draw the eye into the connection.
Running stitch
Running stitch twice
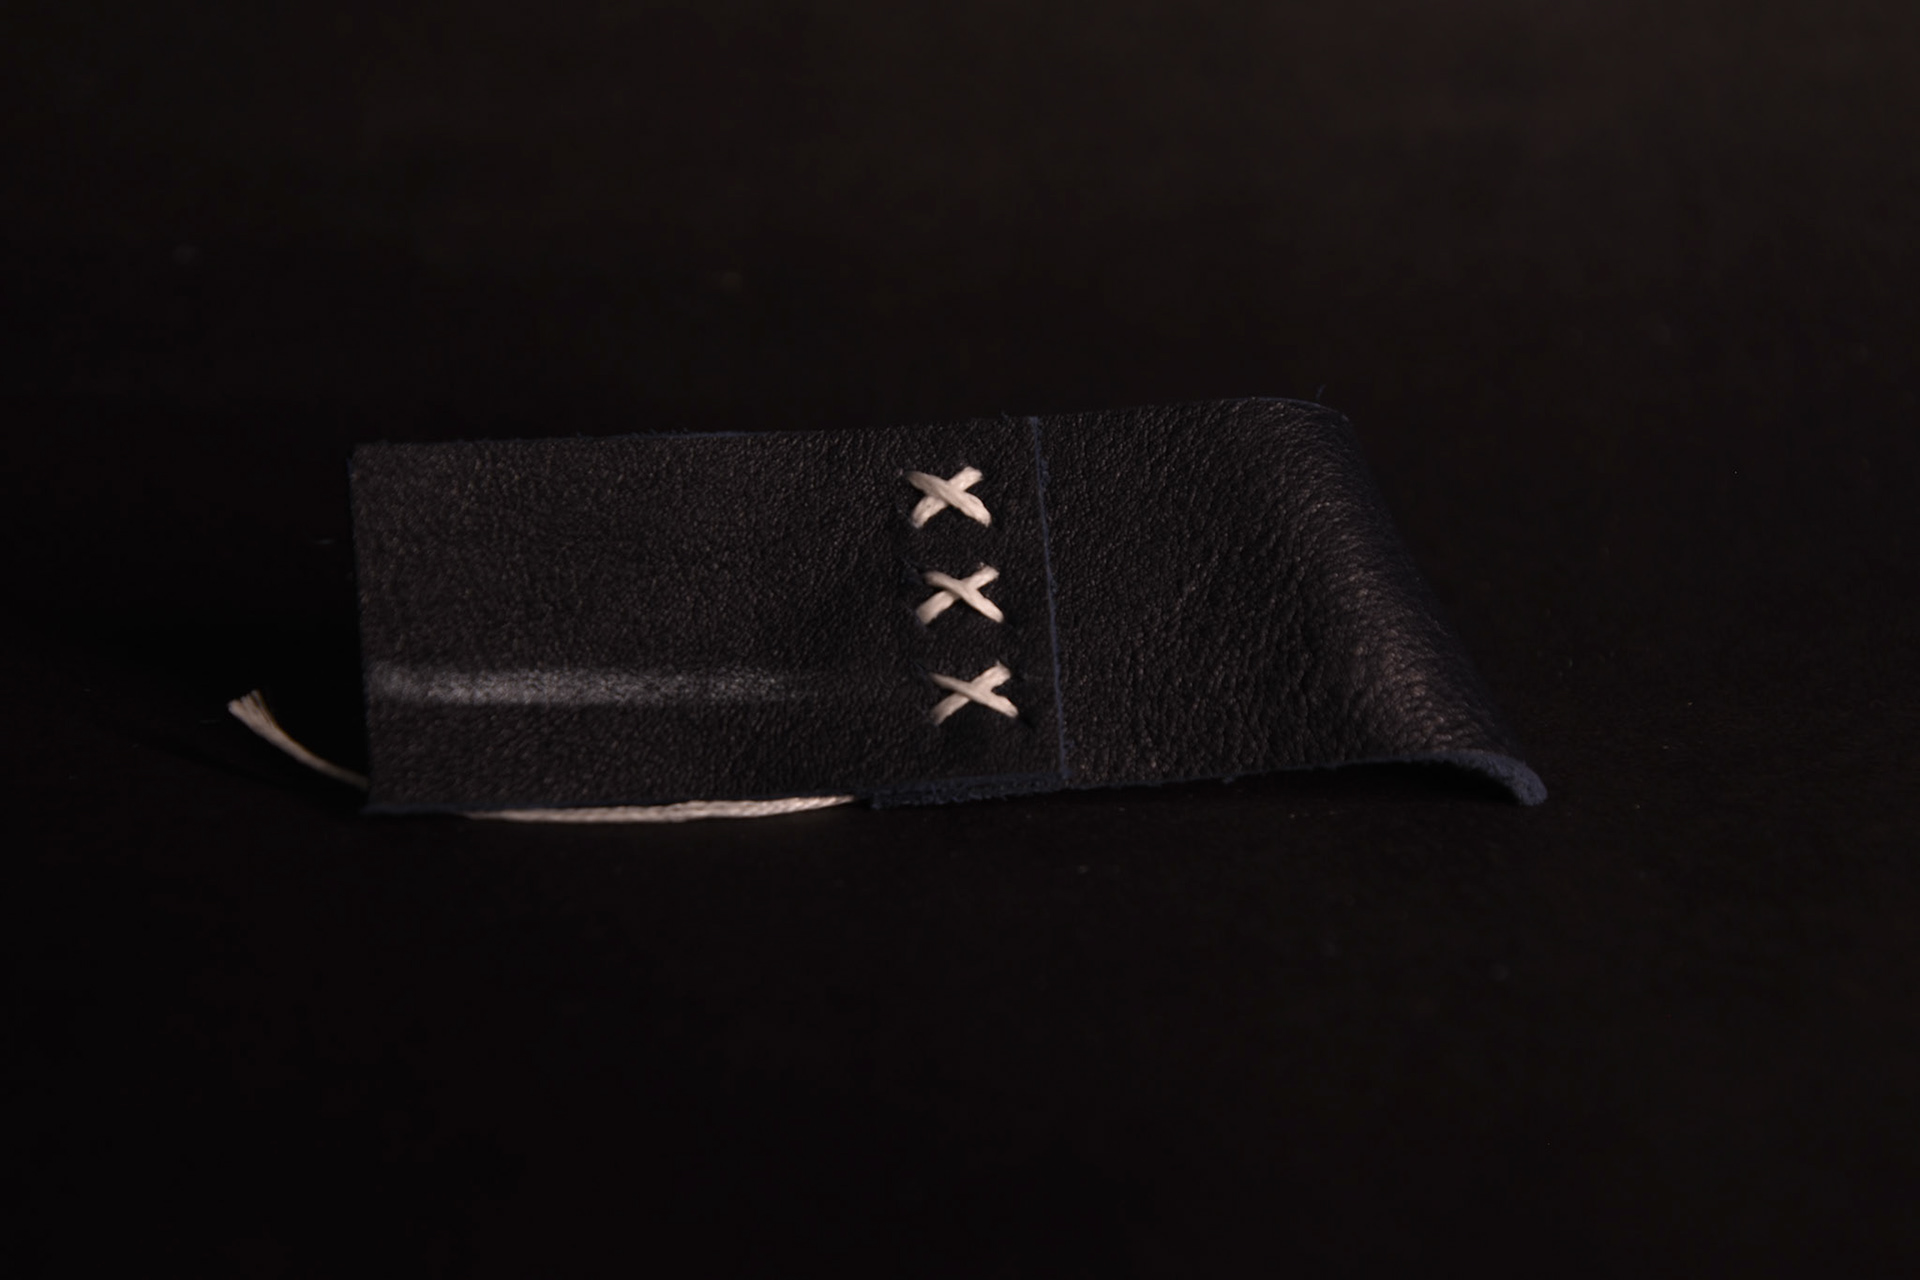
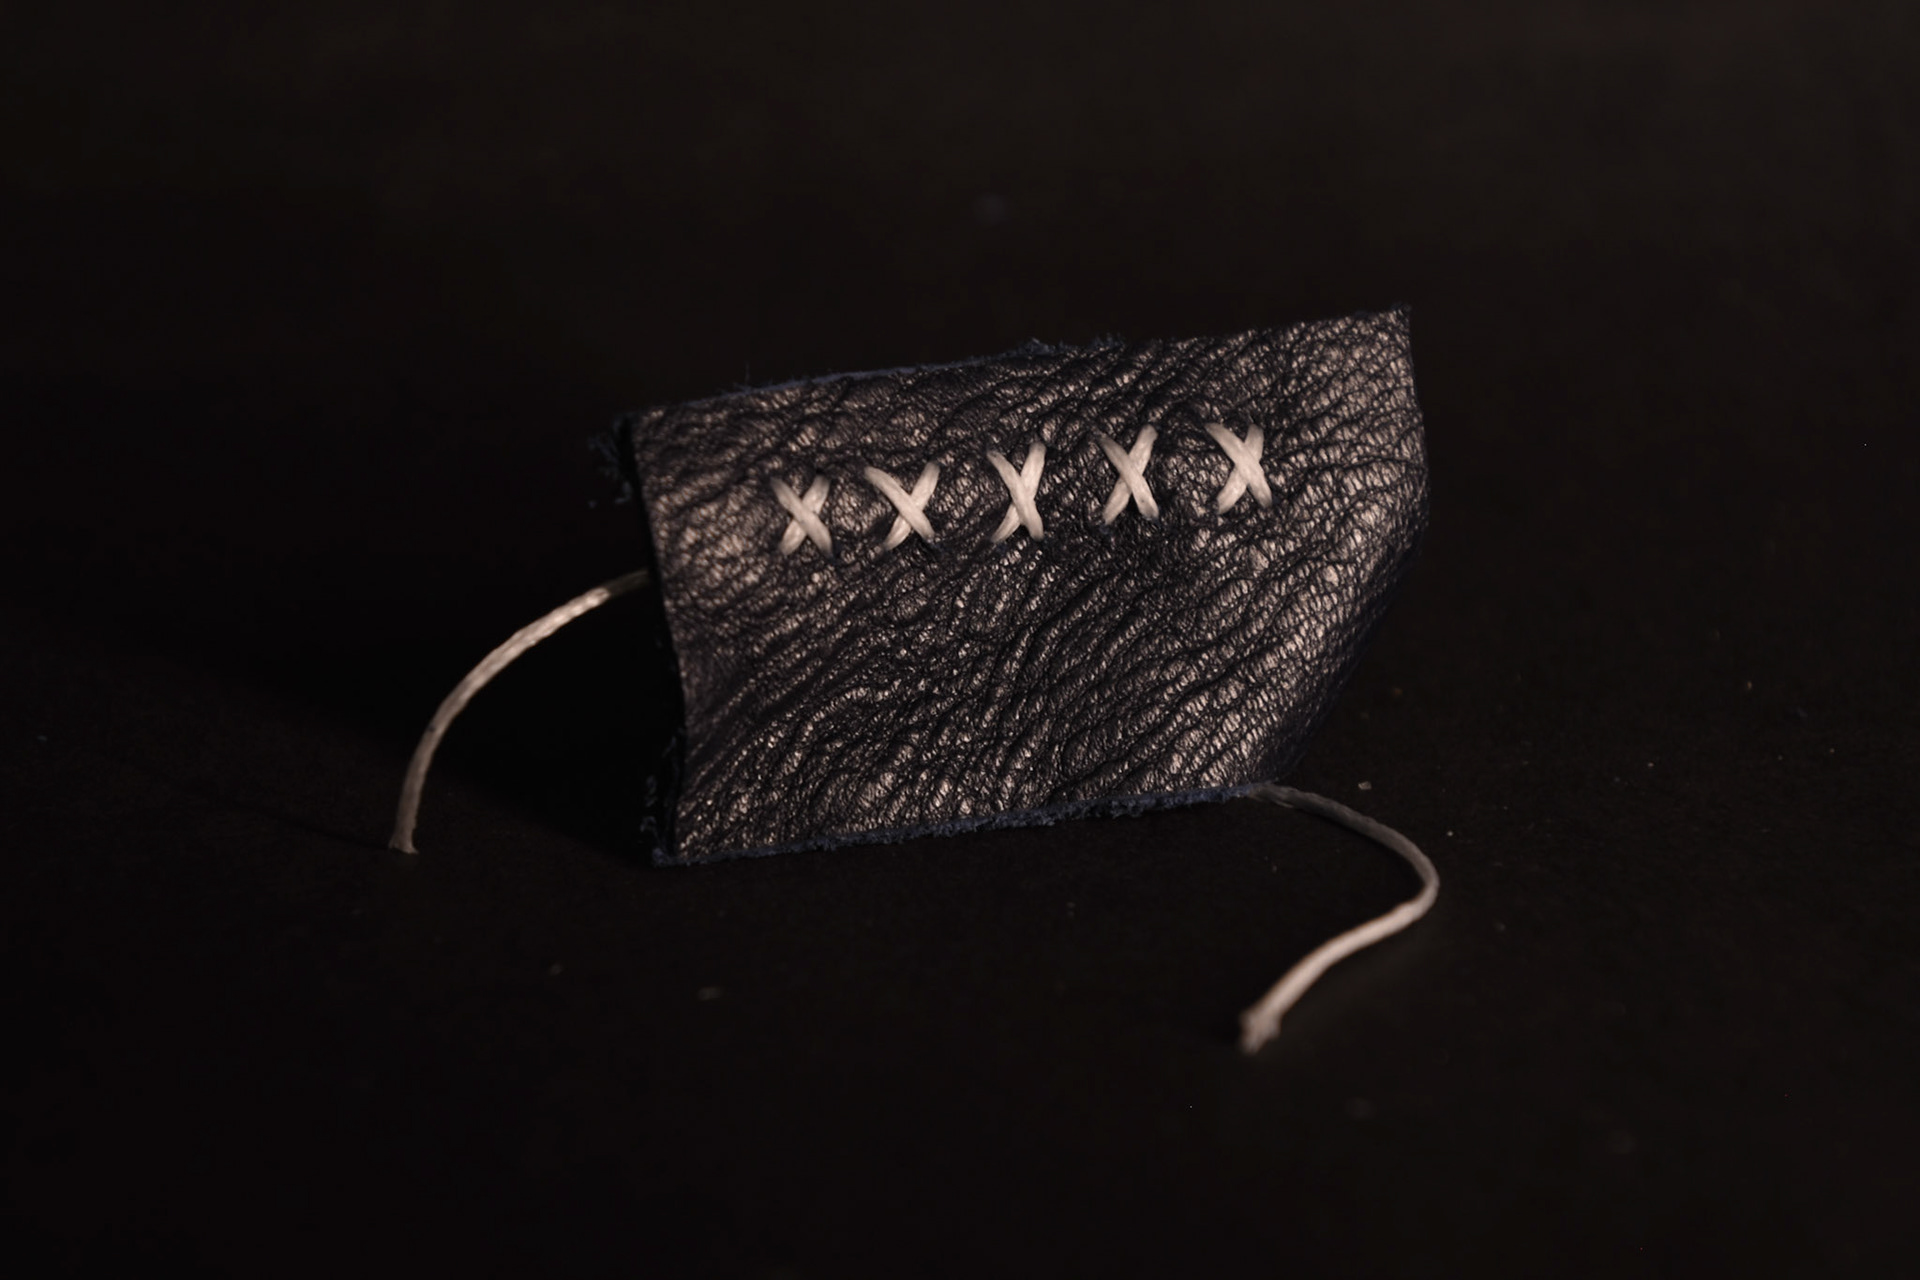
Cross stitch
Running back stitch
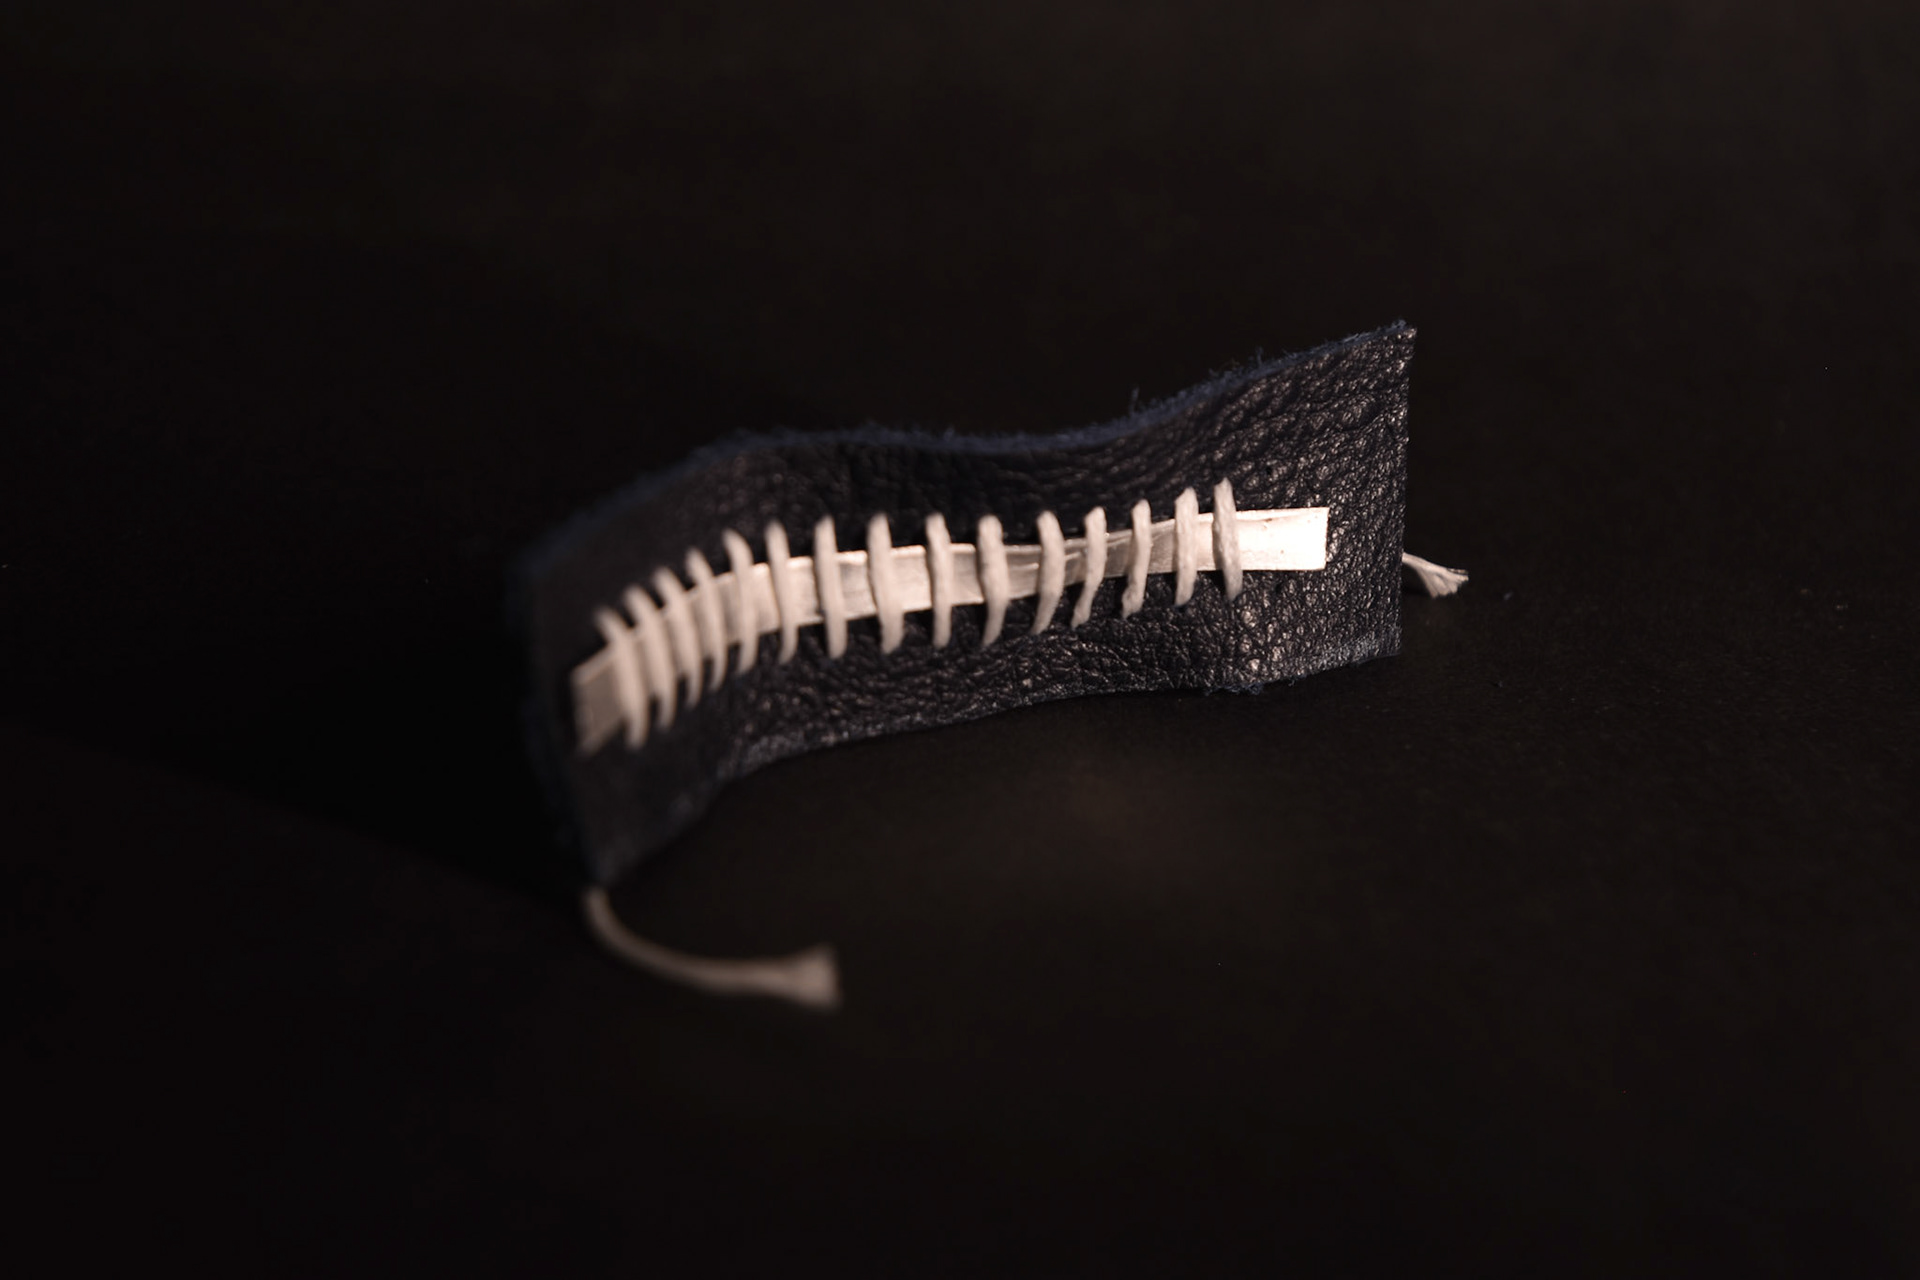
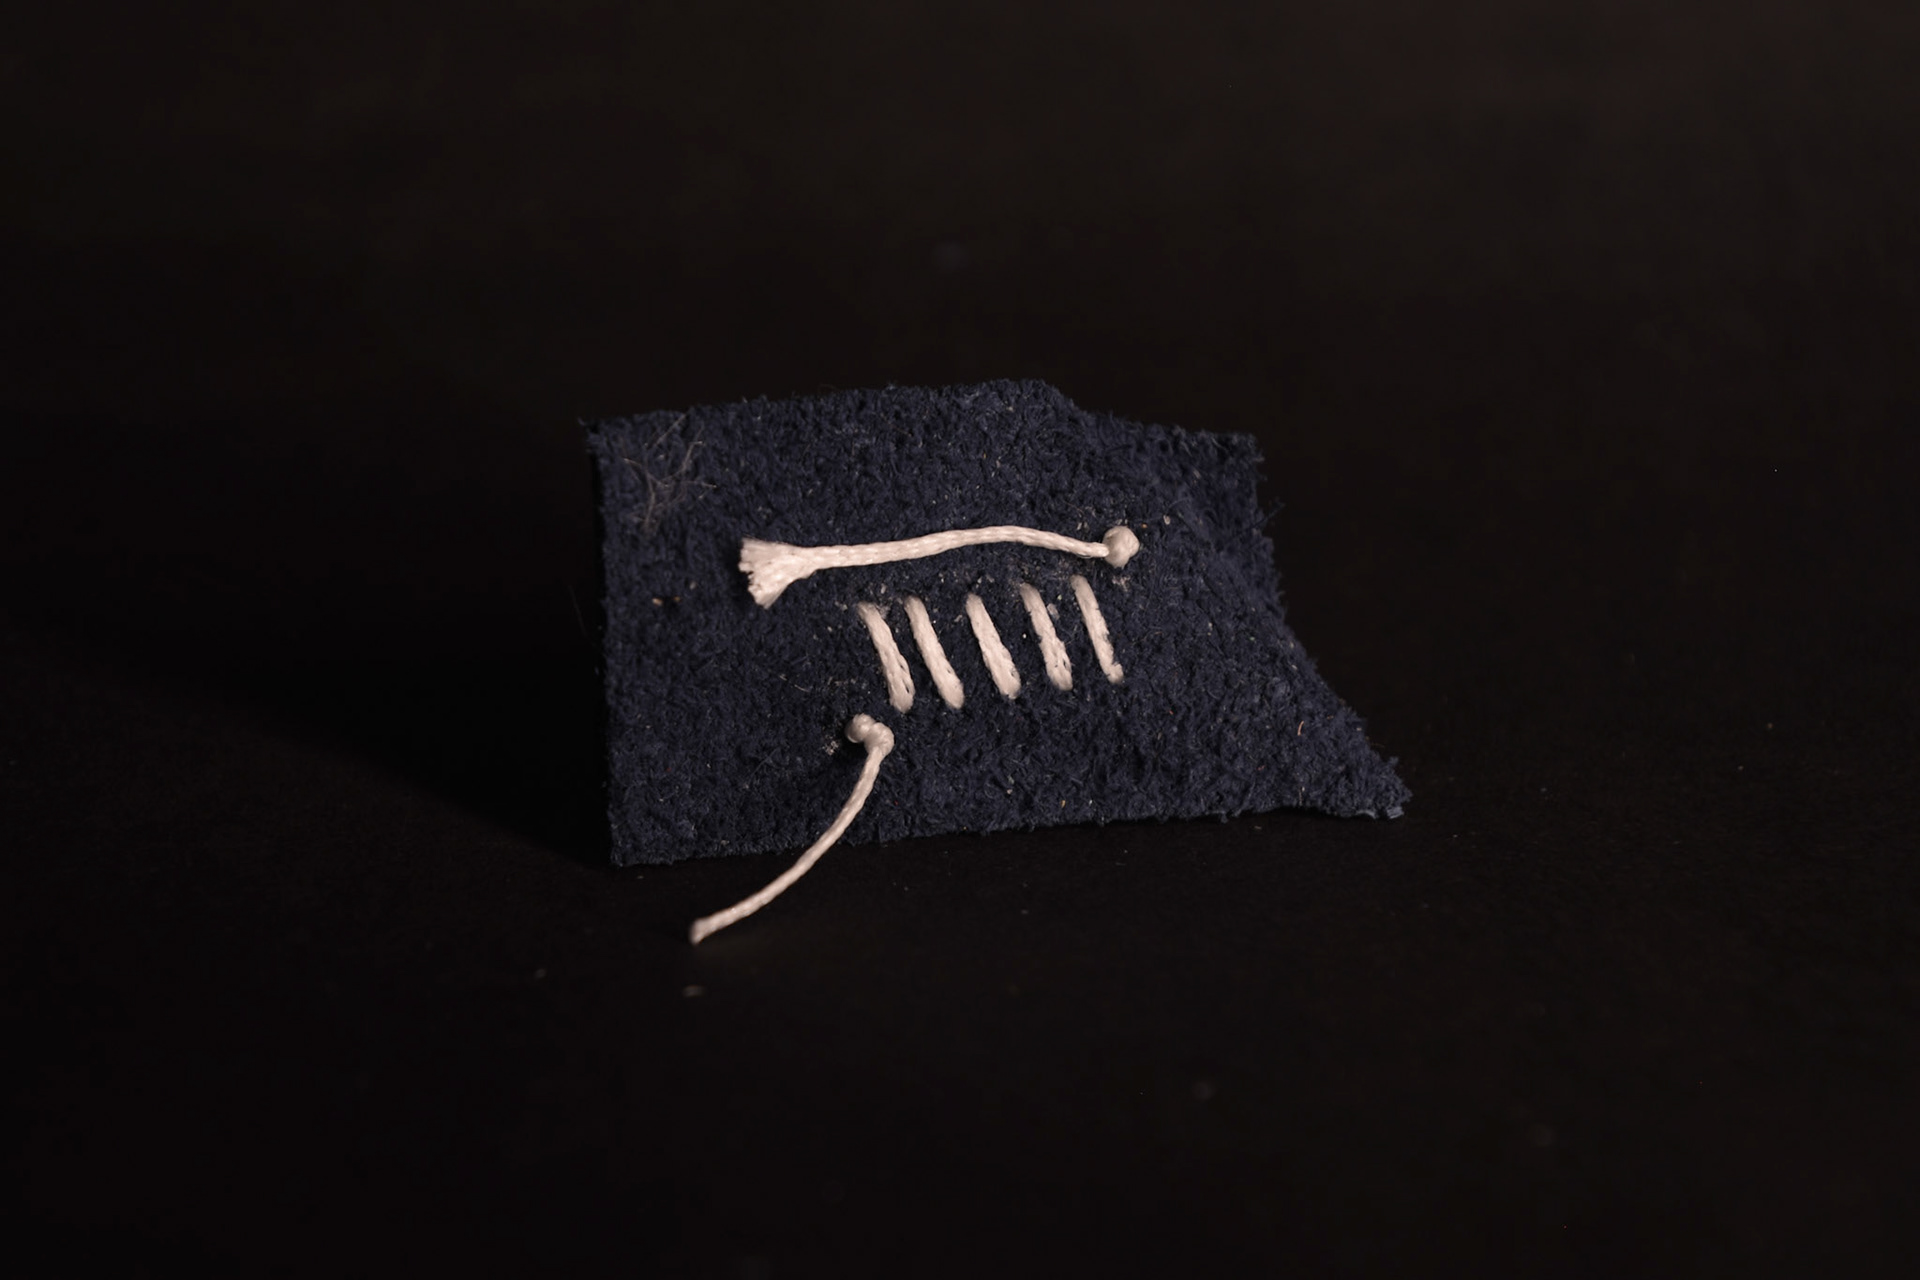
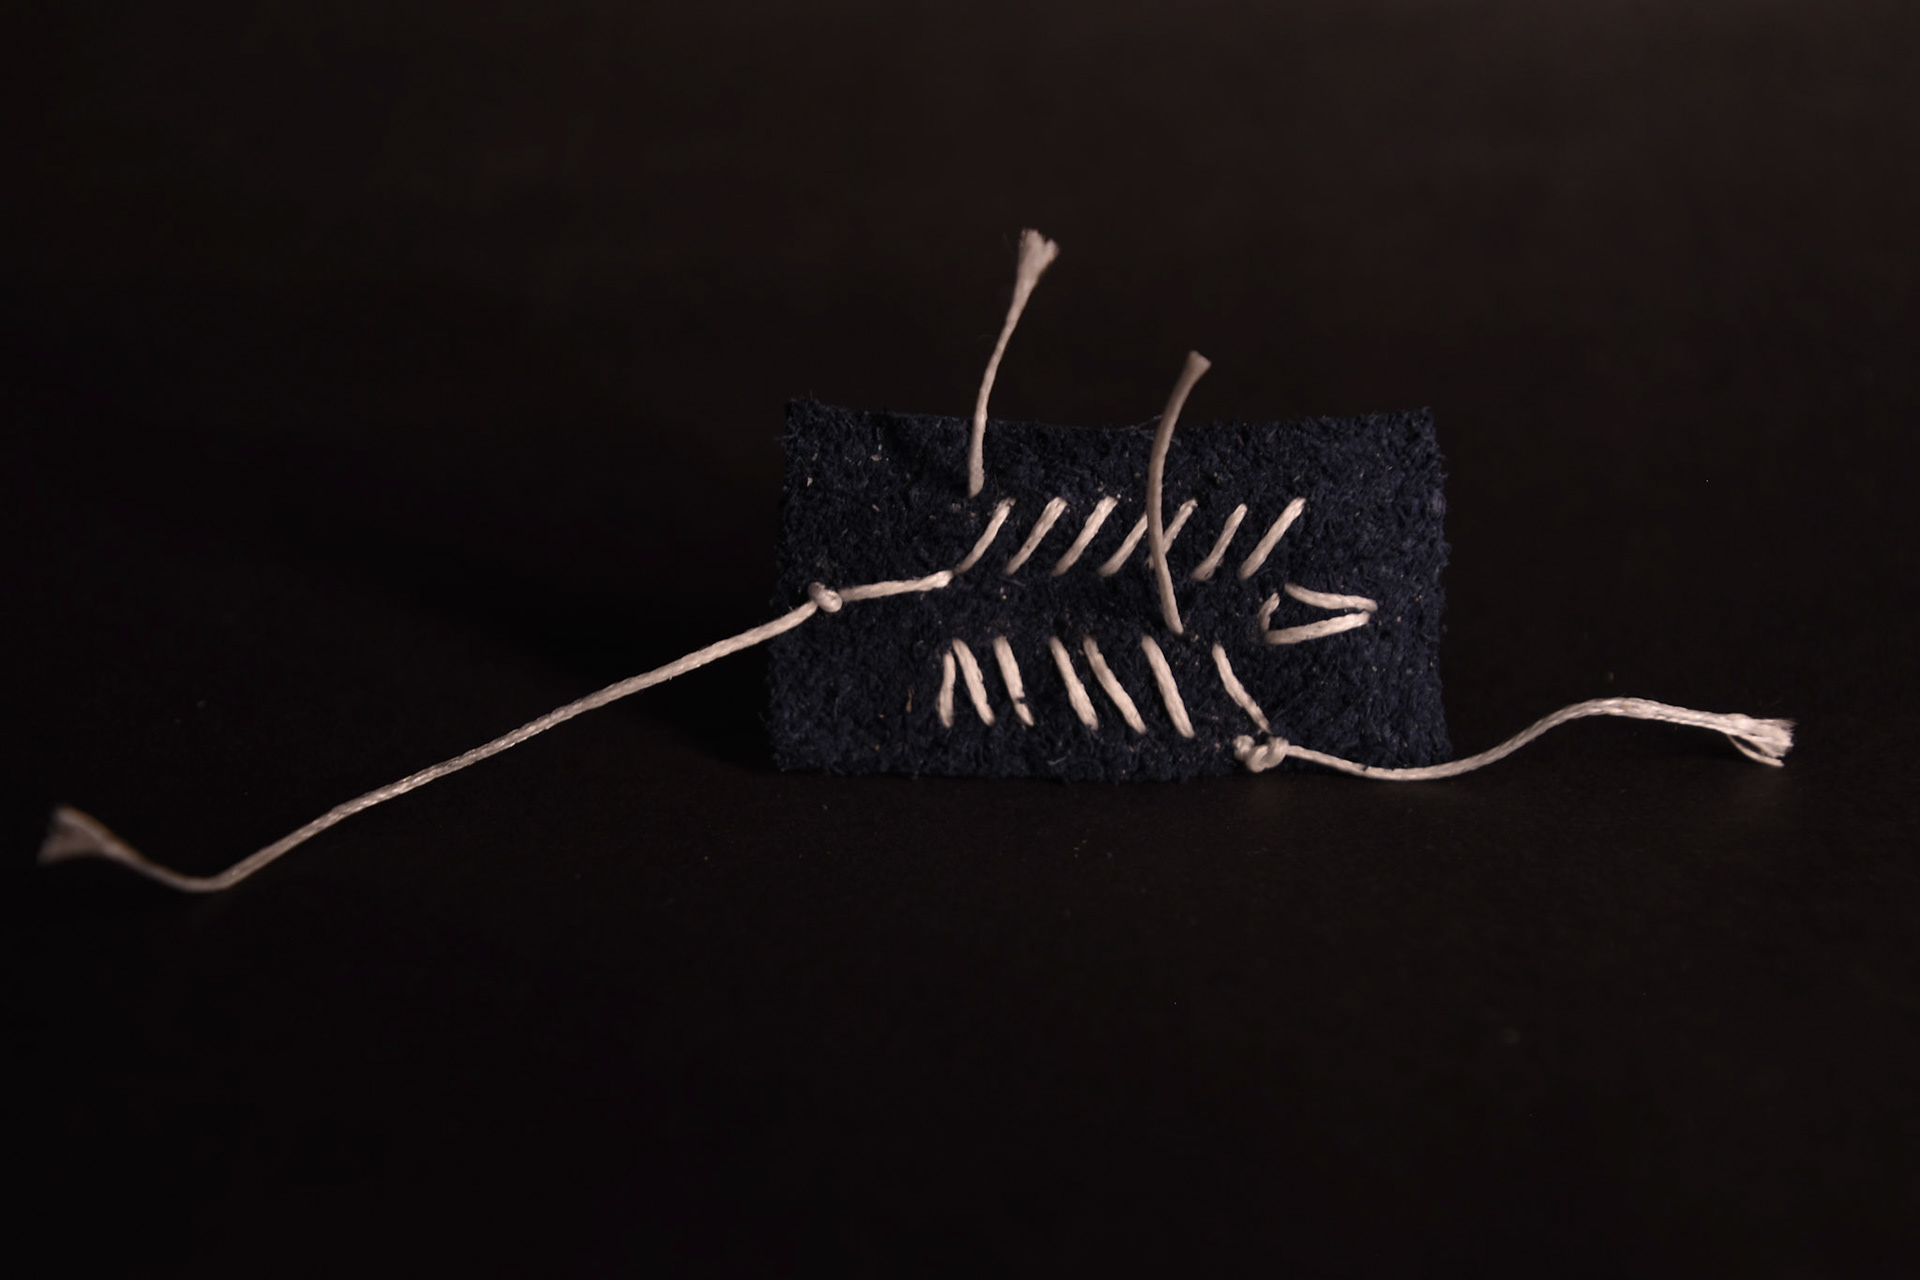
Arrow stich
Saddle stitch test 1
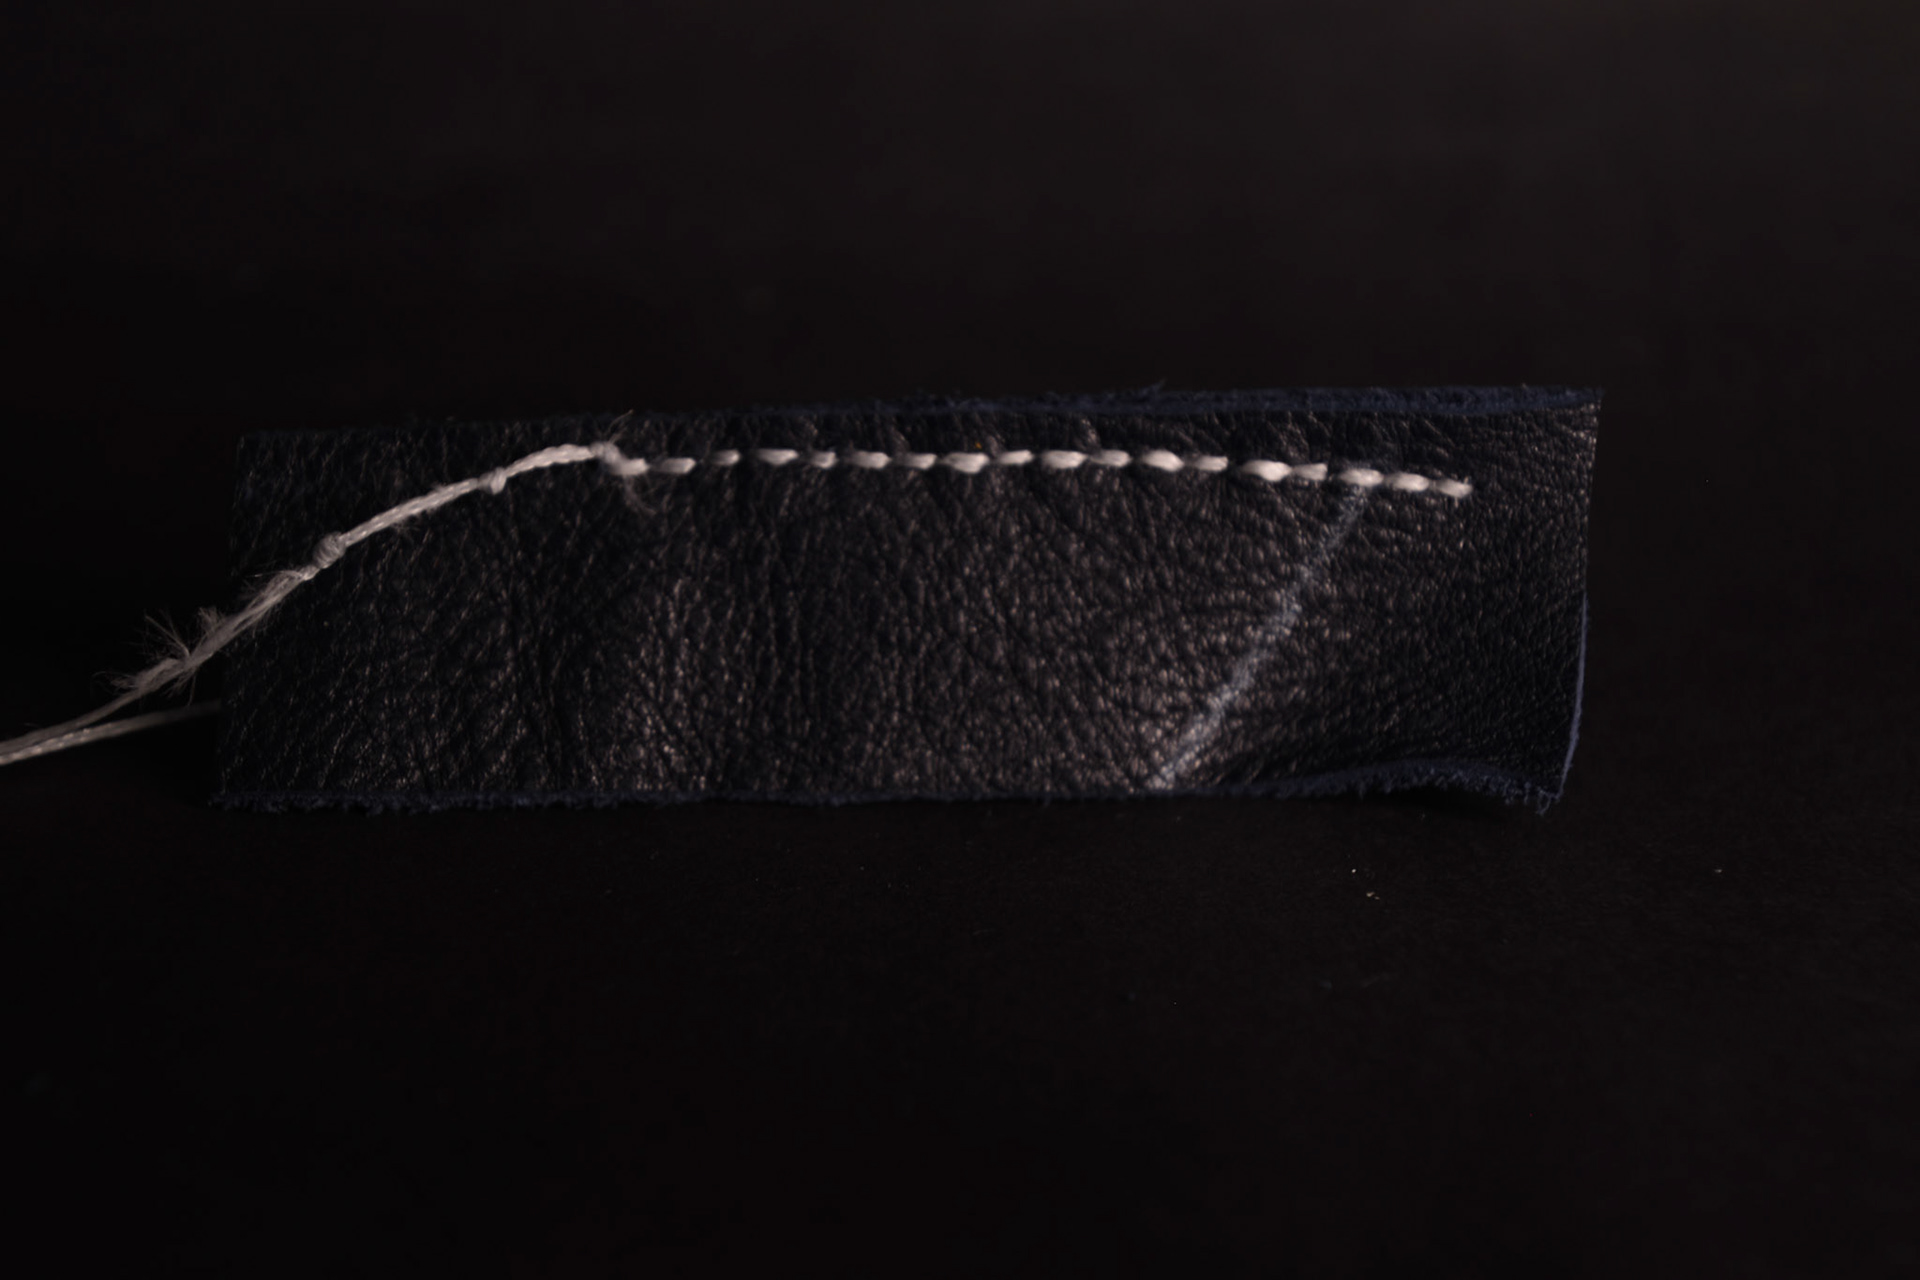
Saddle stitch test 2
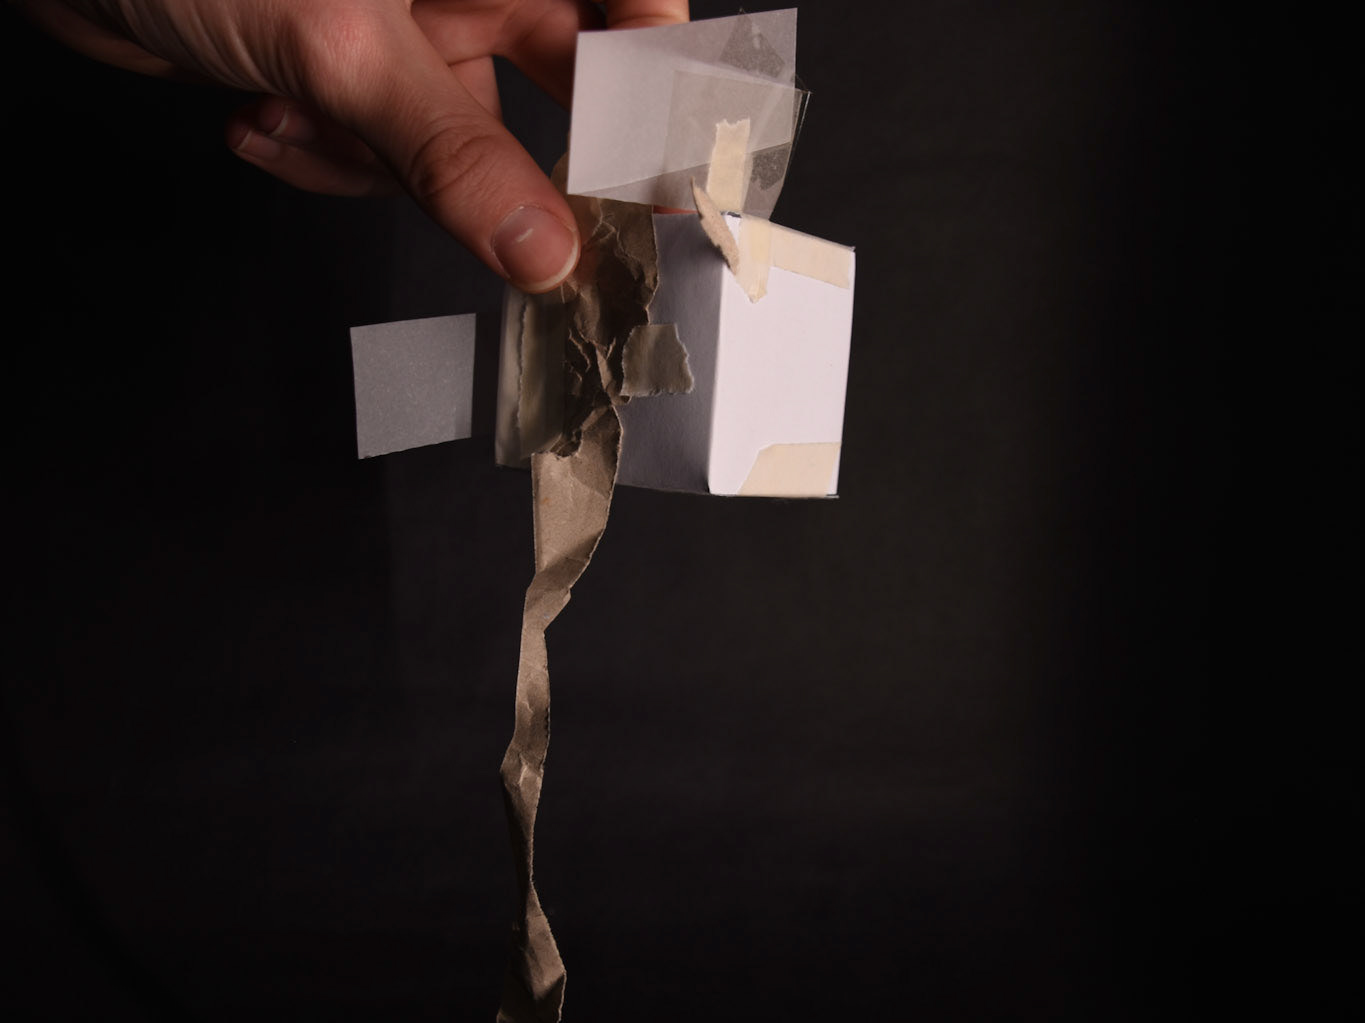
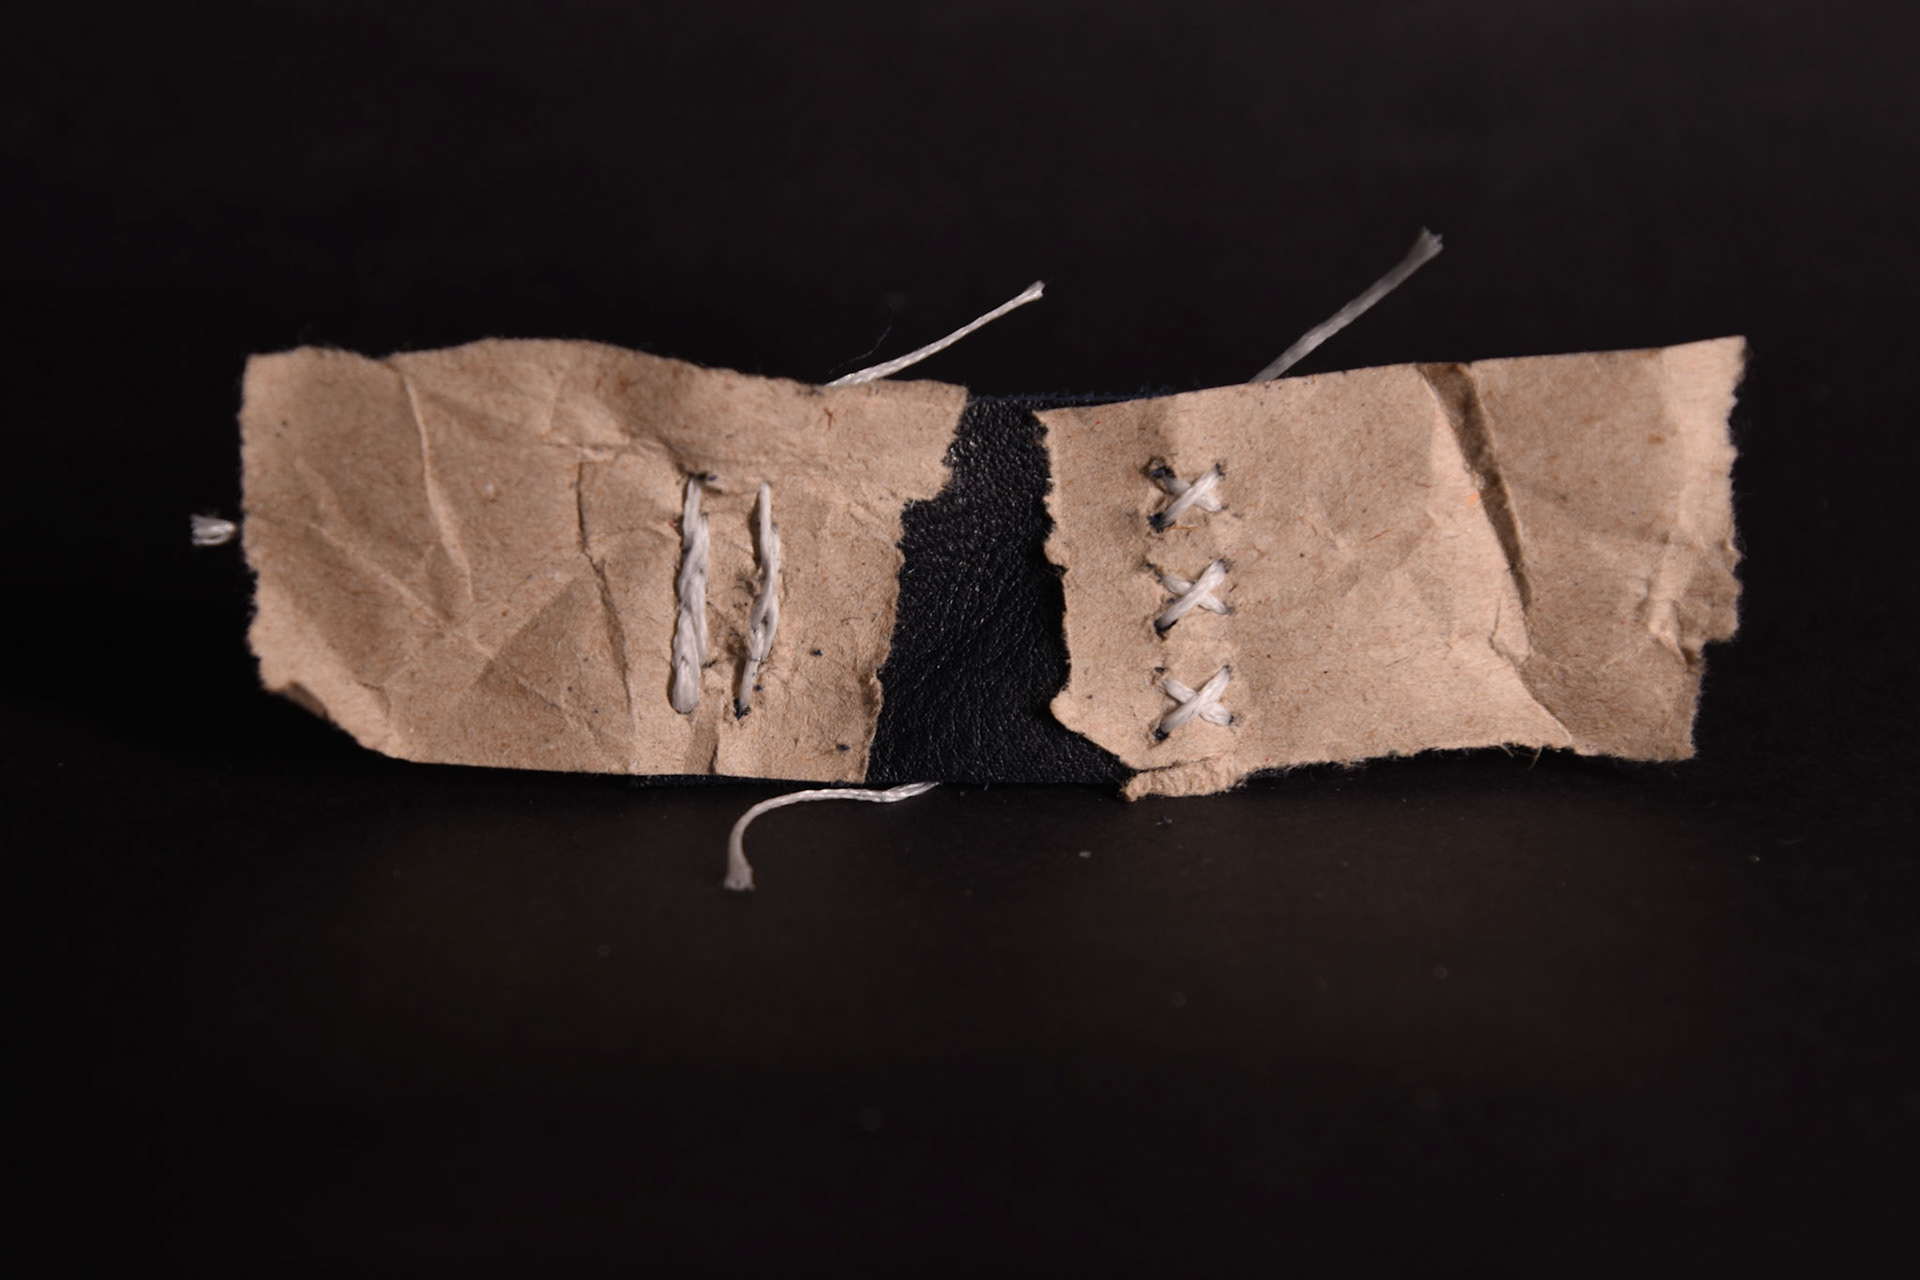
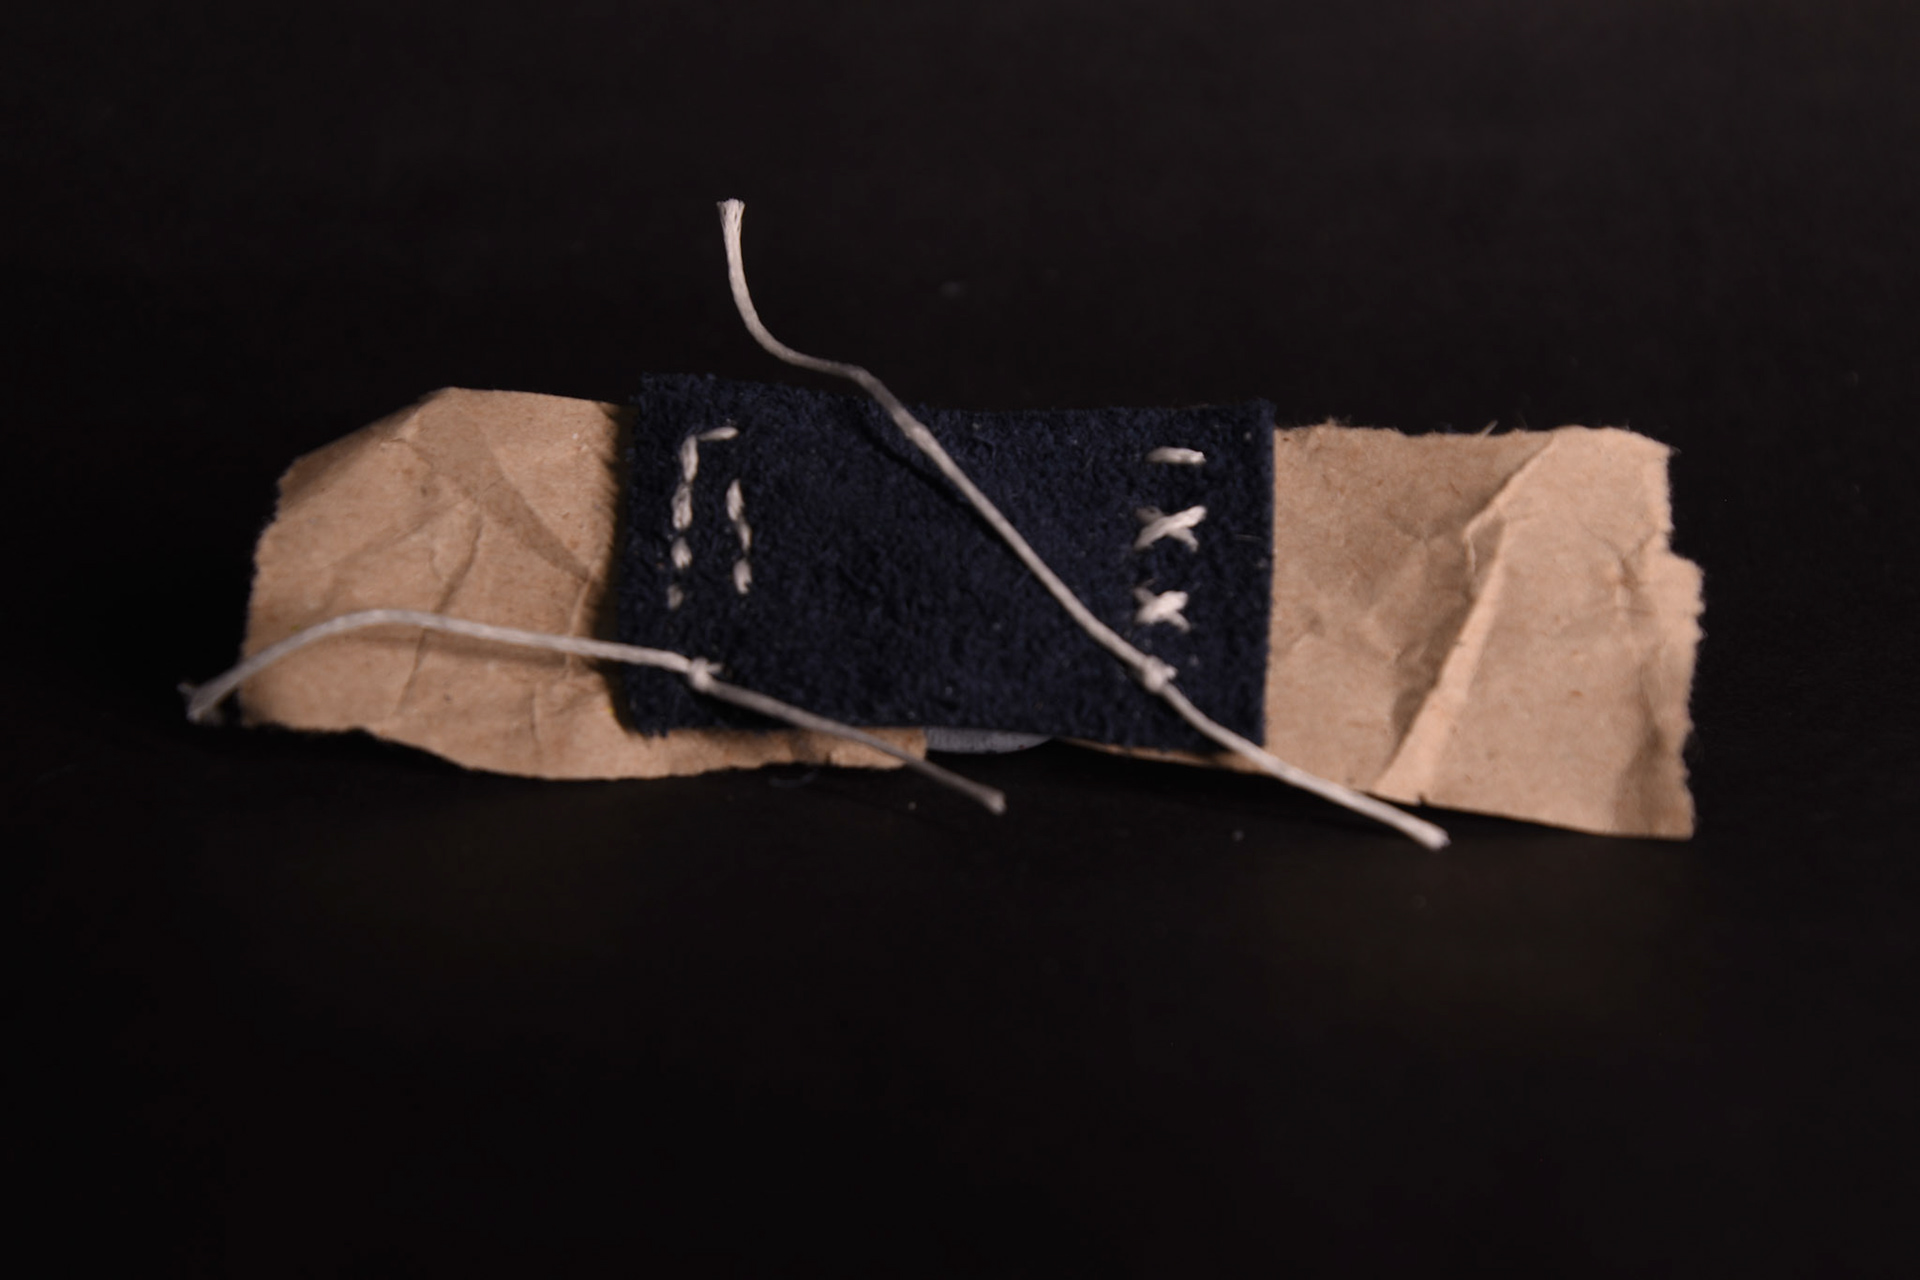
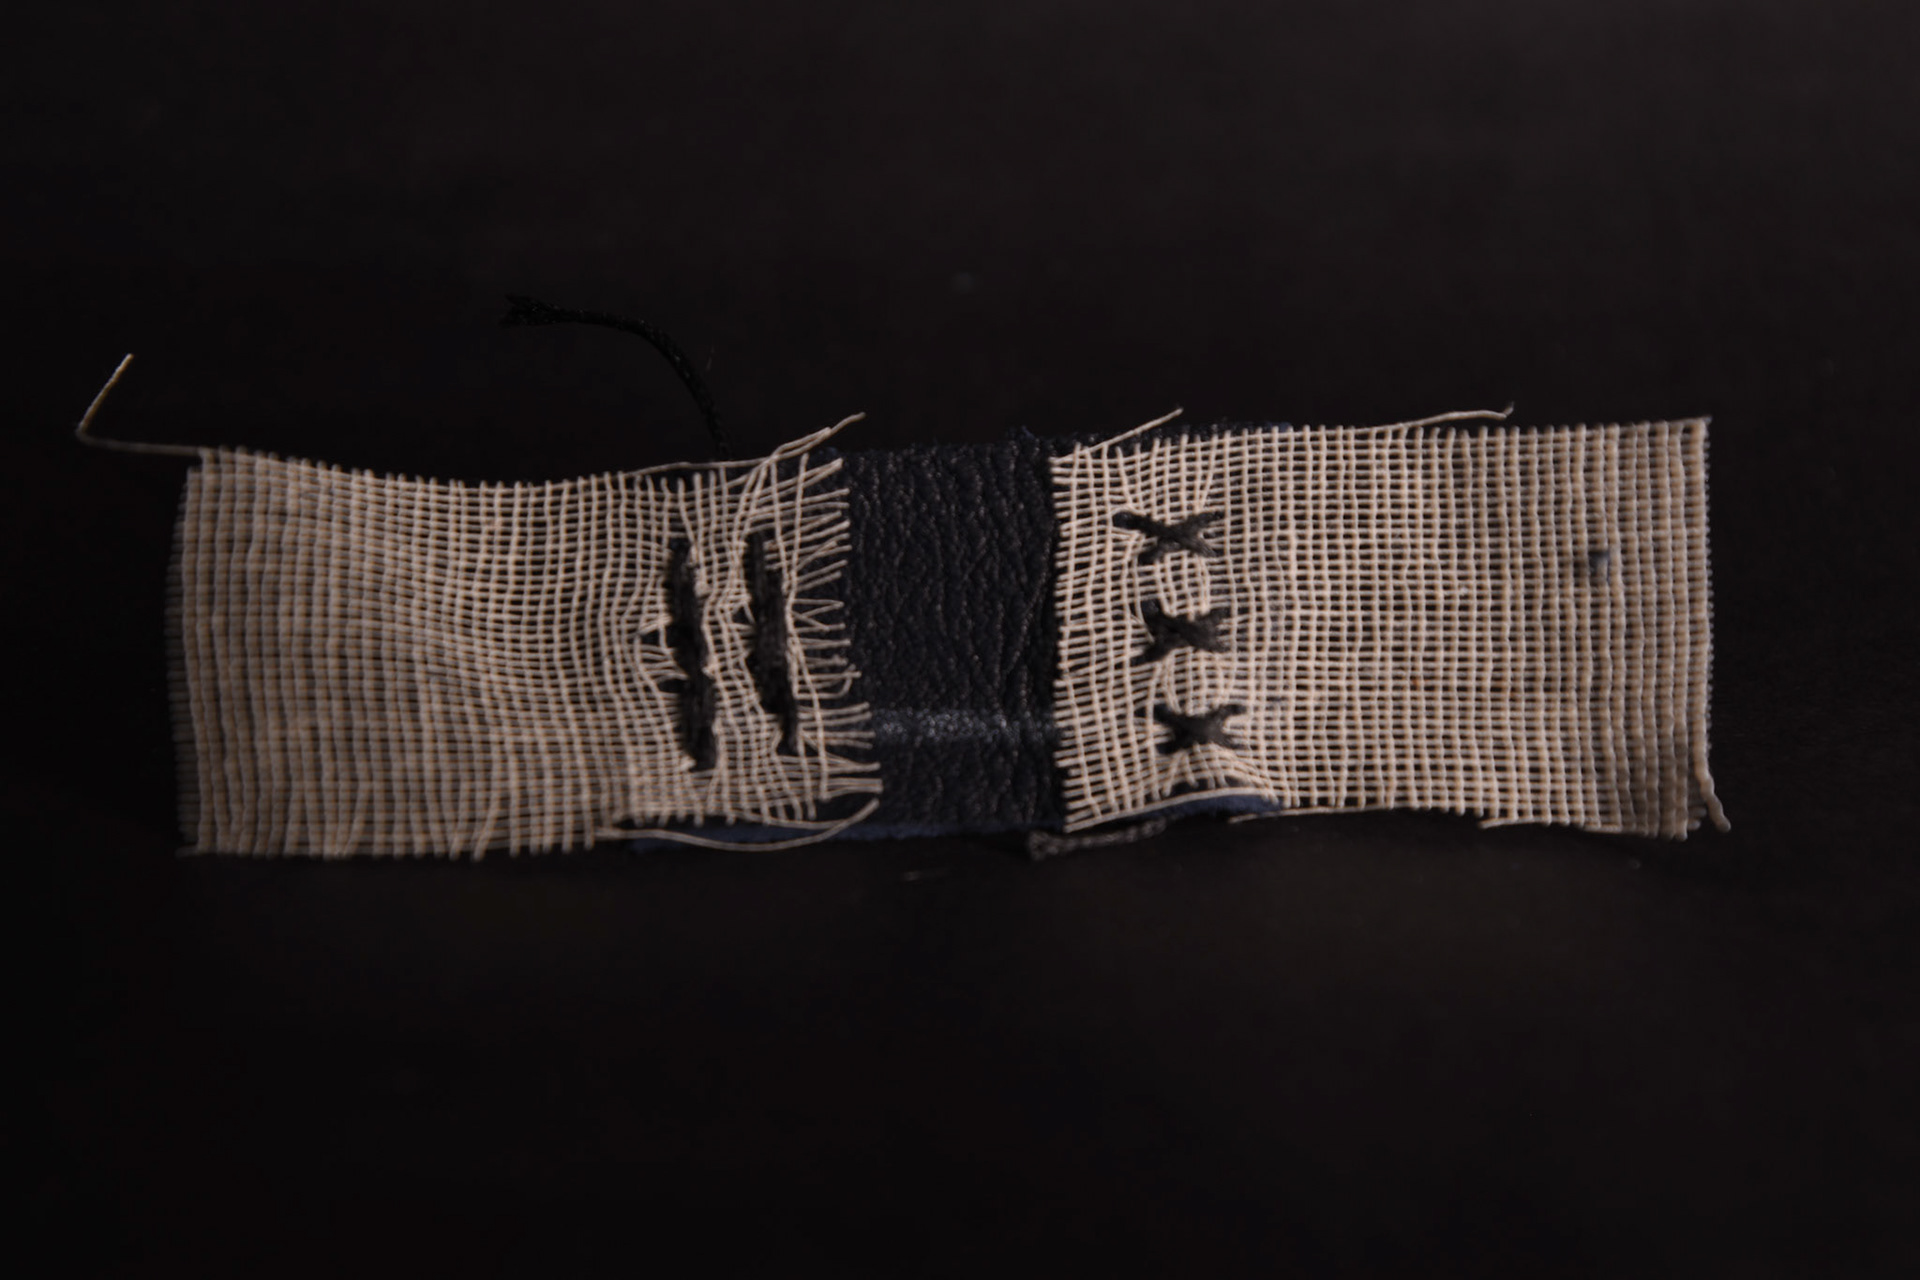
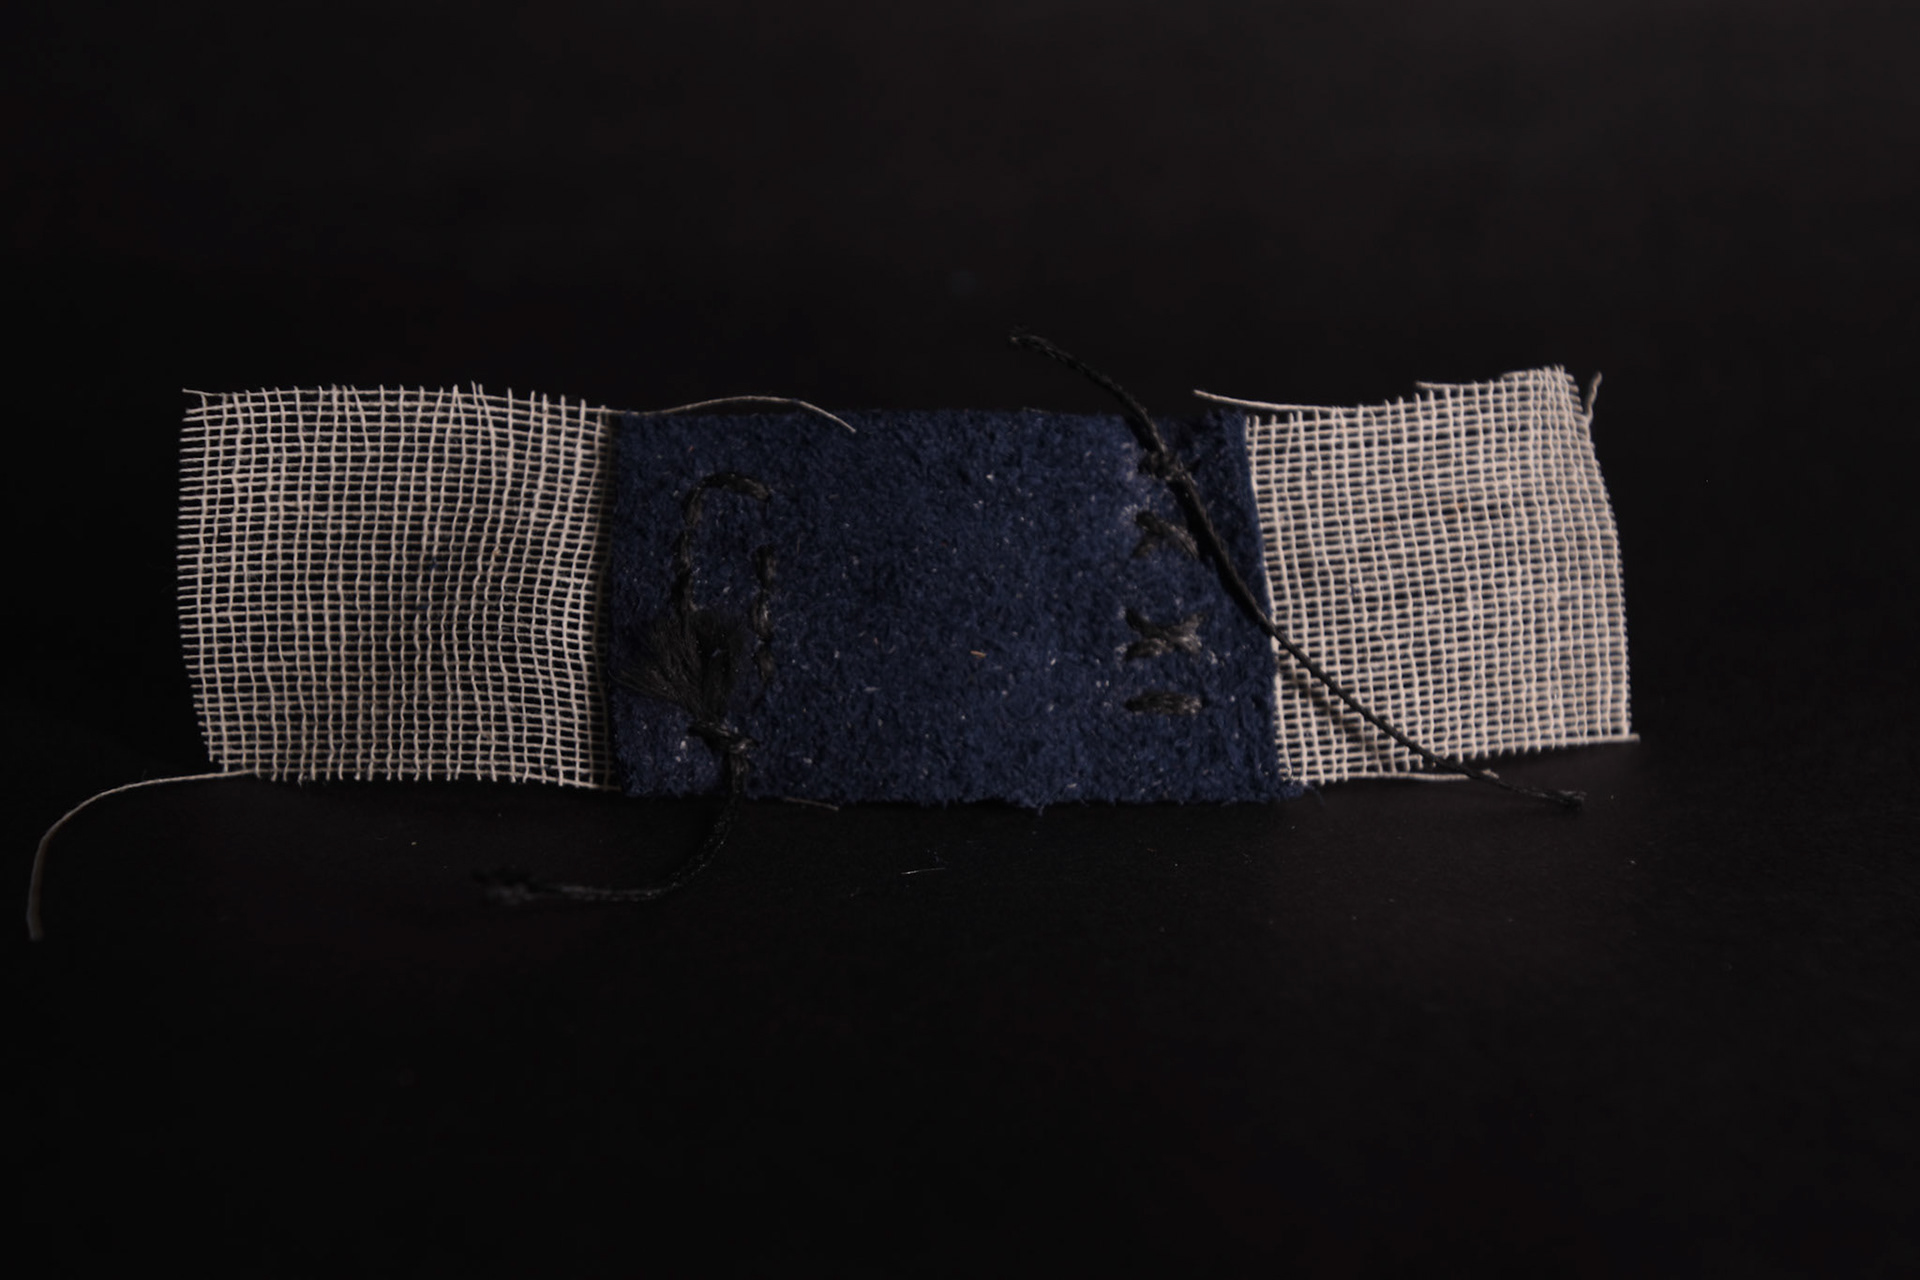
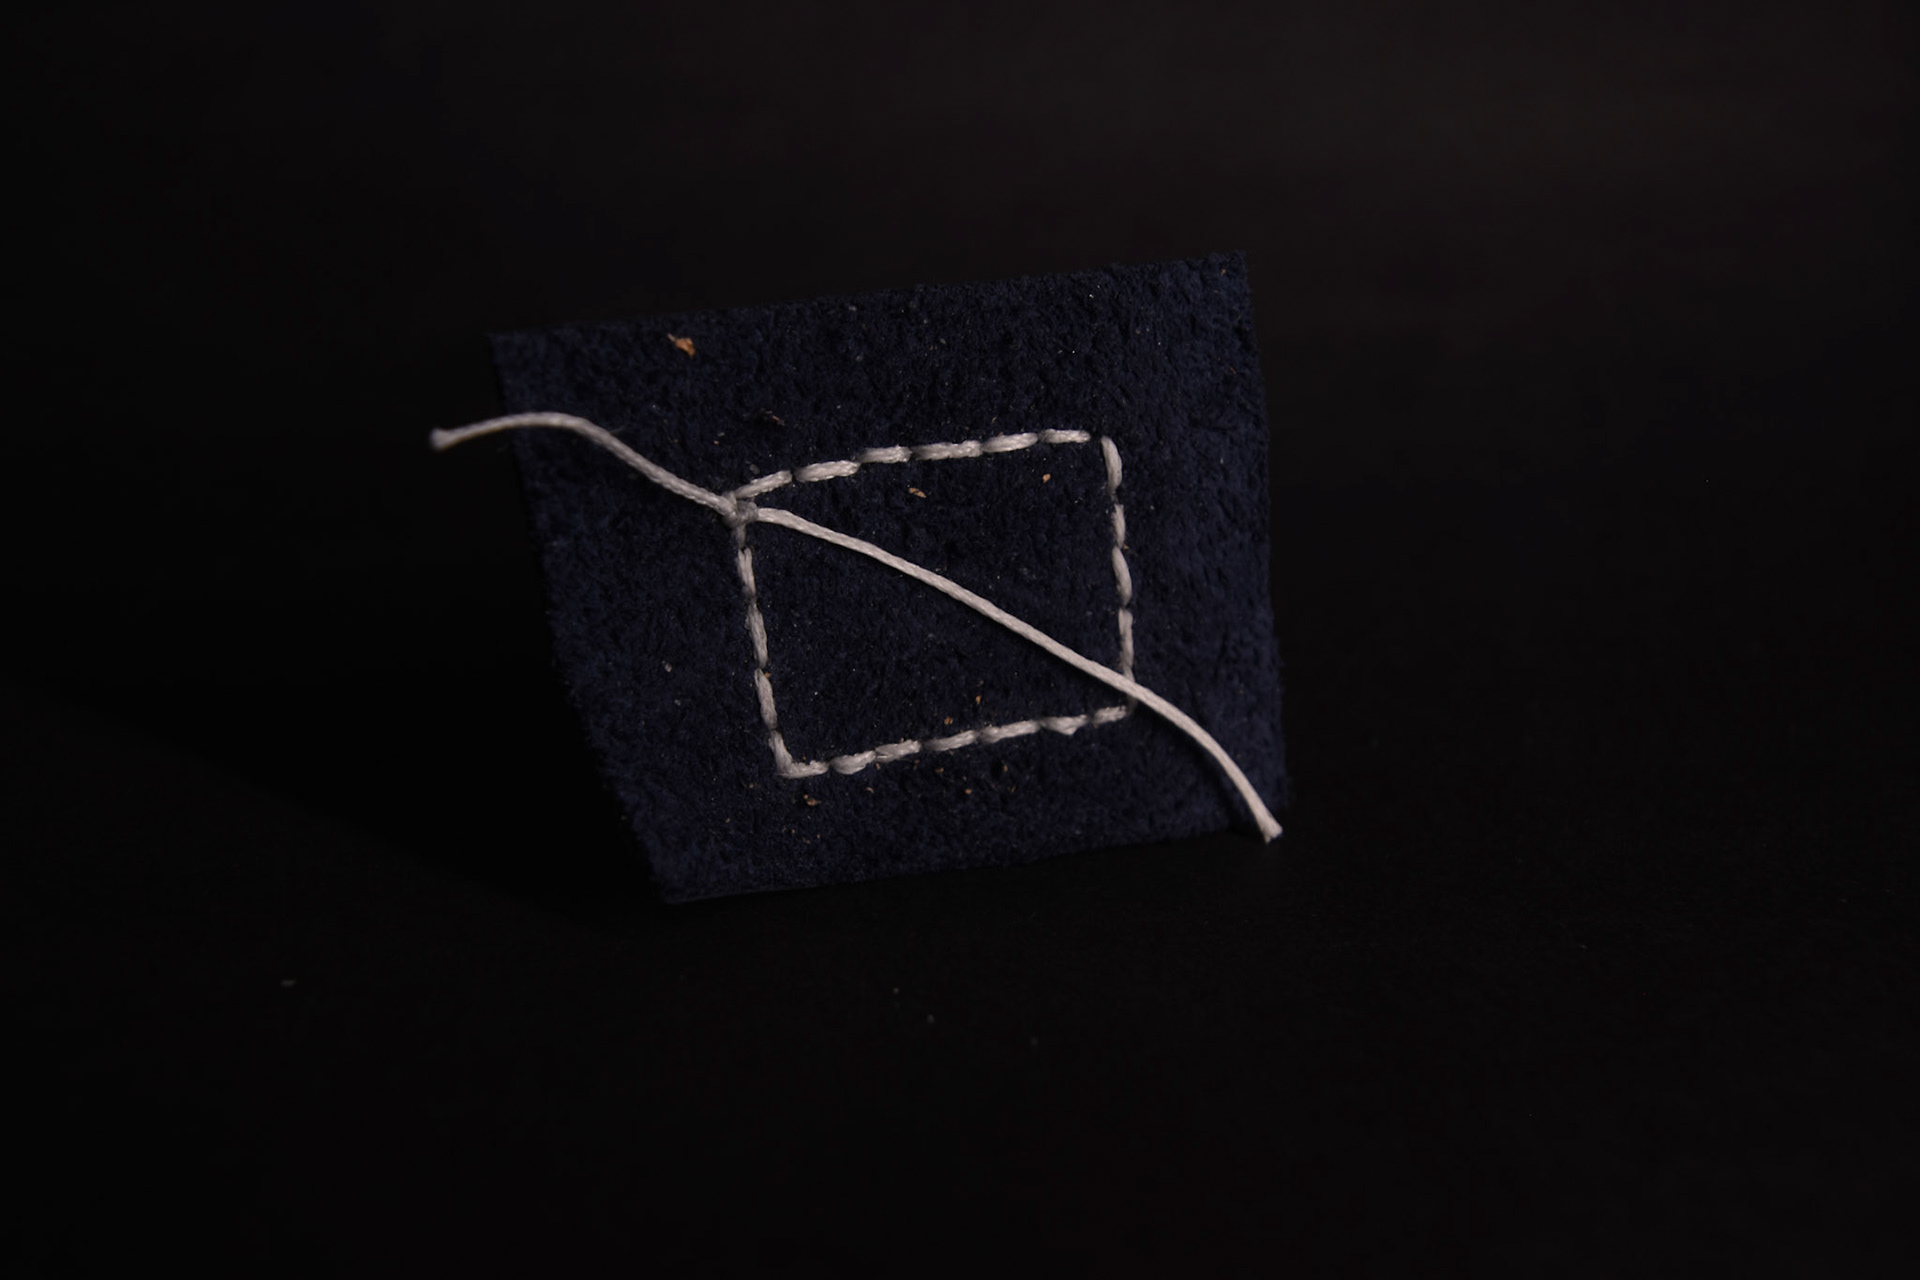
Testing attaching different fabrics and papers onto steel sheets using hand stitching. I drilled holes every 5mm and experimented with a running back stitch and cross stich. I found that both stitches work well at holding the materials together. However, when stitching the tracing paper, extra care needs to be taken as the paper tends to tear as the needle is punched through.
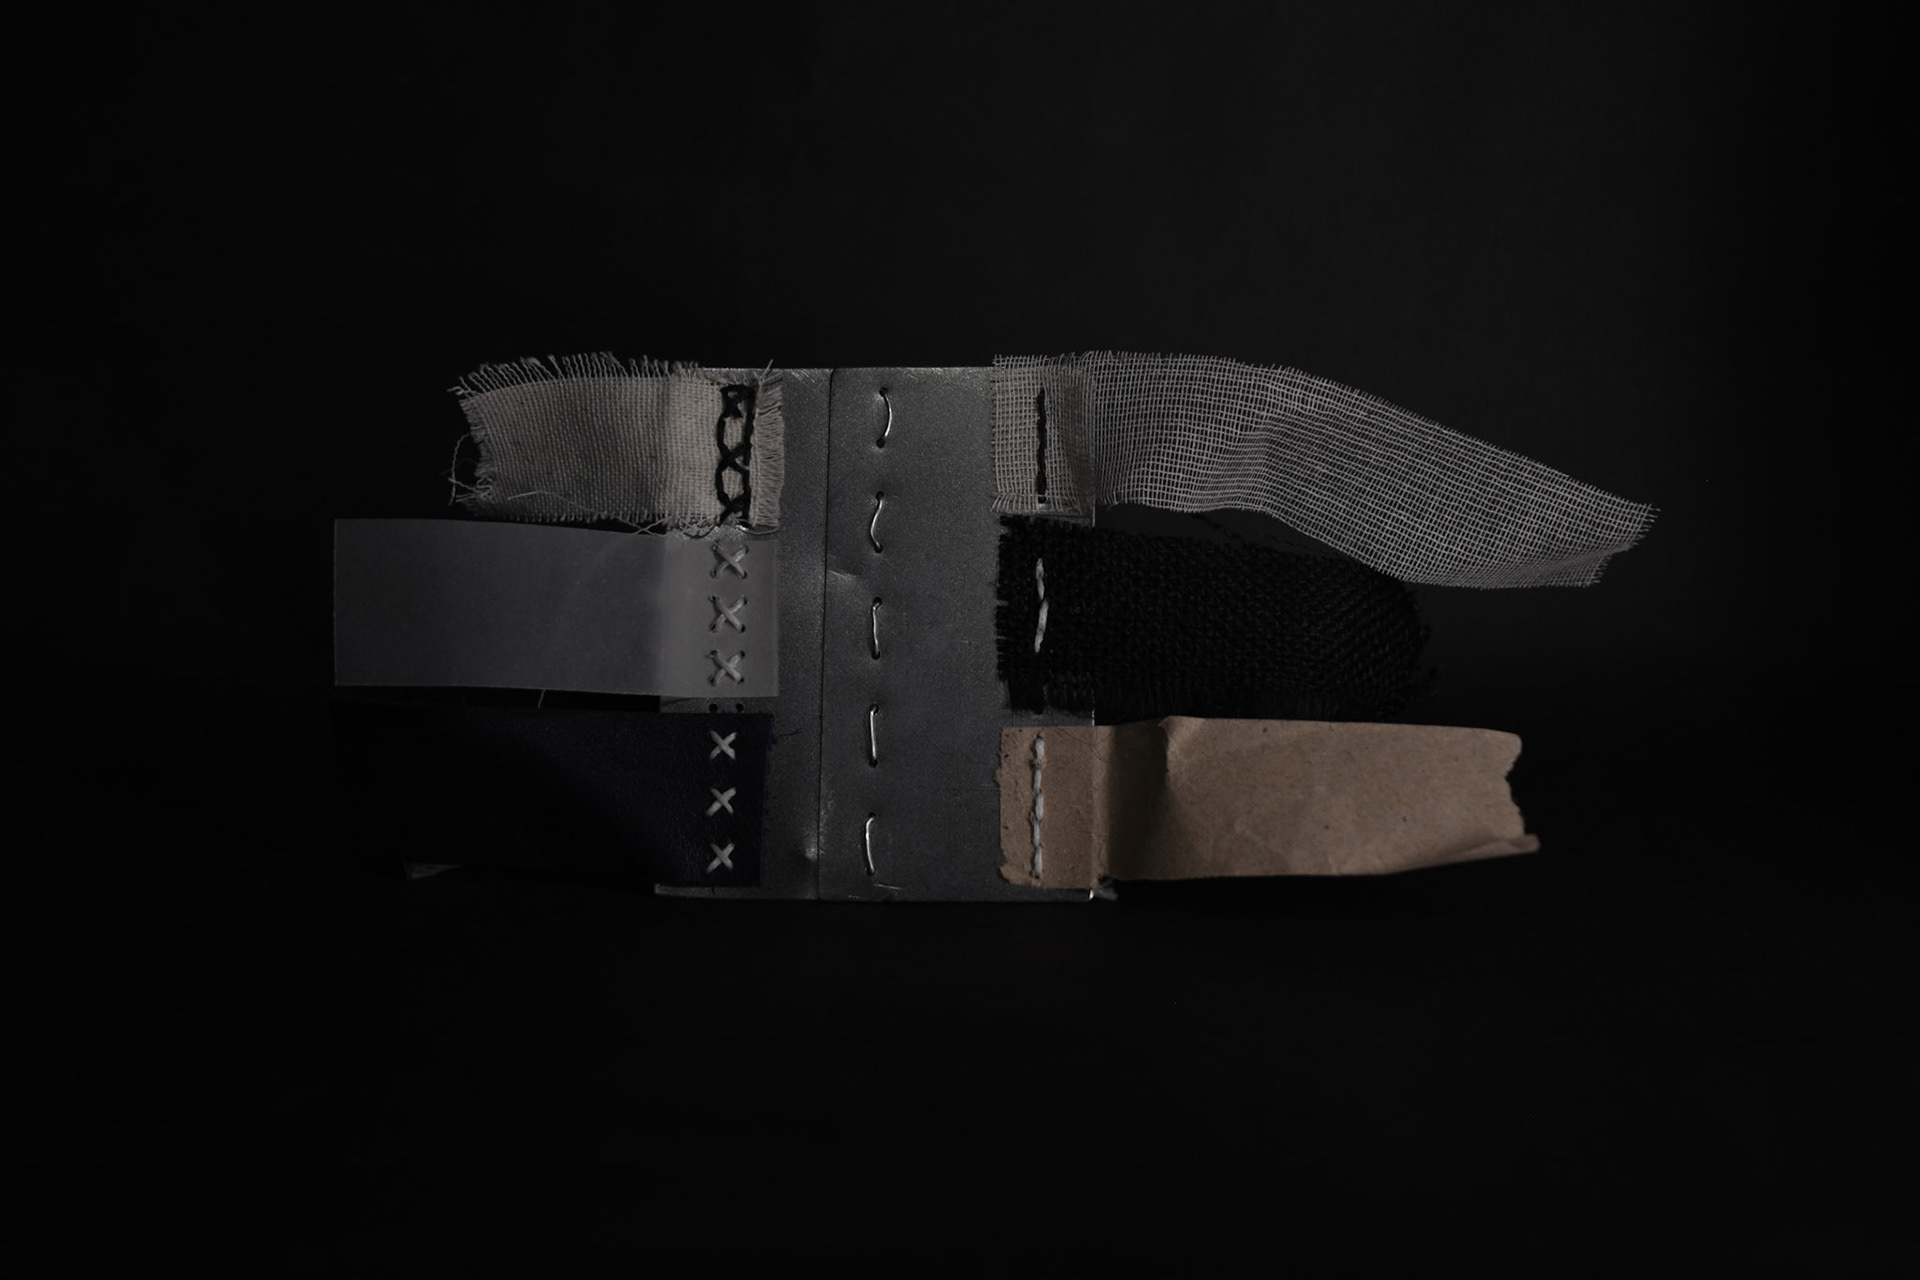
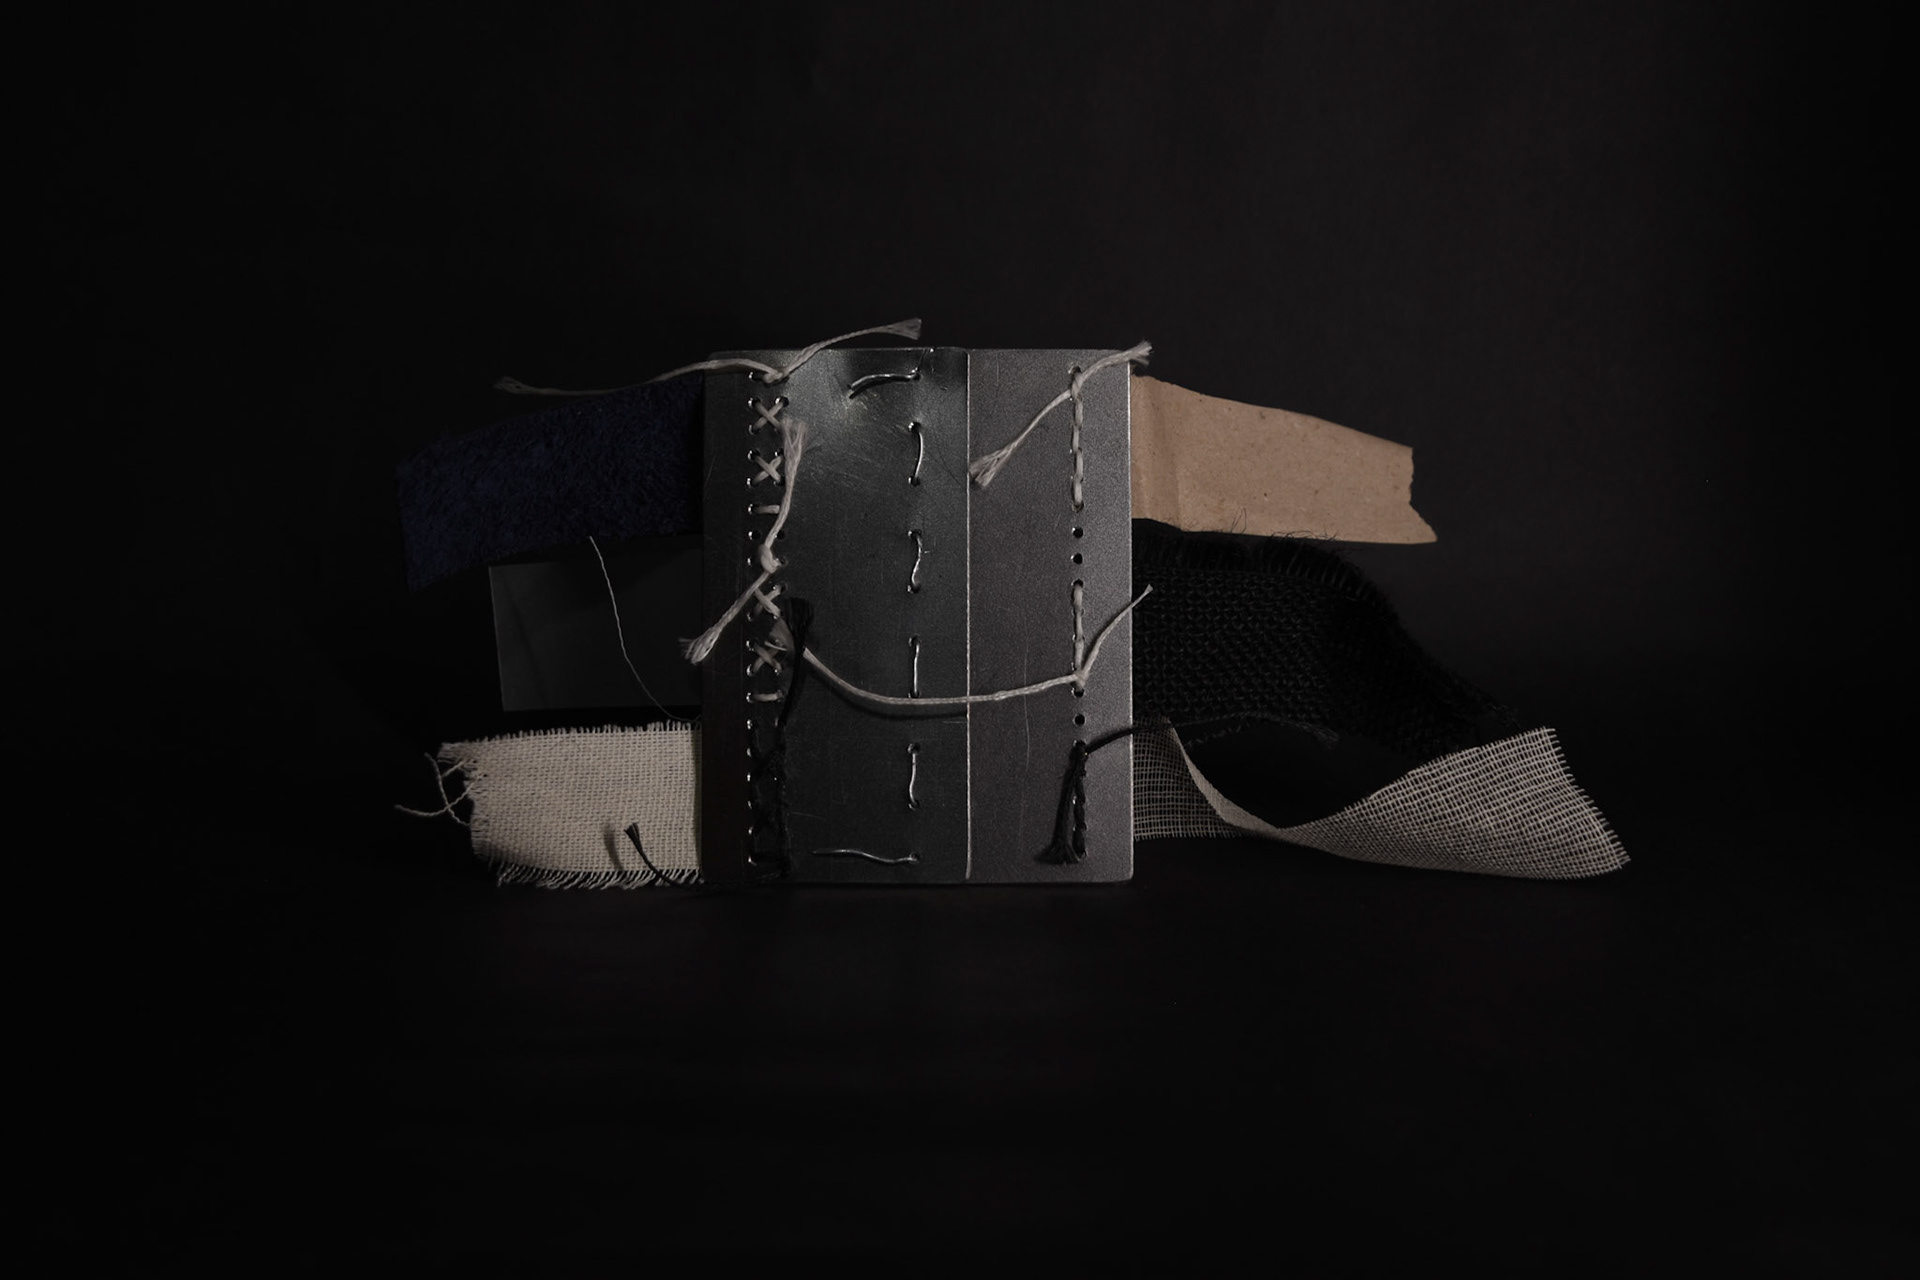

Testing sewing leather to different materials.
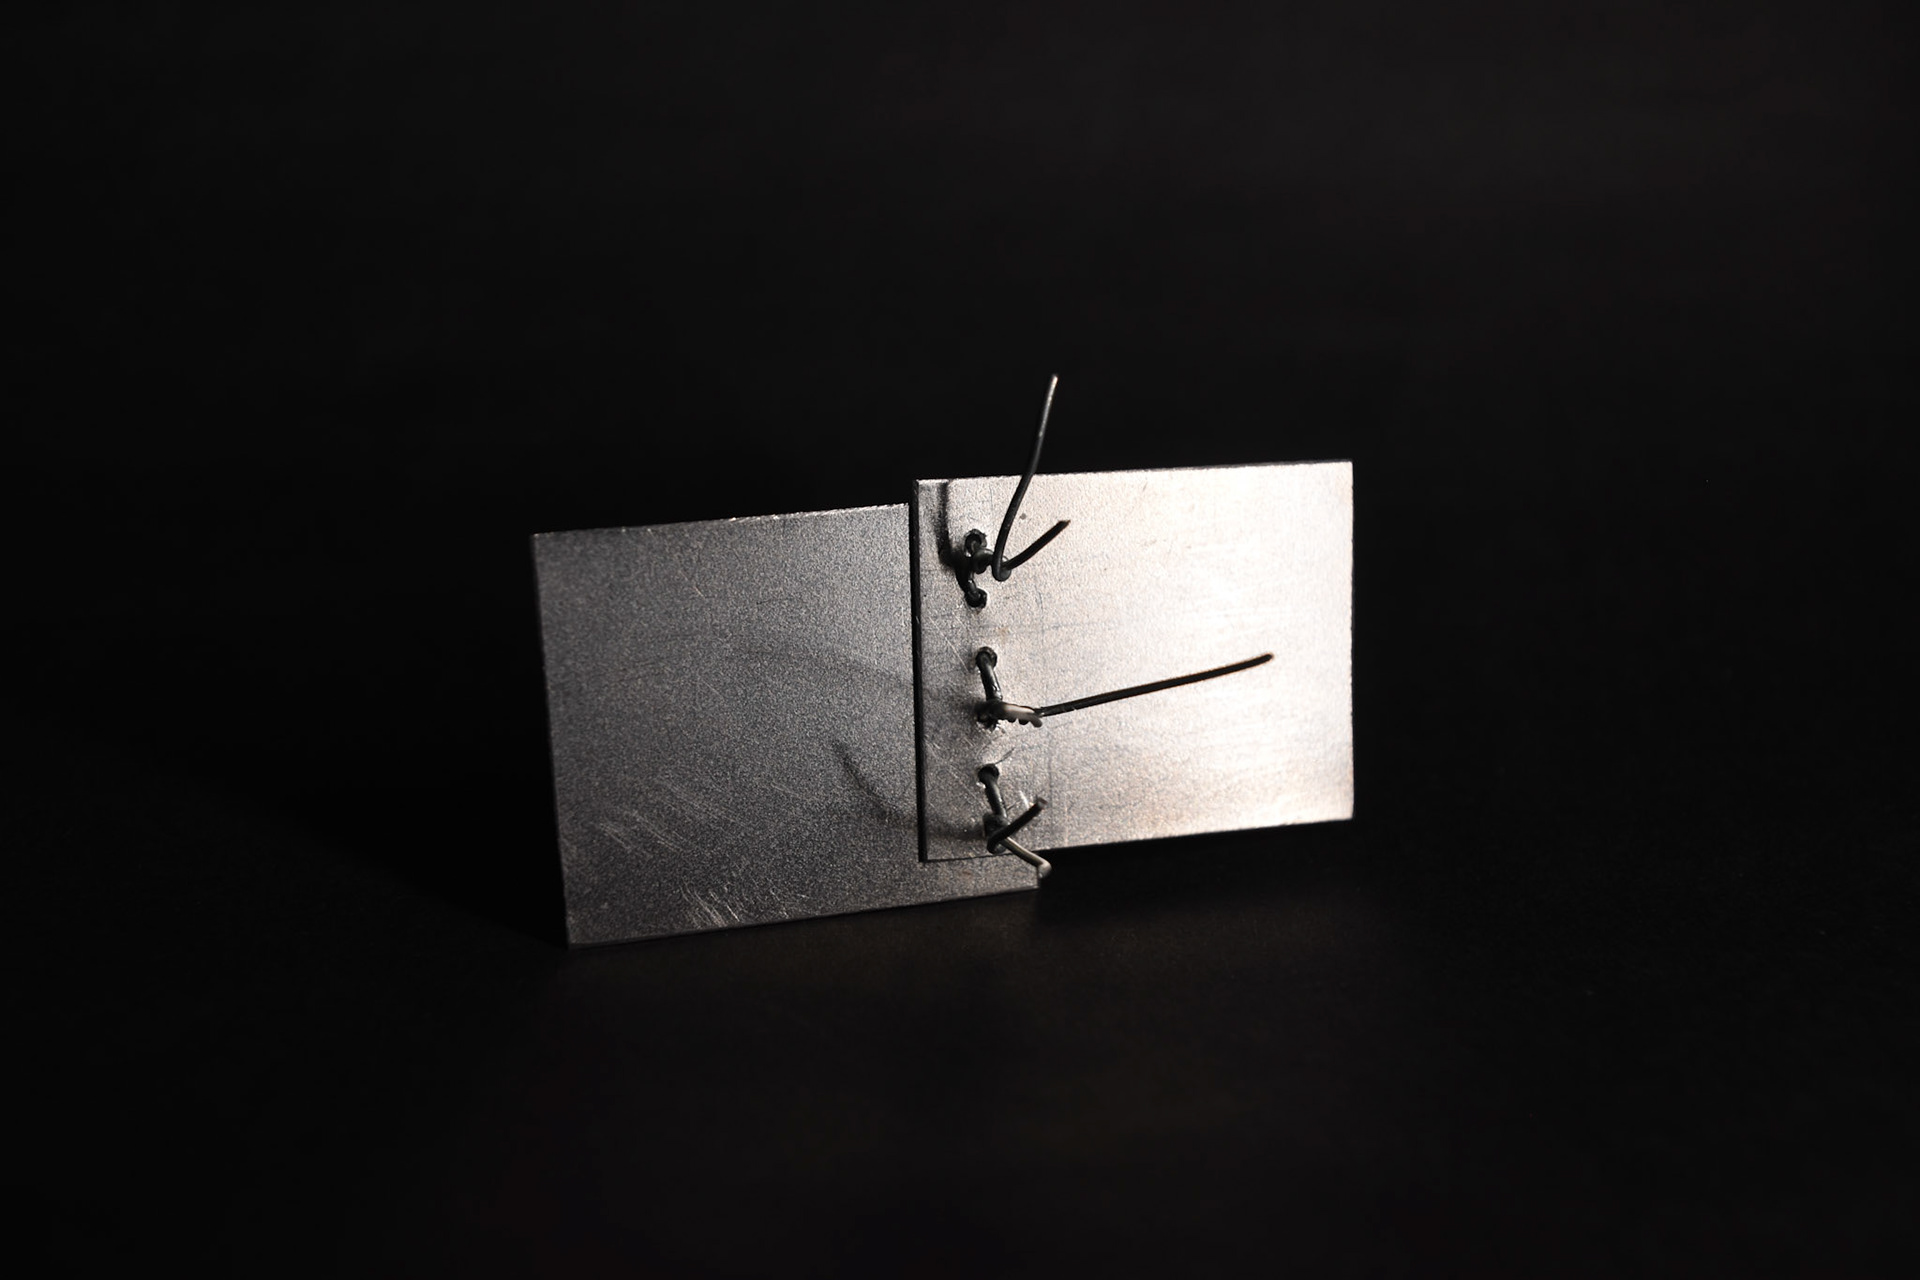
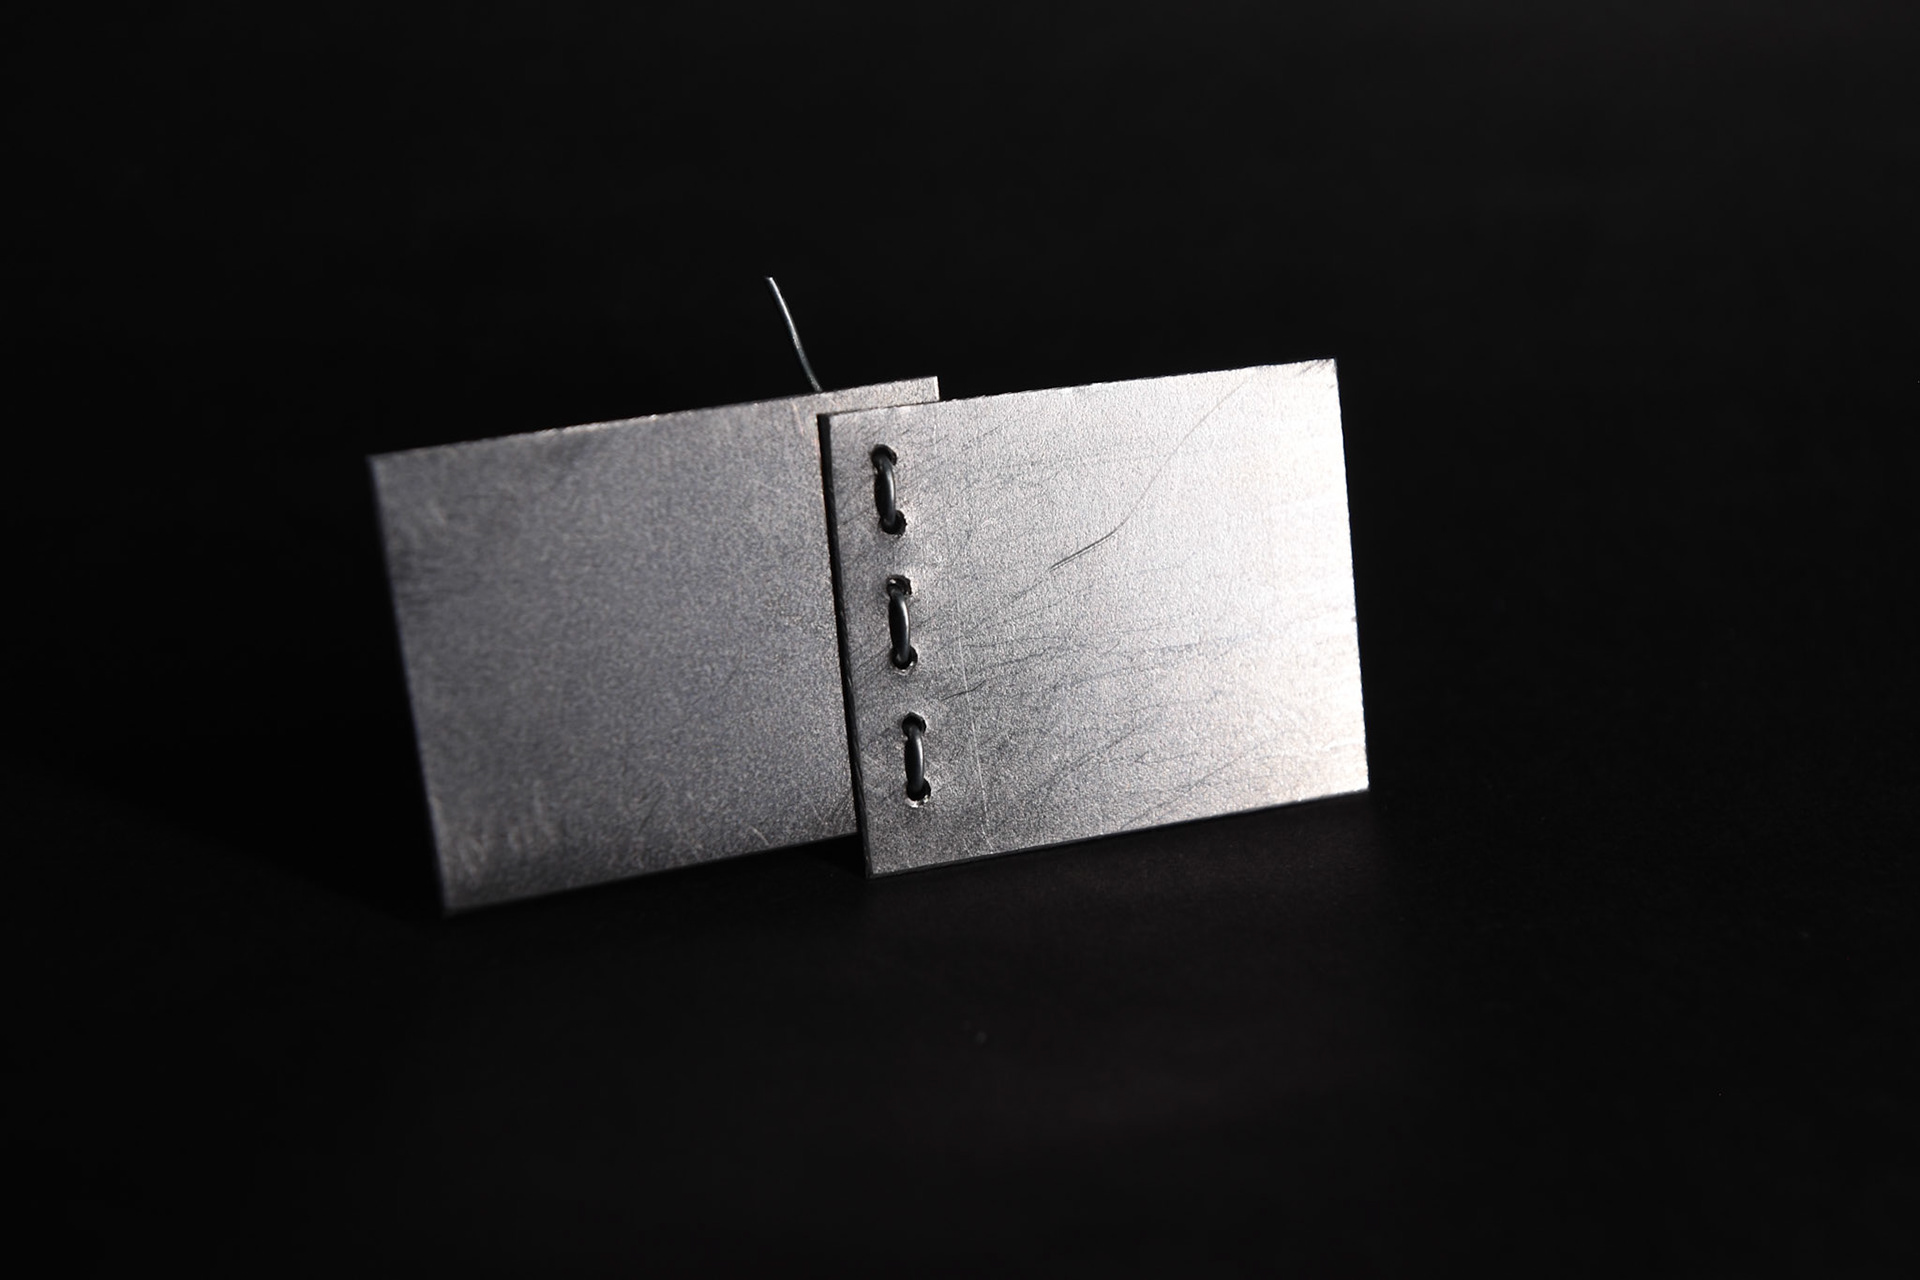
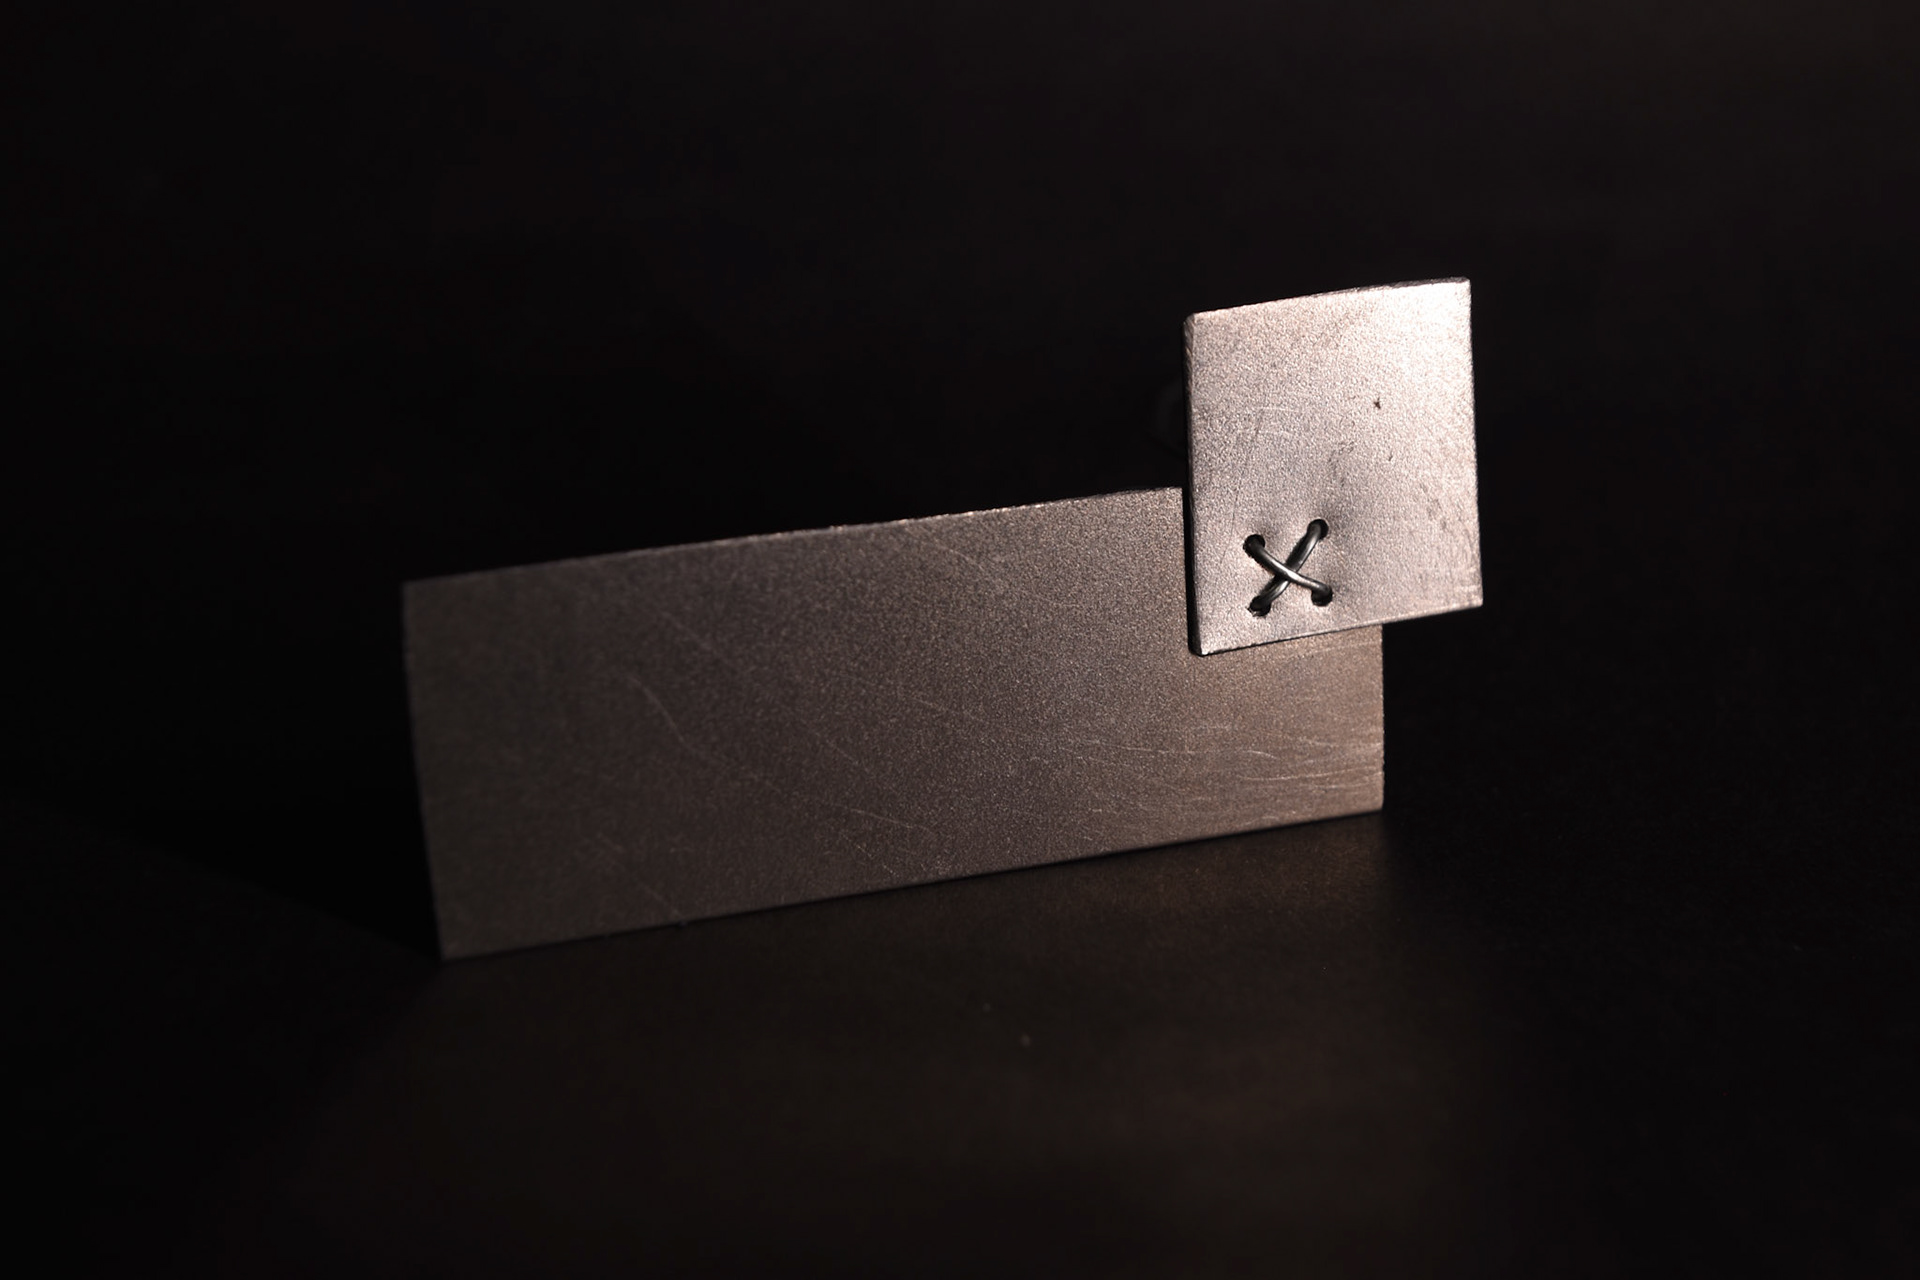
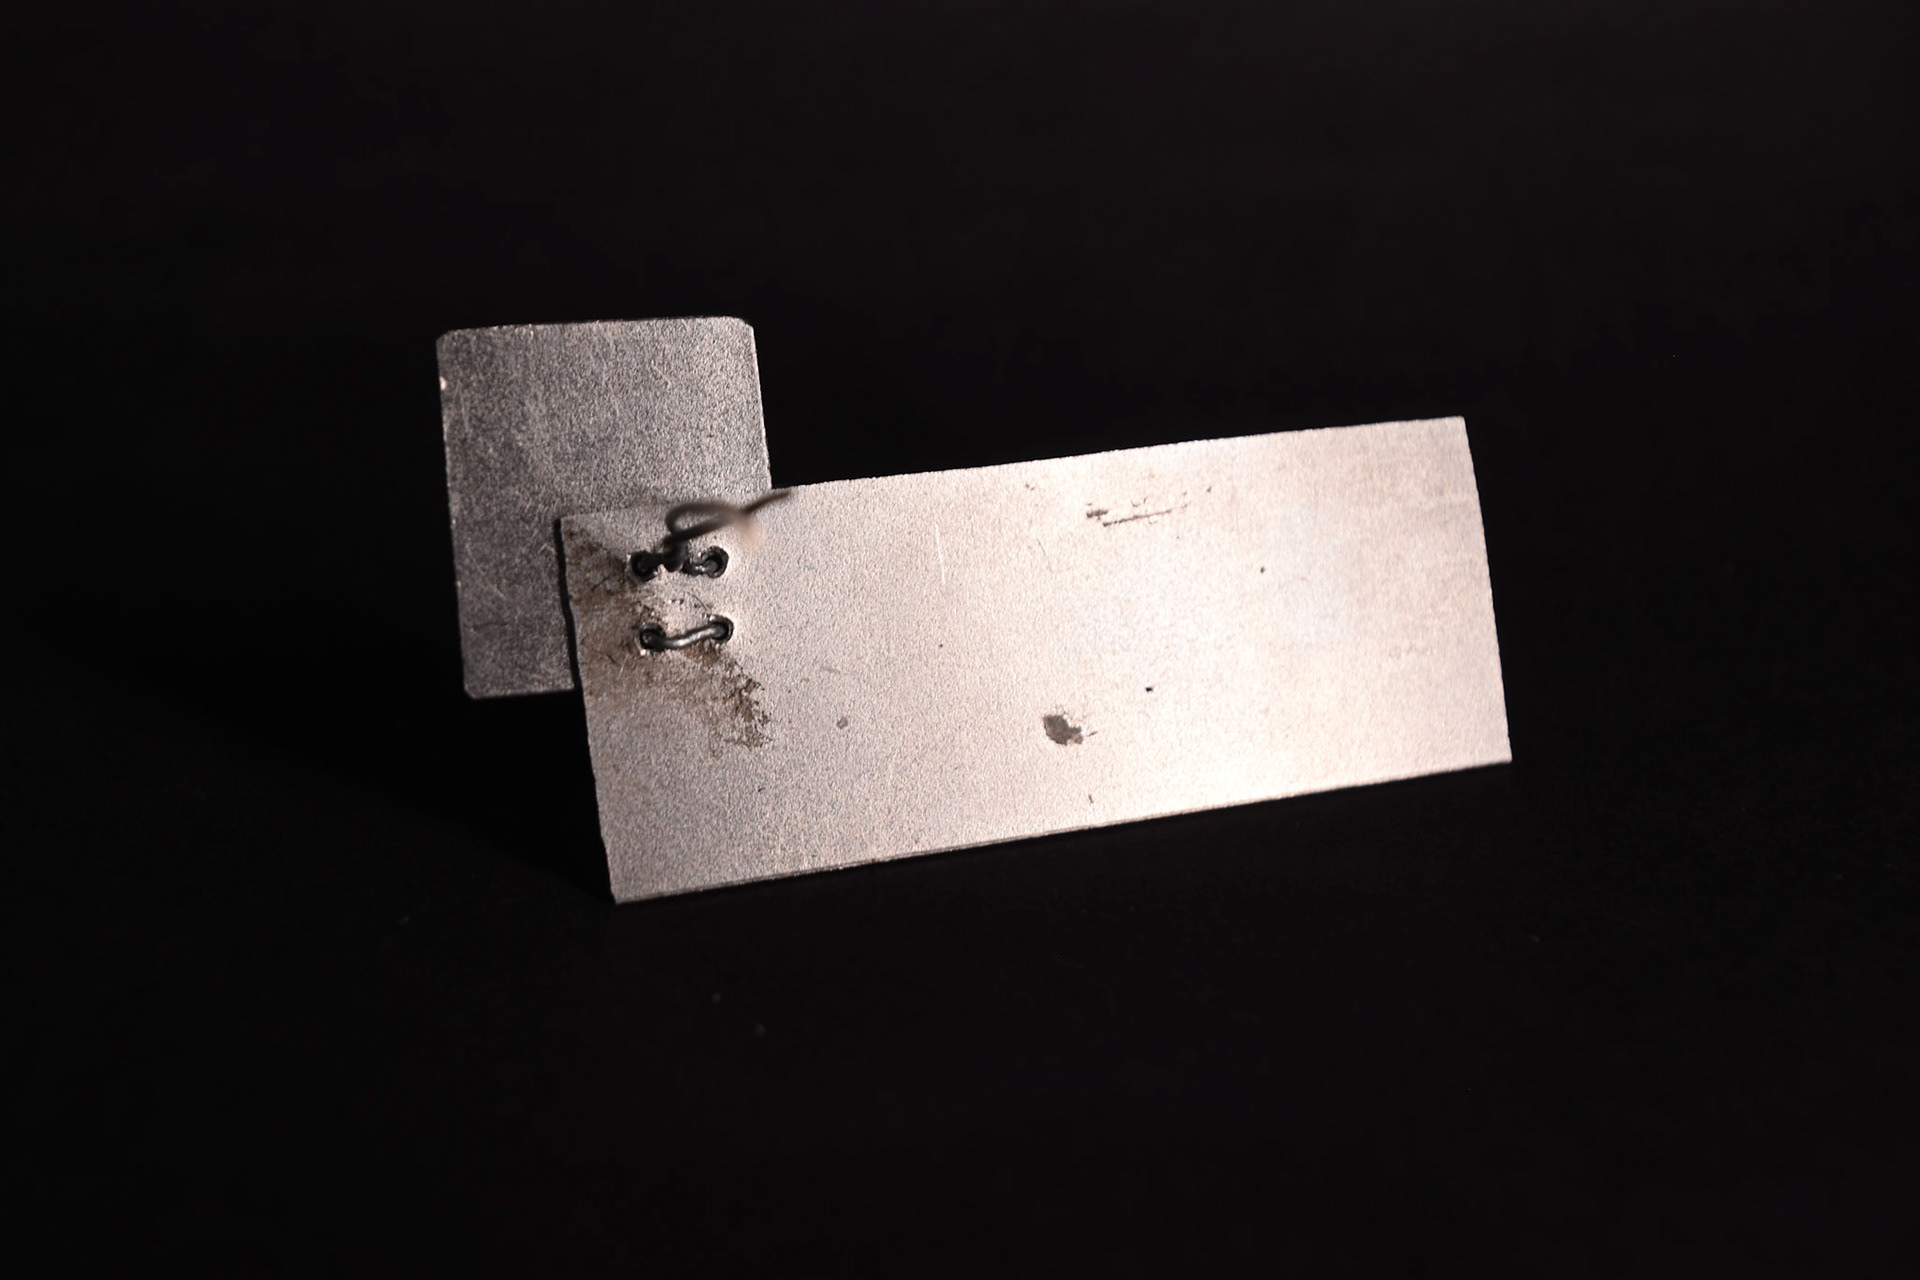
I needed to create a way to attach the different steel sheets together and didn’t want to weld as I believe I could enhance the connections and celebrate them. I explored using wire and twisting it together between two holes and creating a wire cross stitch. The two-hole method works best as threading the wire multiple times results in a looser bind. I also like the way that the wire keeps the thread qualities of the leather stitching.
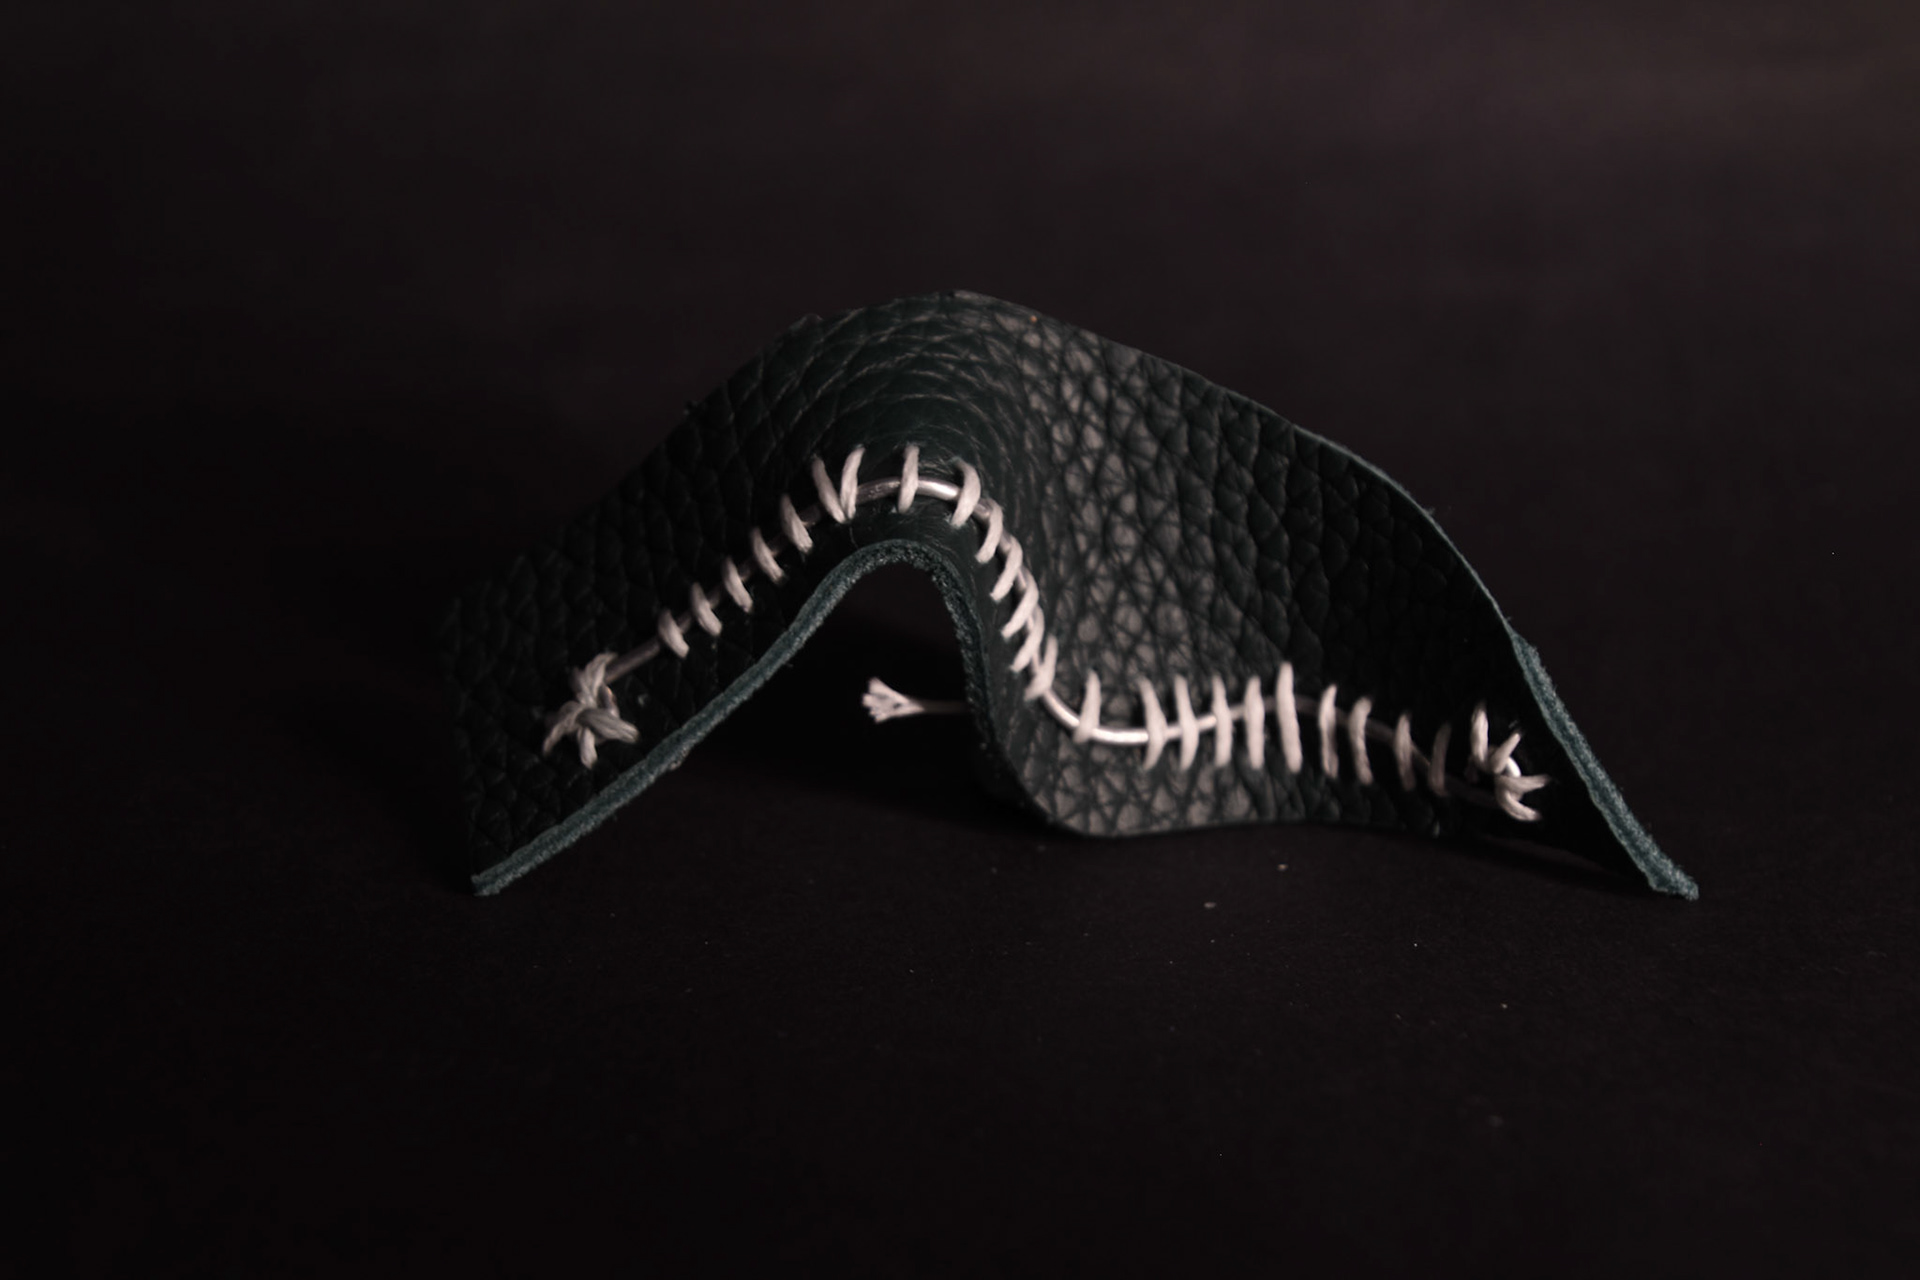
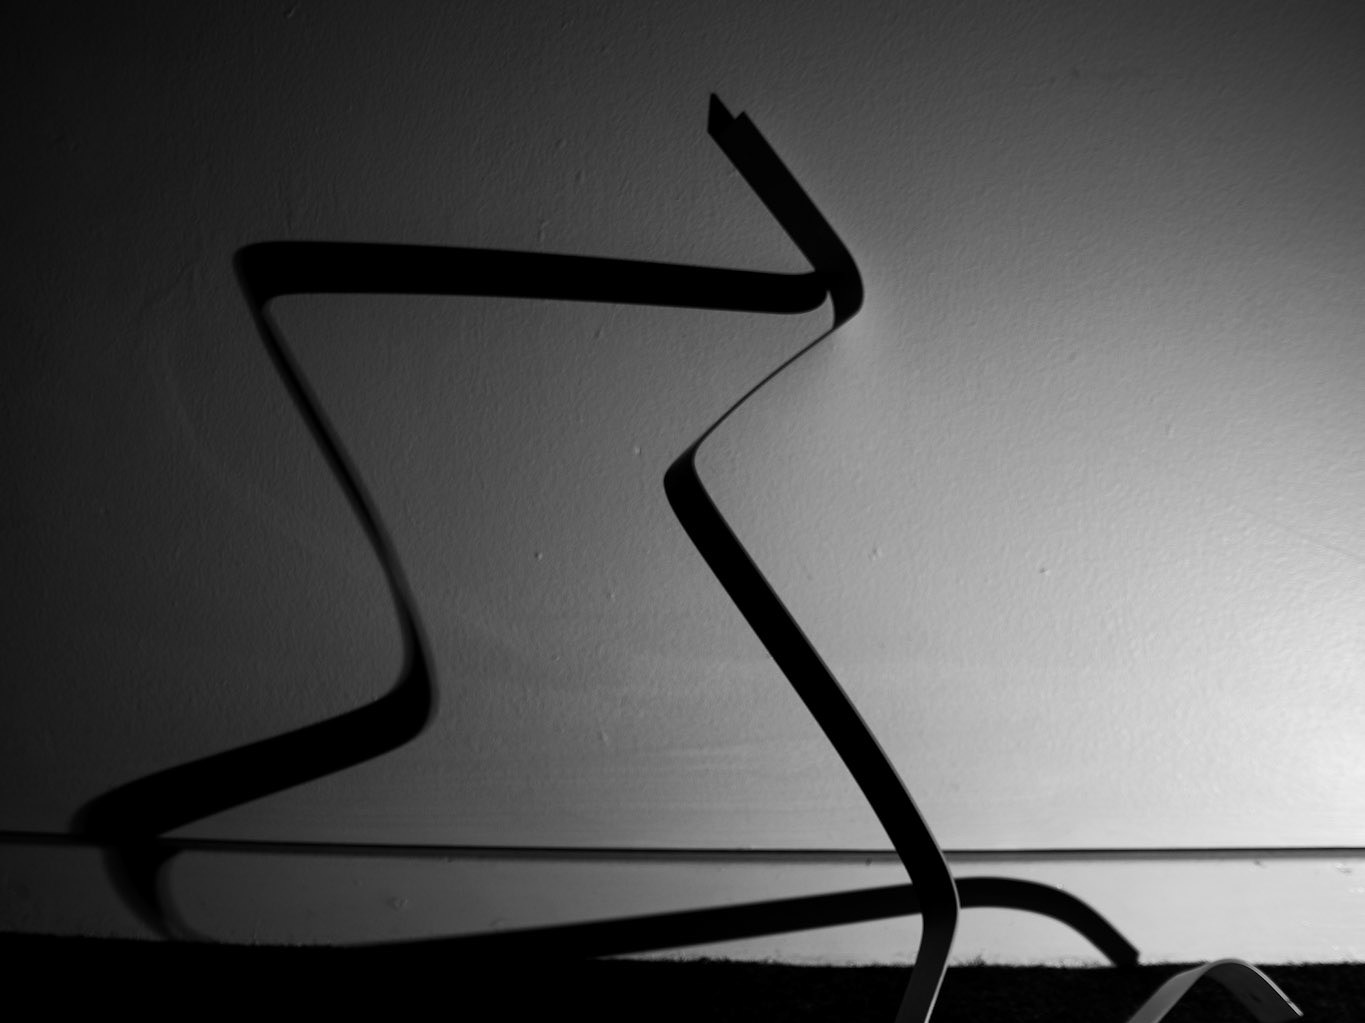
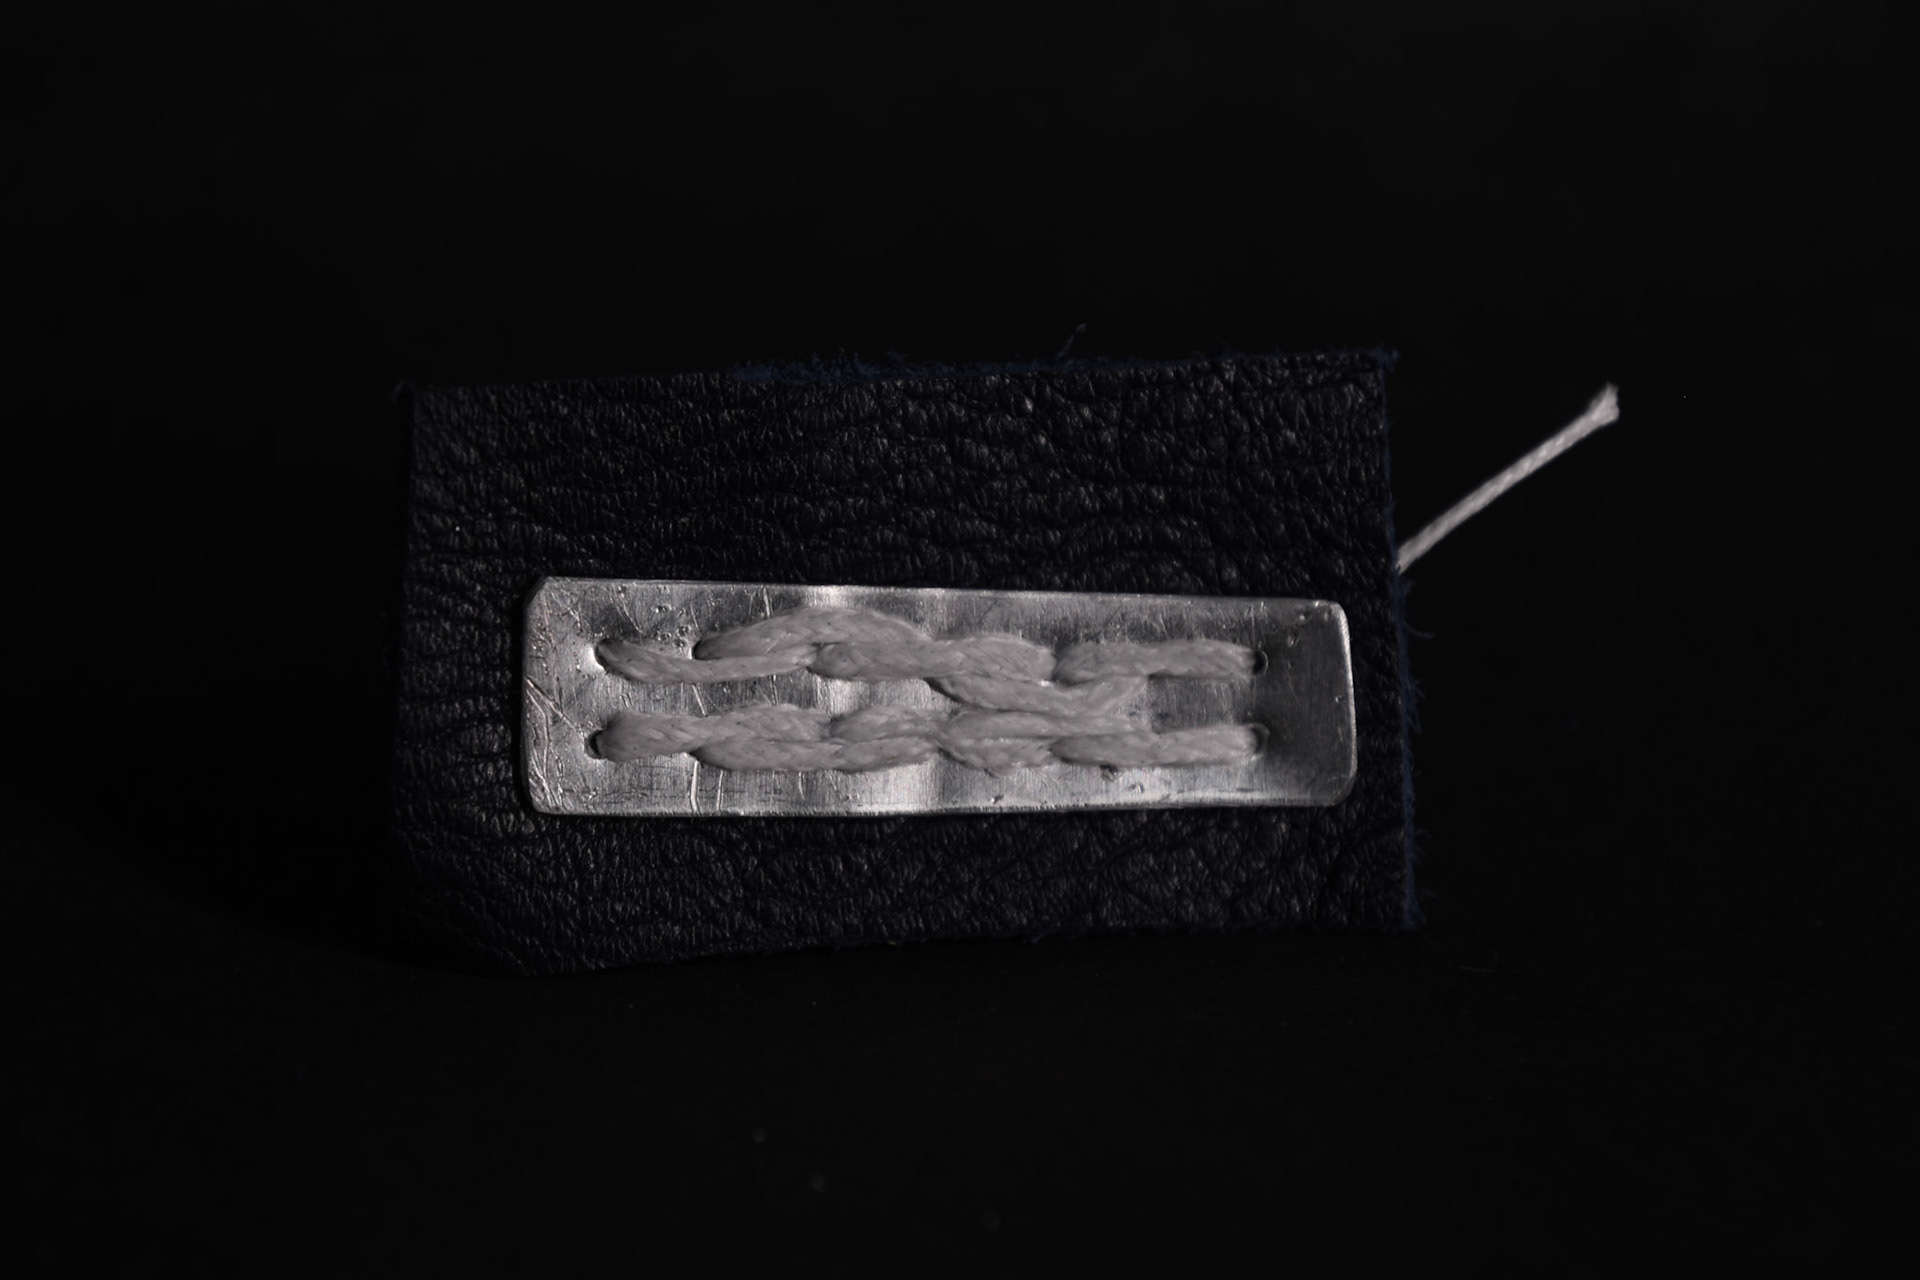
During my leather pieces, working with my photos, I created elevation and levels by twisting and looping the leather off the page. However, when the pieces are removed from the page these levels are lost. Therefore, I explored a variety of ways to incorporate metal onto the leather so that I could shape the pieces and they would retain this in a 3D environment.
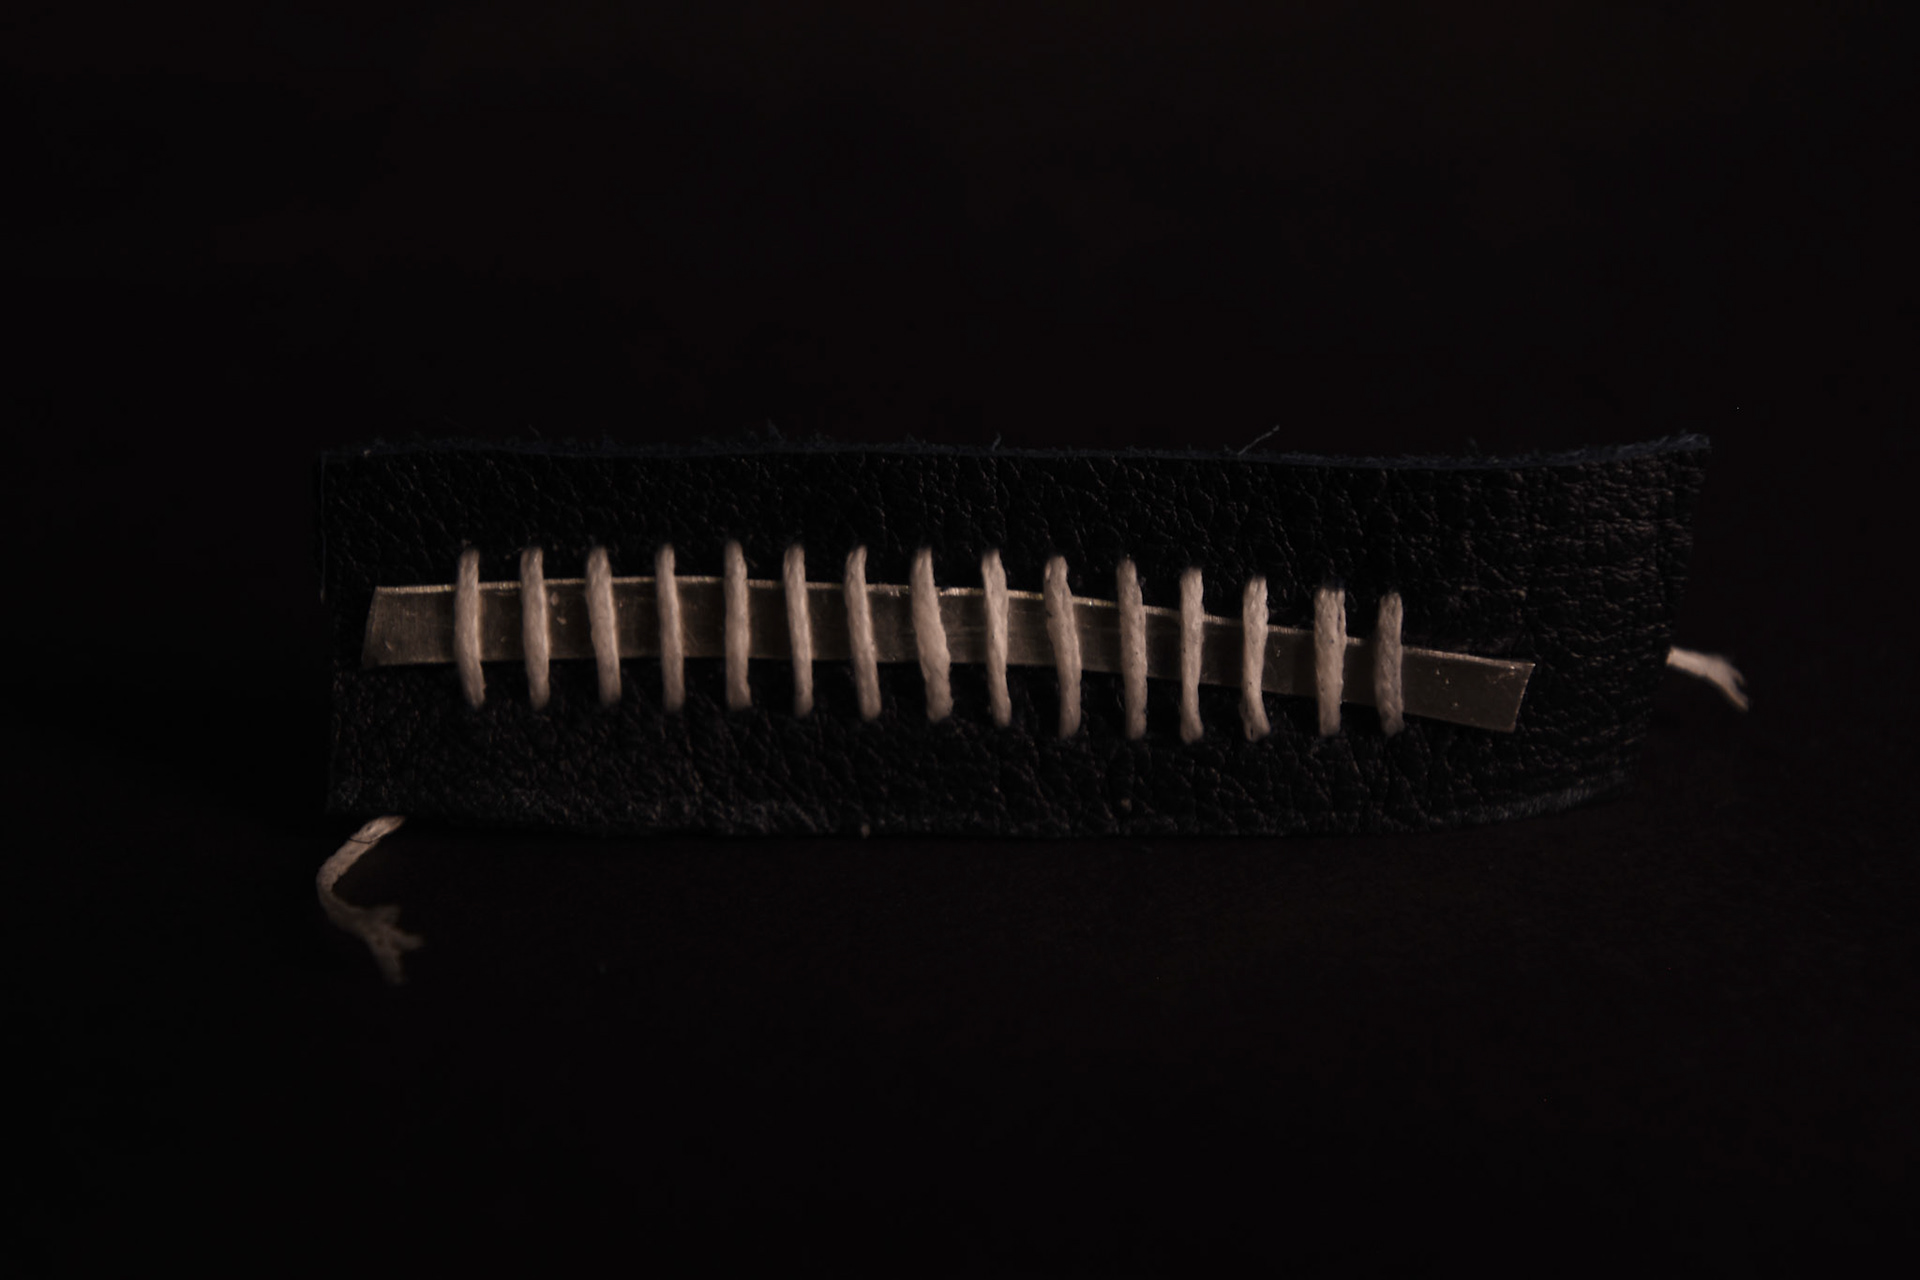
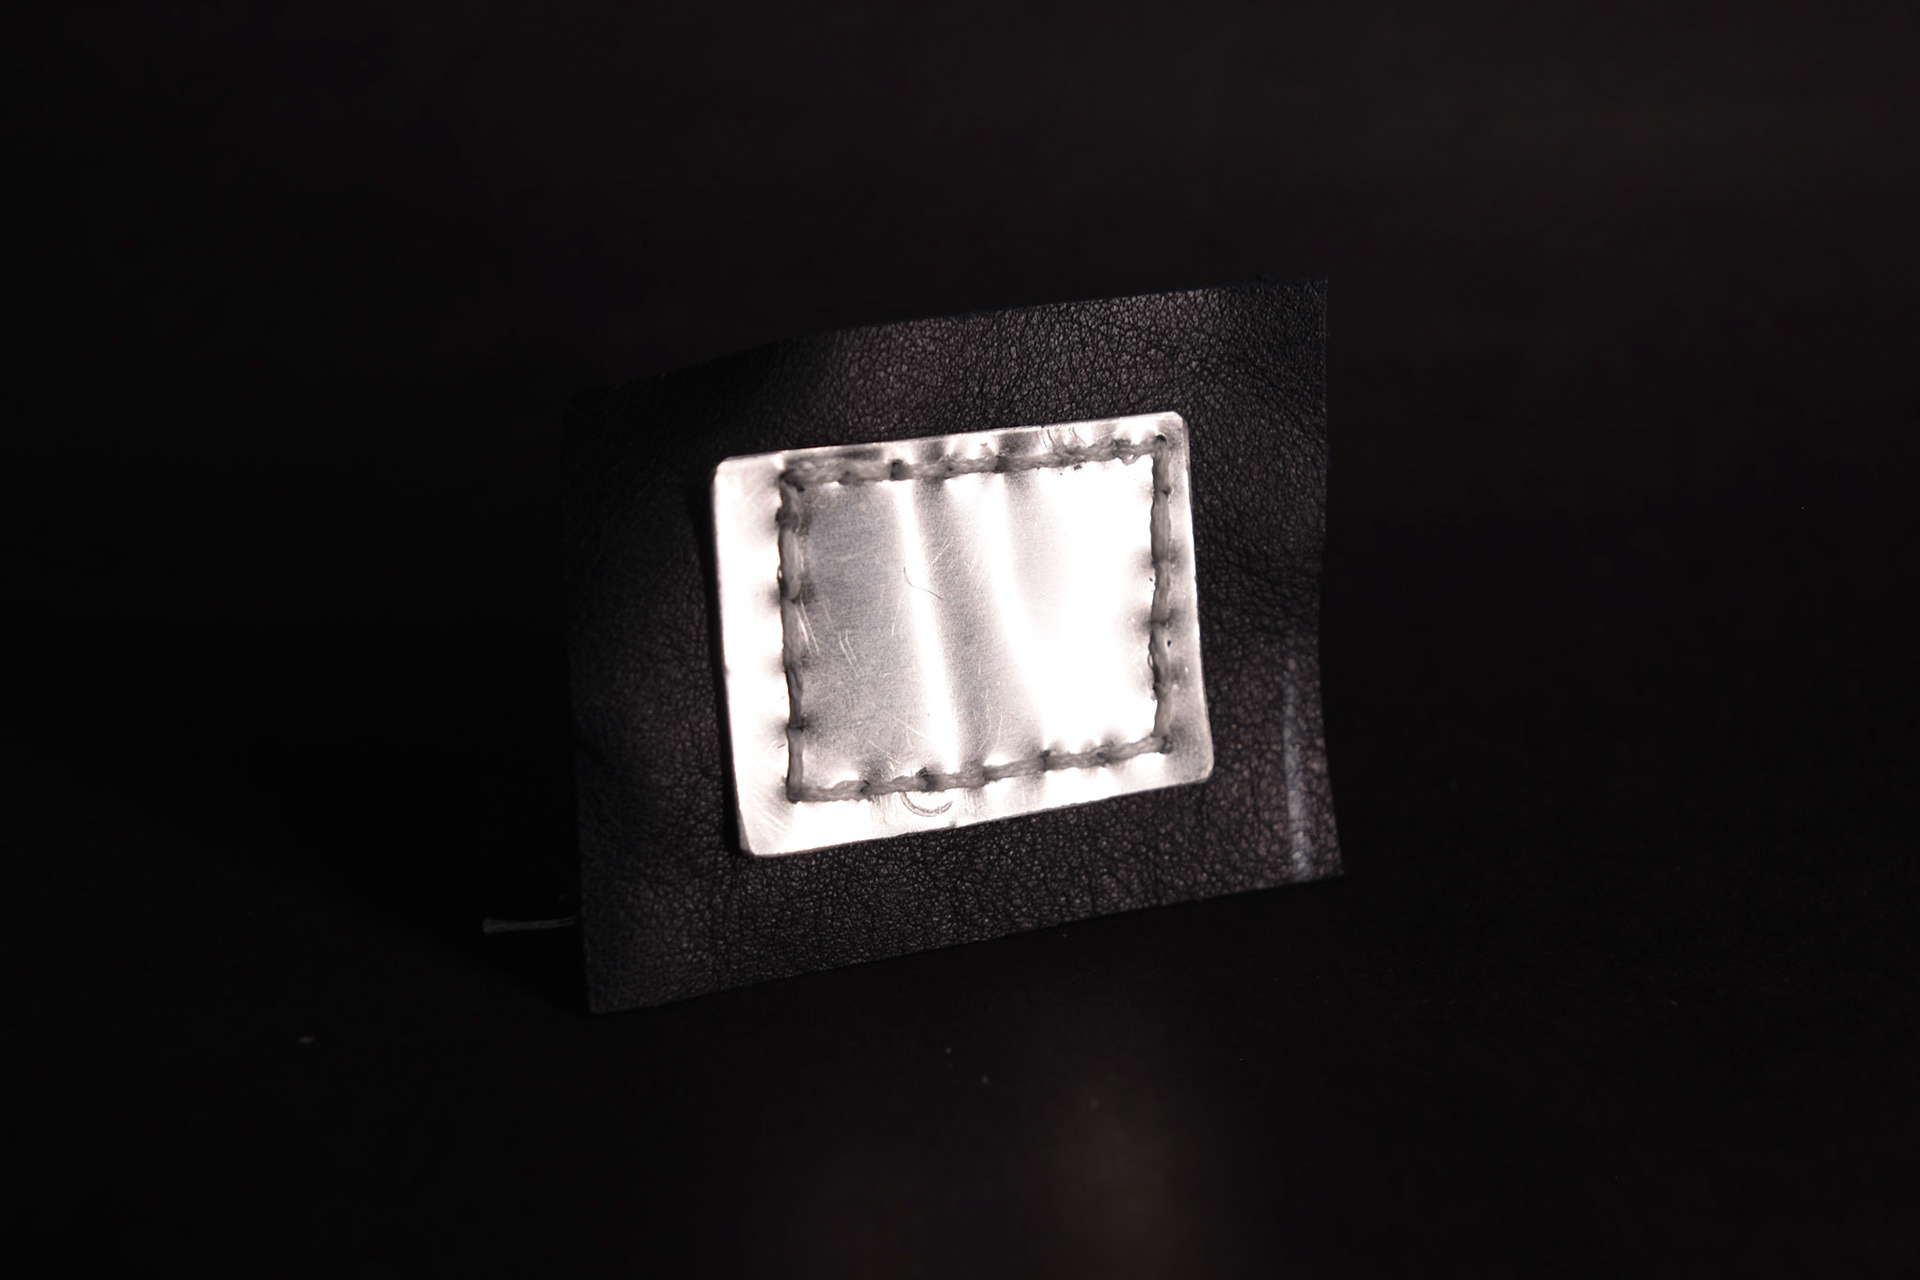
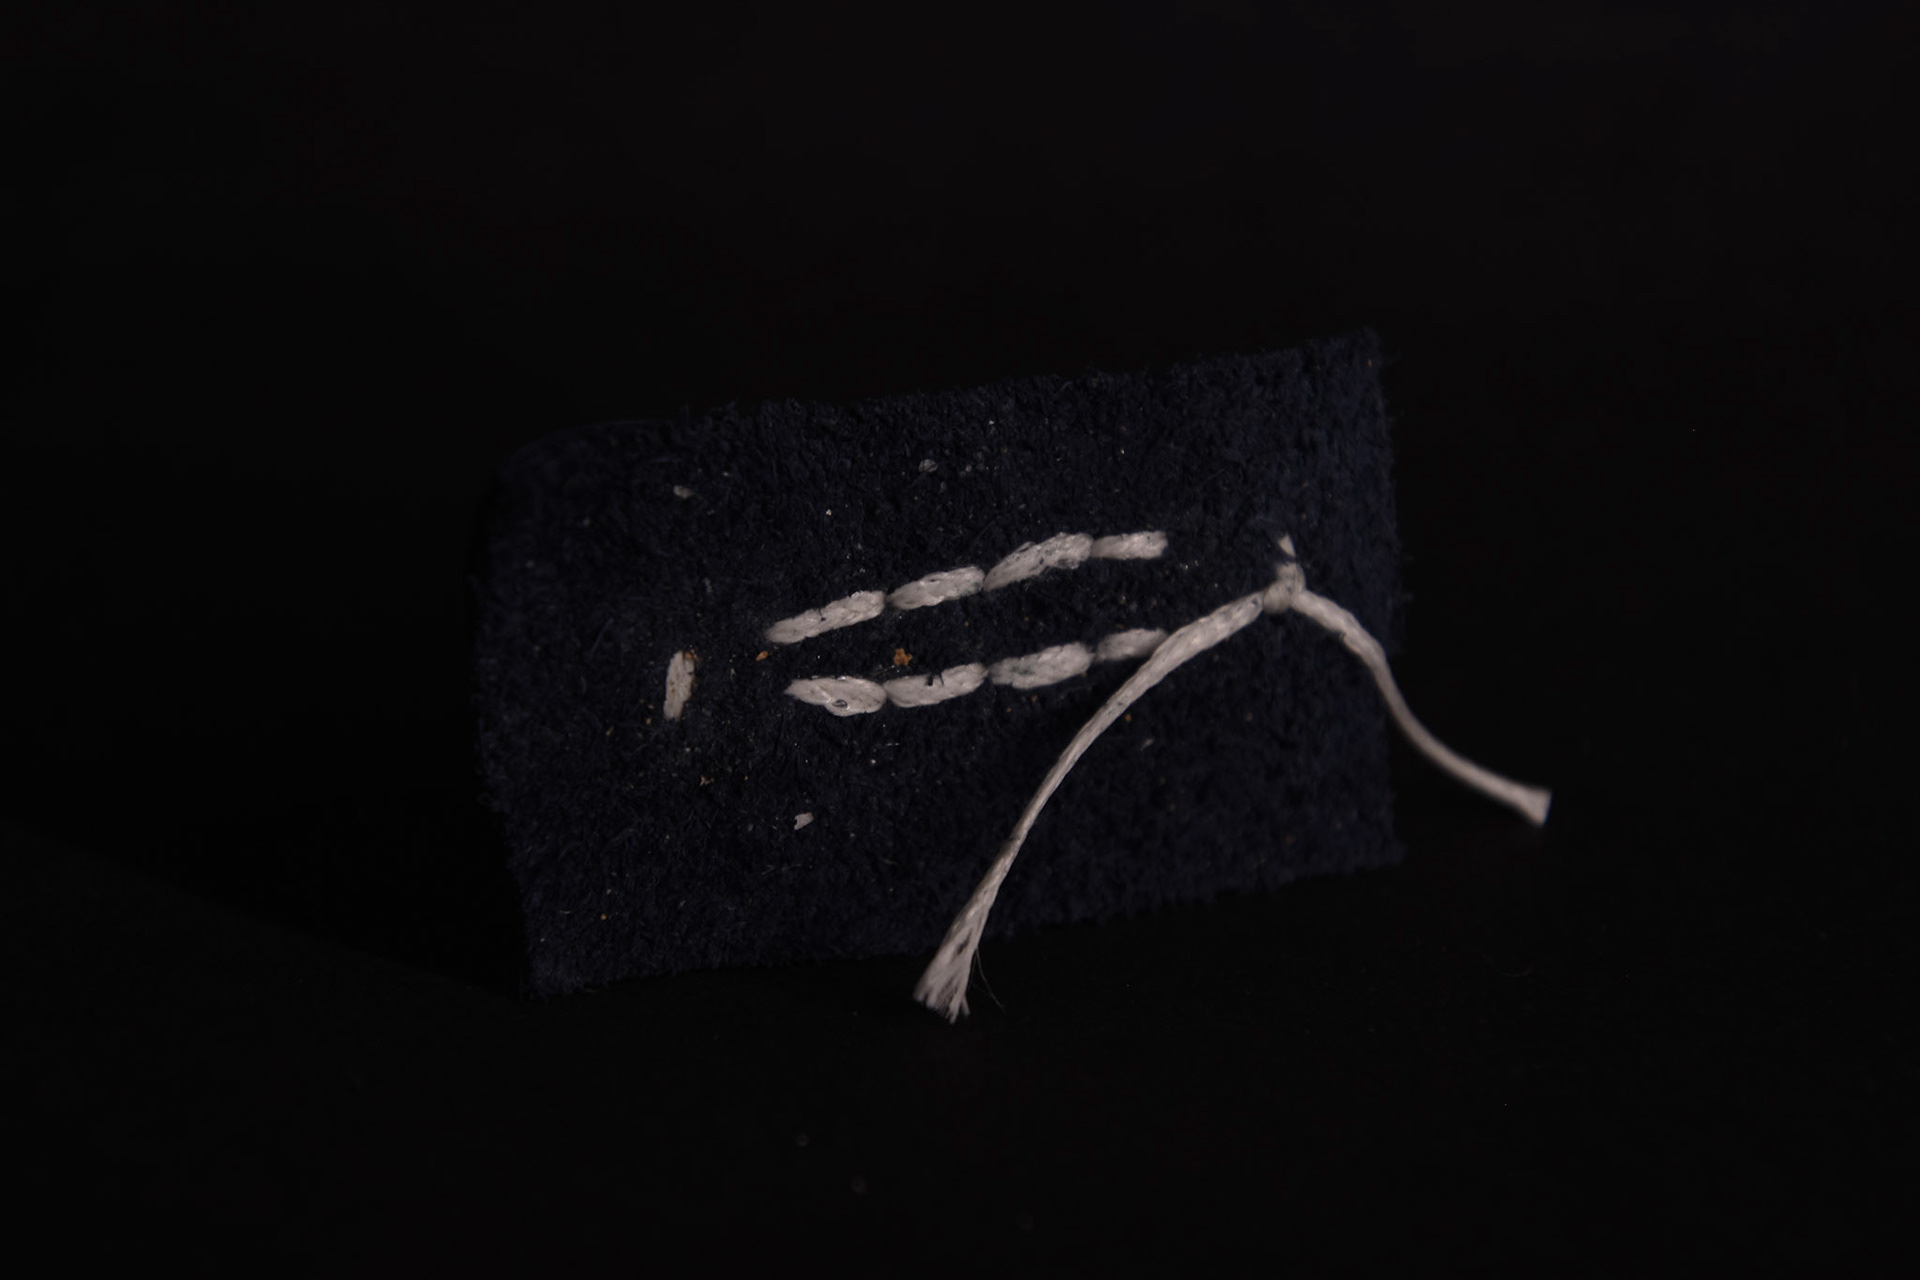
My first test was stitching over a strip of aluminium which I could bend easily. It wasn't successful as it slipped out at the ends.
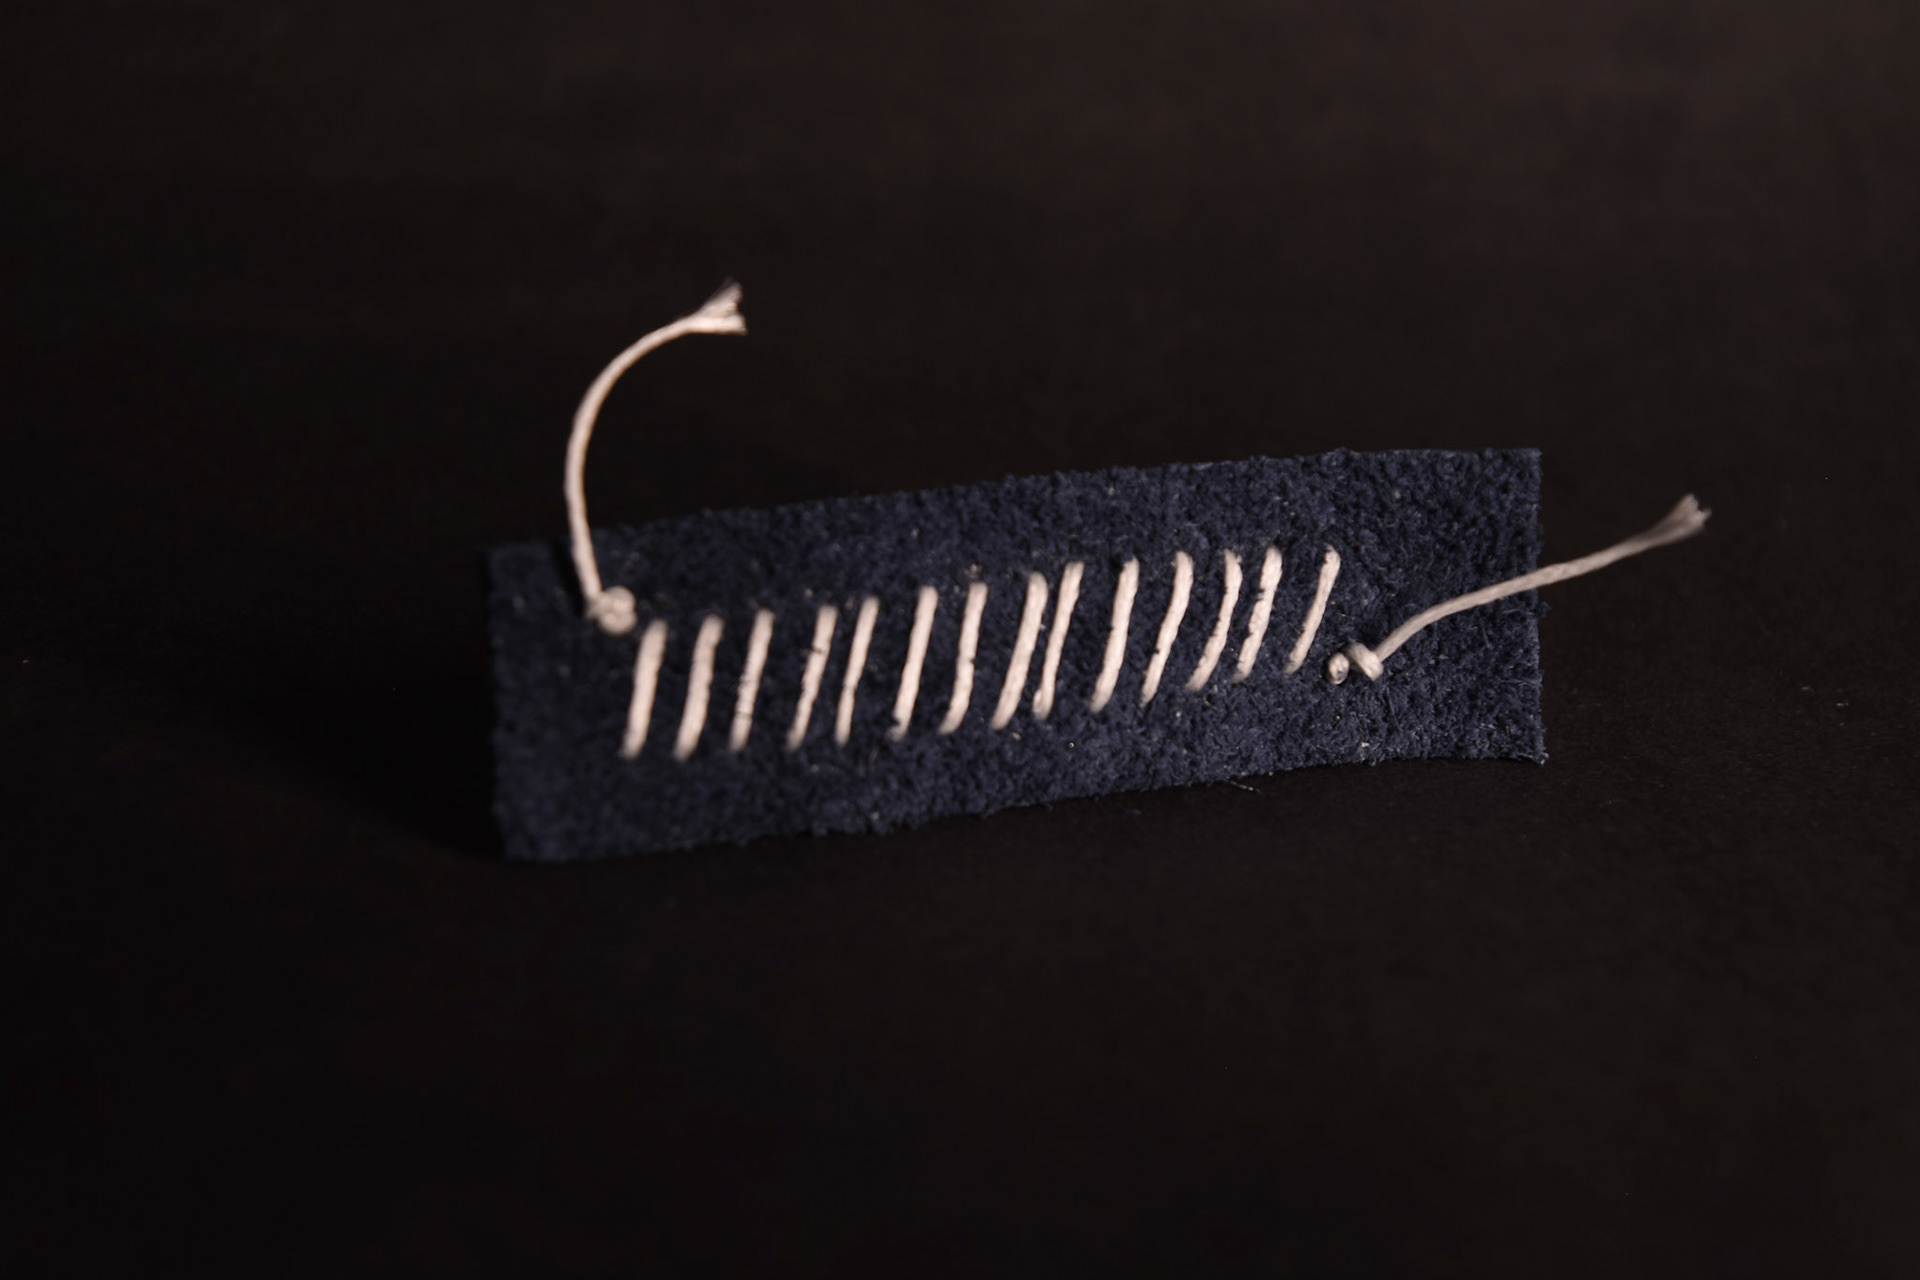
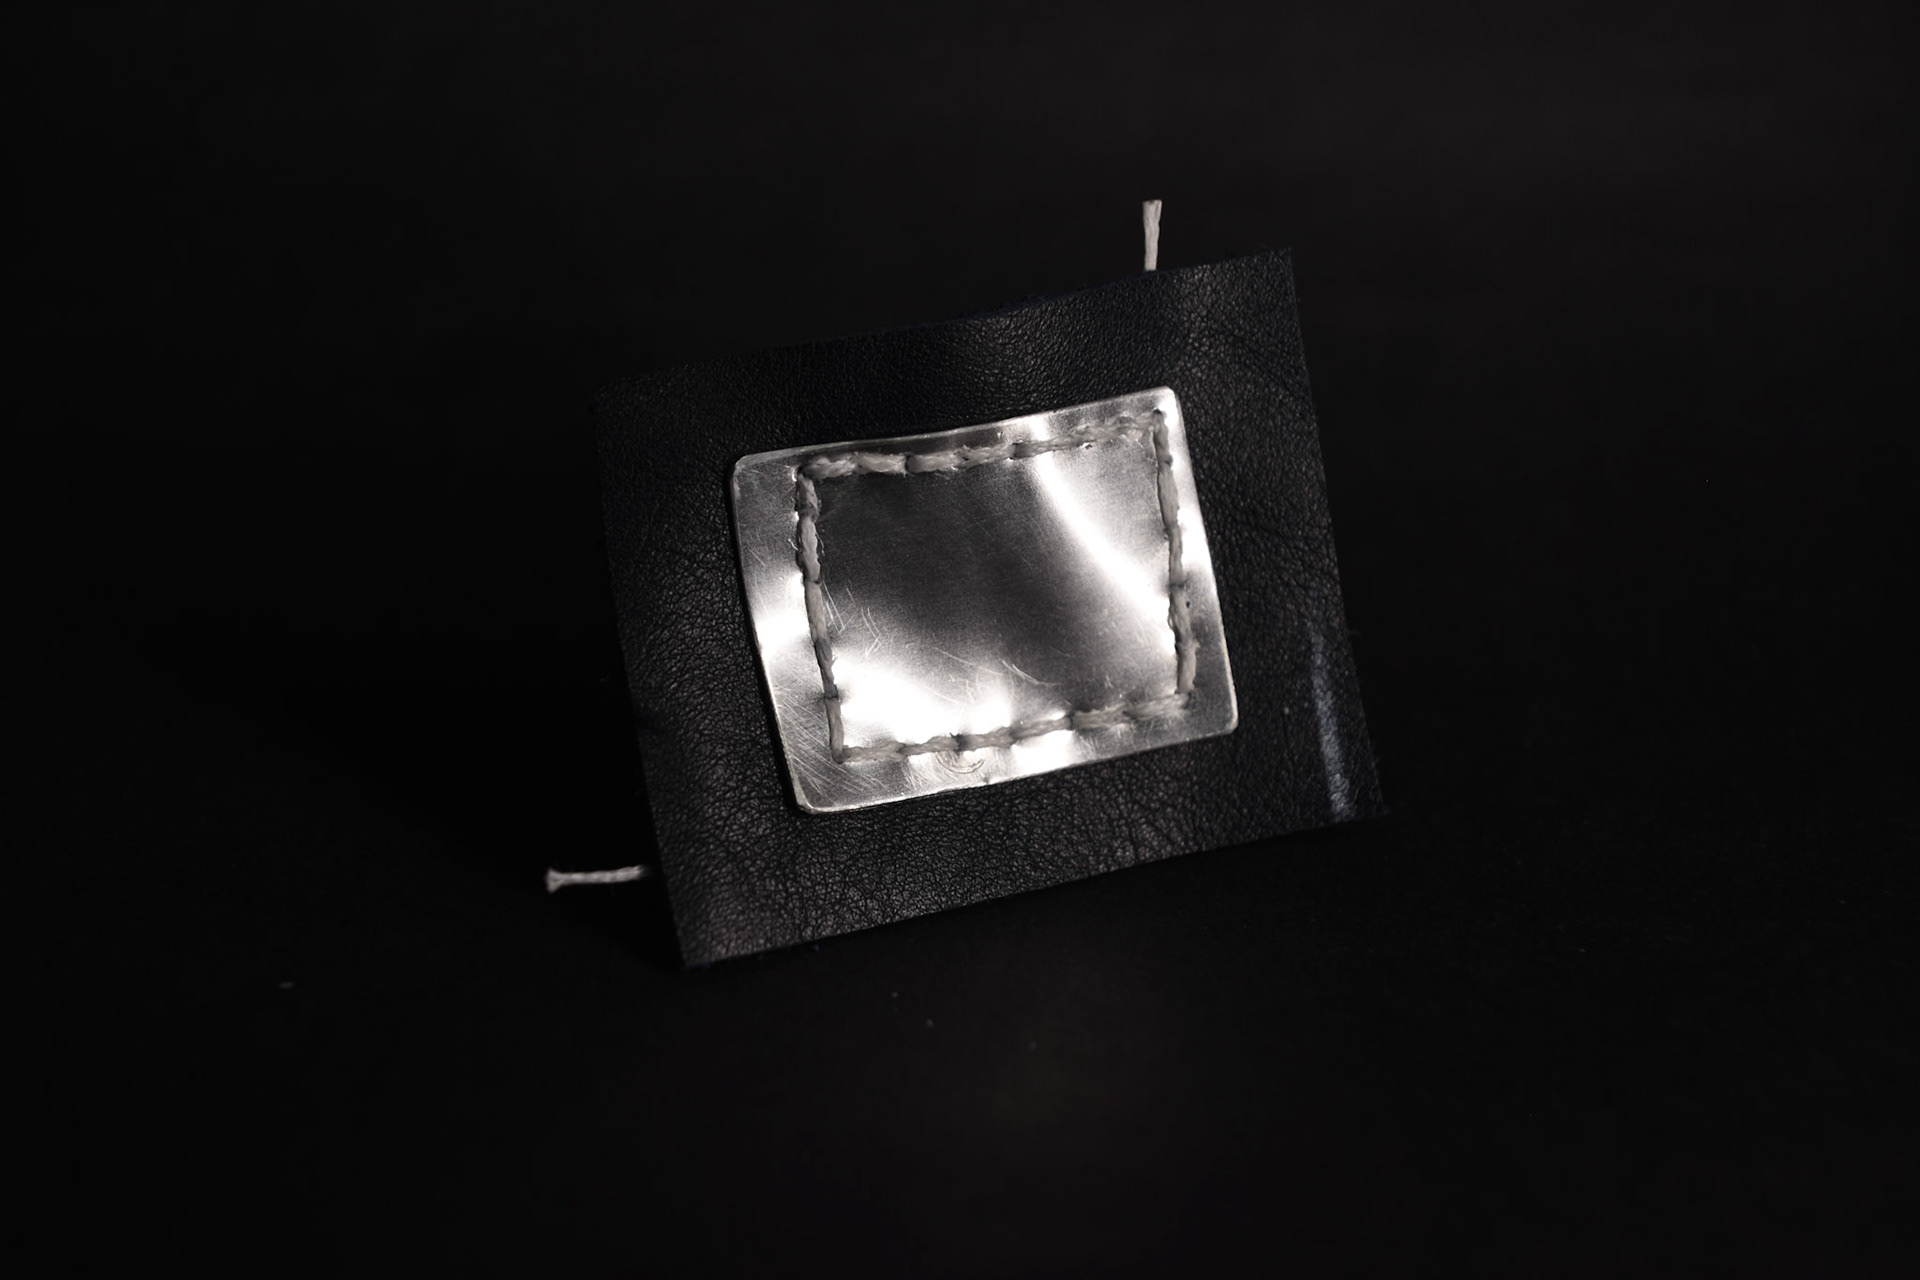
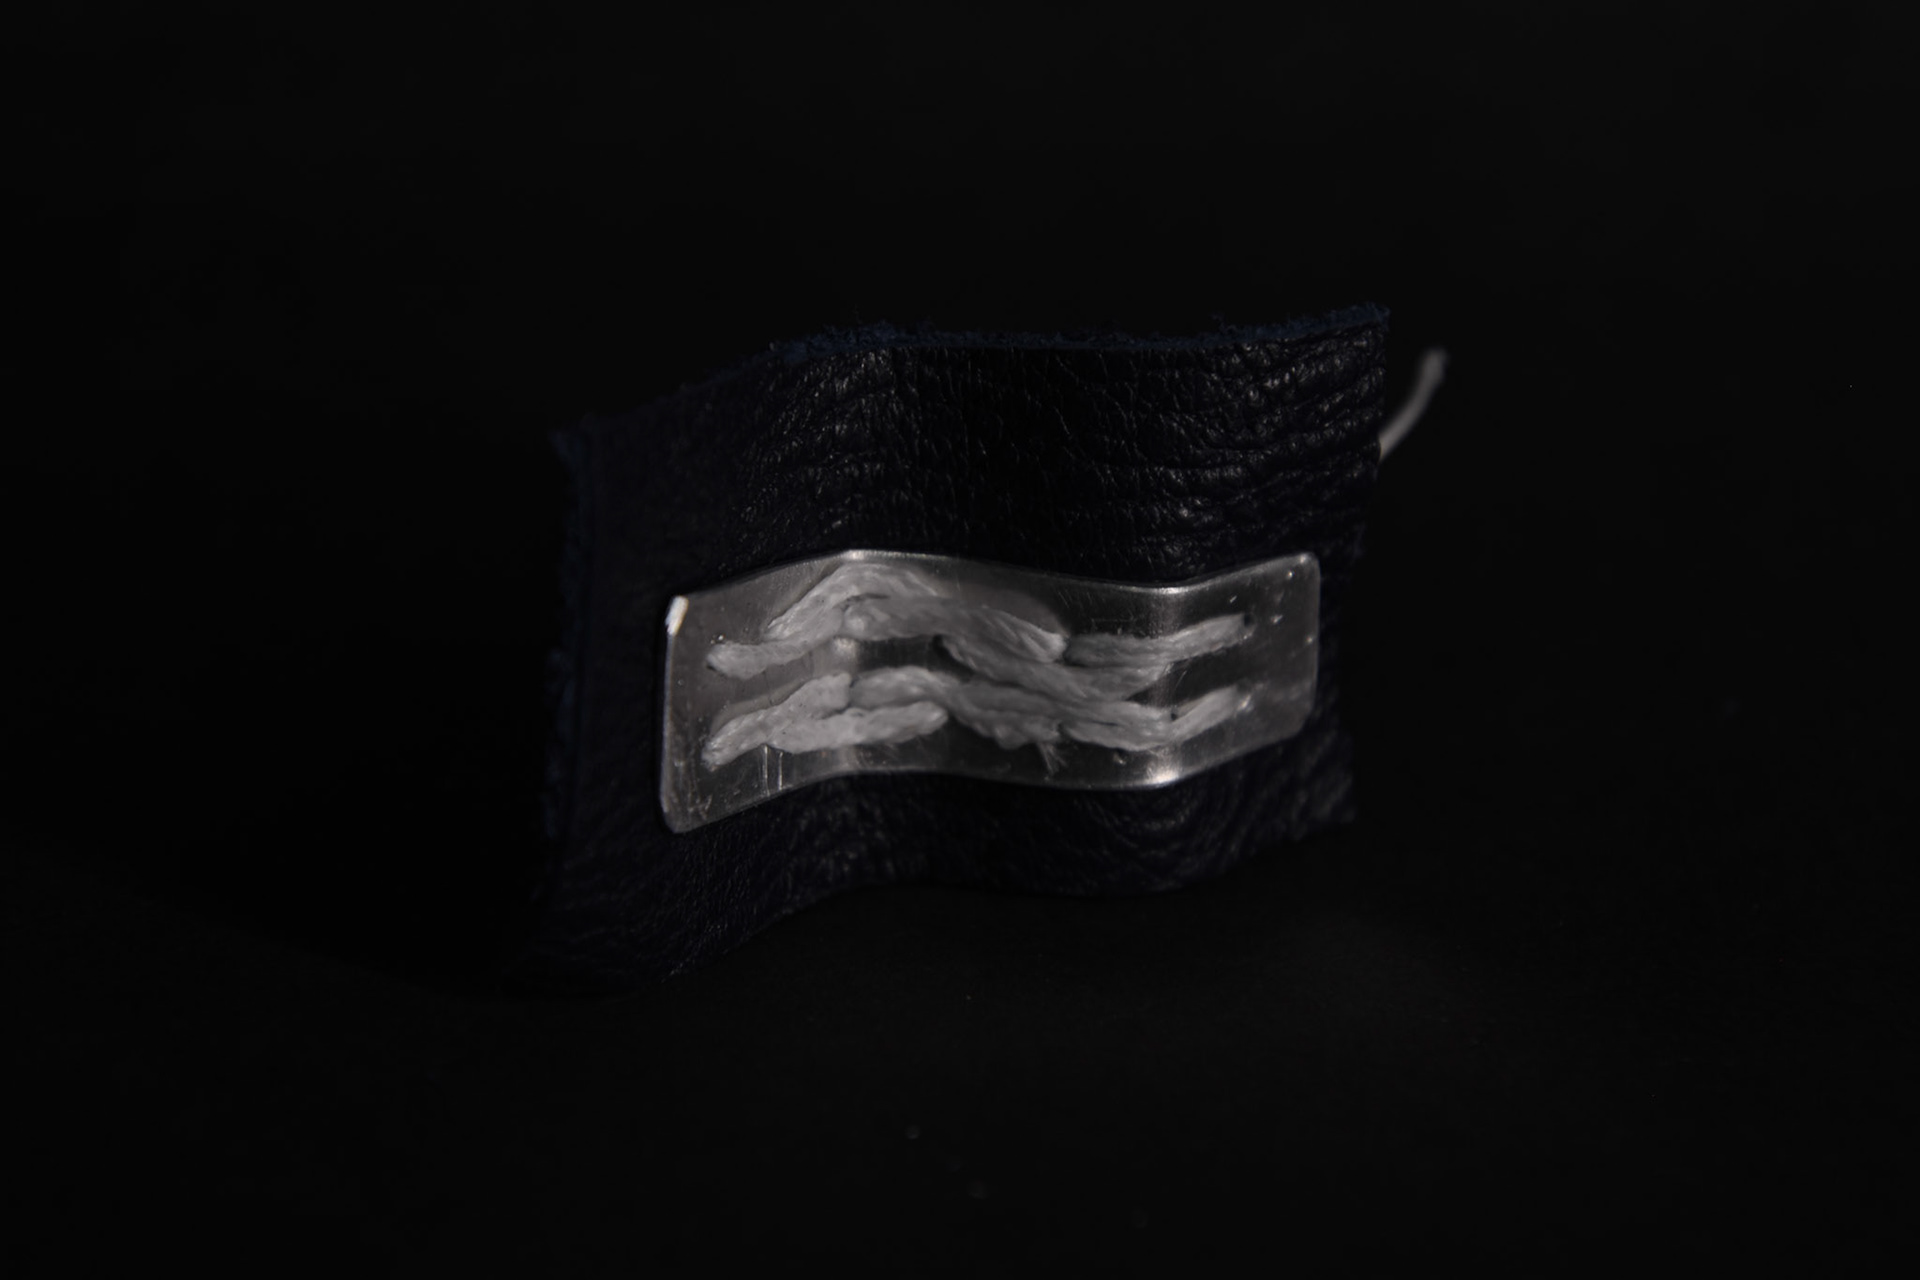
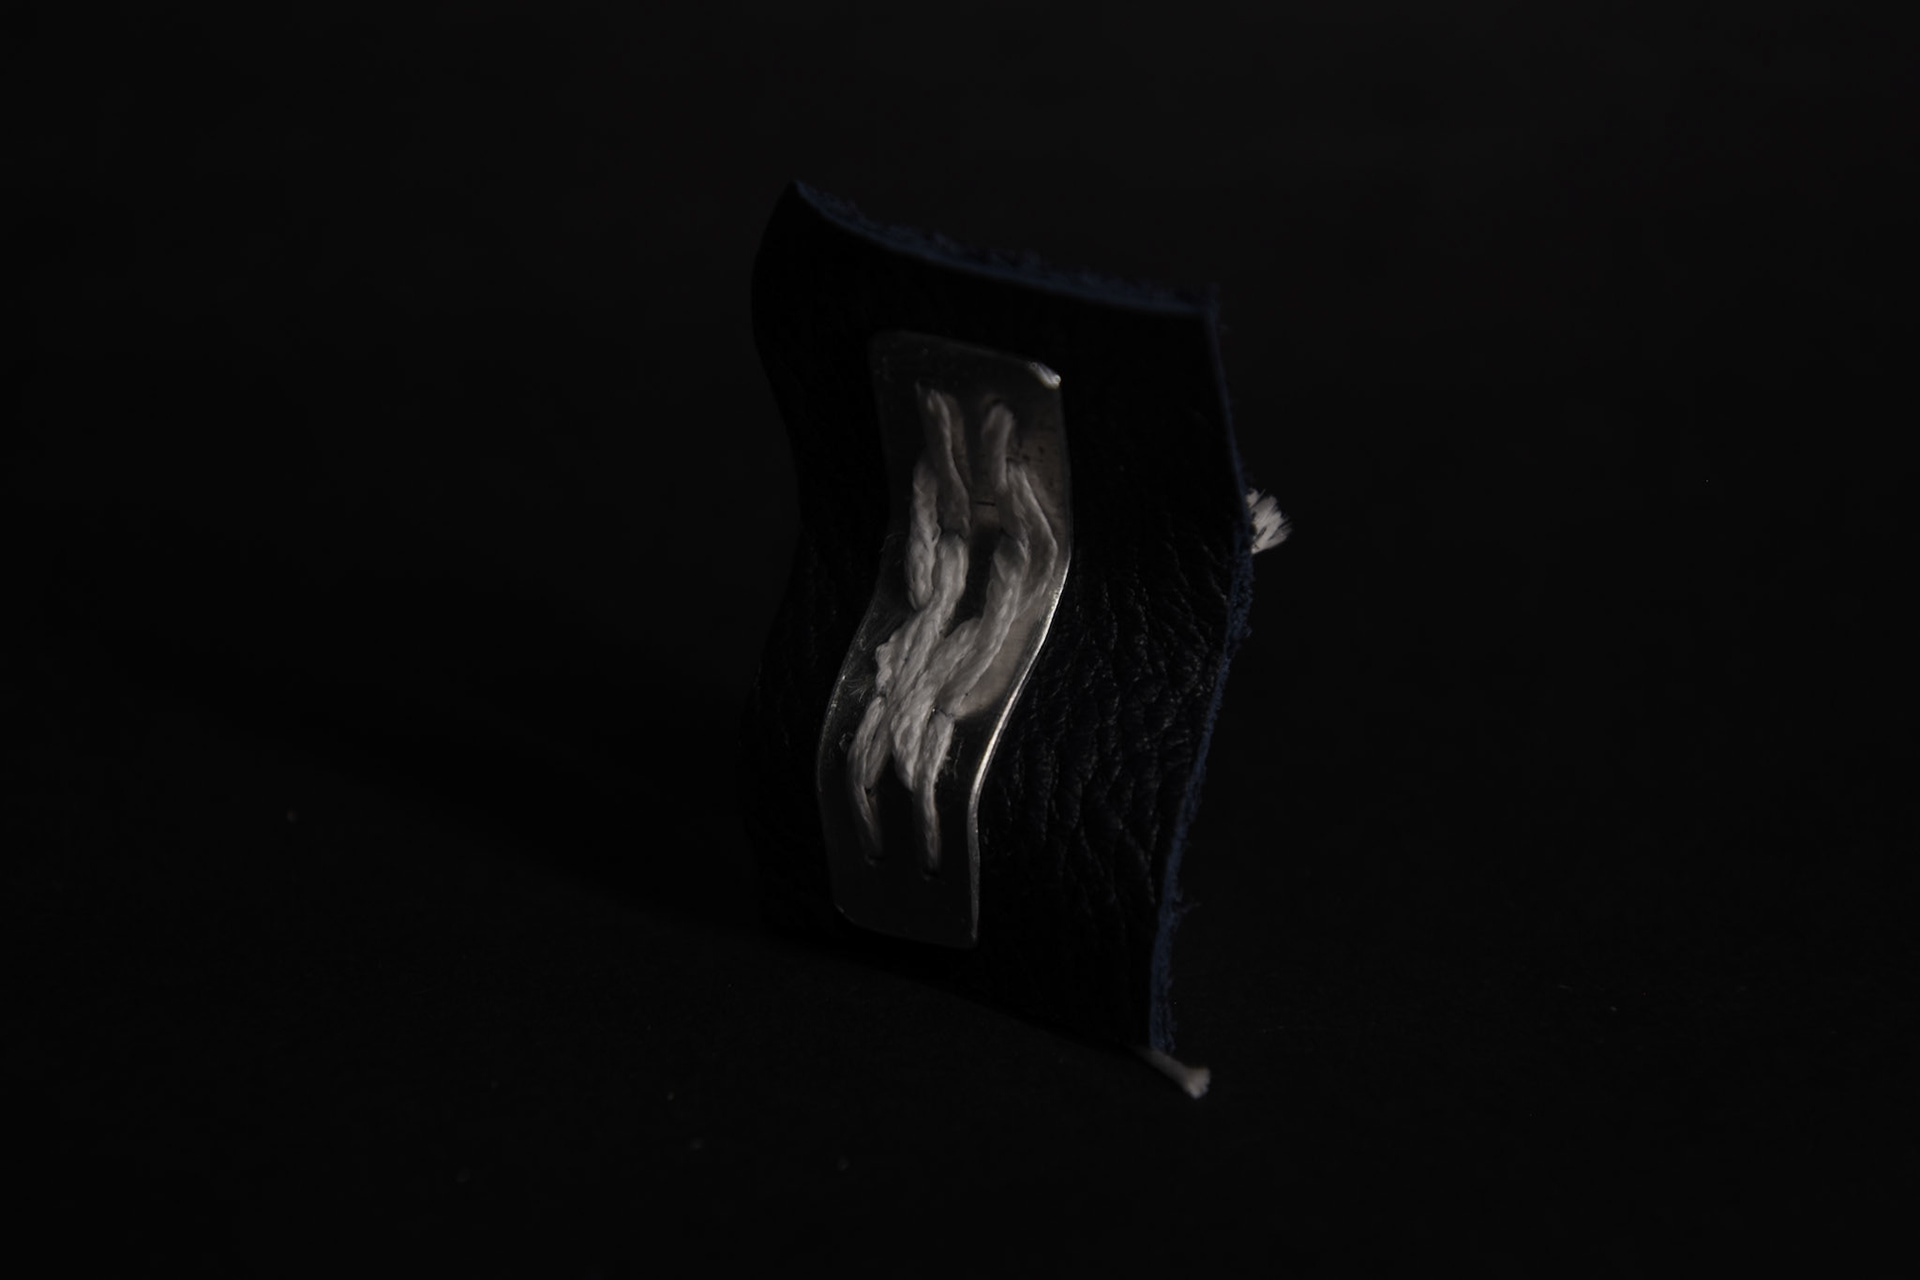
I looked at stitching through the aluminium sheet and the thread went through well. However, the sheet of aluminium would only bend in one direction and would crumple up, leaving folds if I tried to bend it into a too complex shape. I could have explored hammer forming the aluminium over stakes, but I felt that this would restrict the expressive motion I could achieve by bending it with my hands. Also, I think that the hammering process would break the stitching.

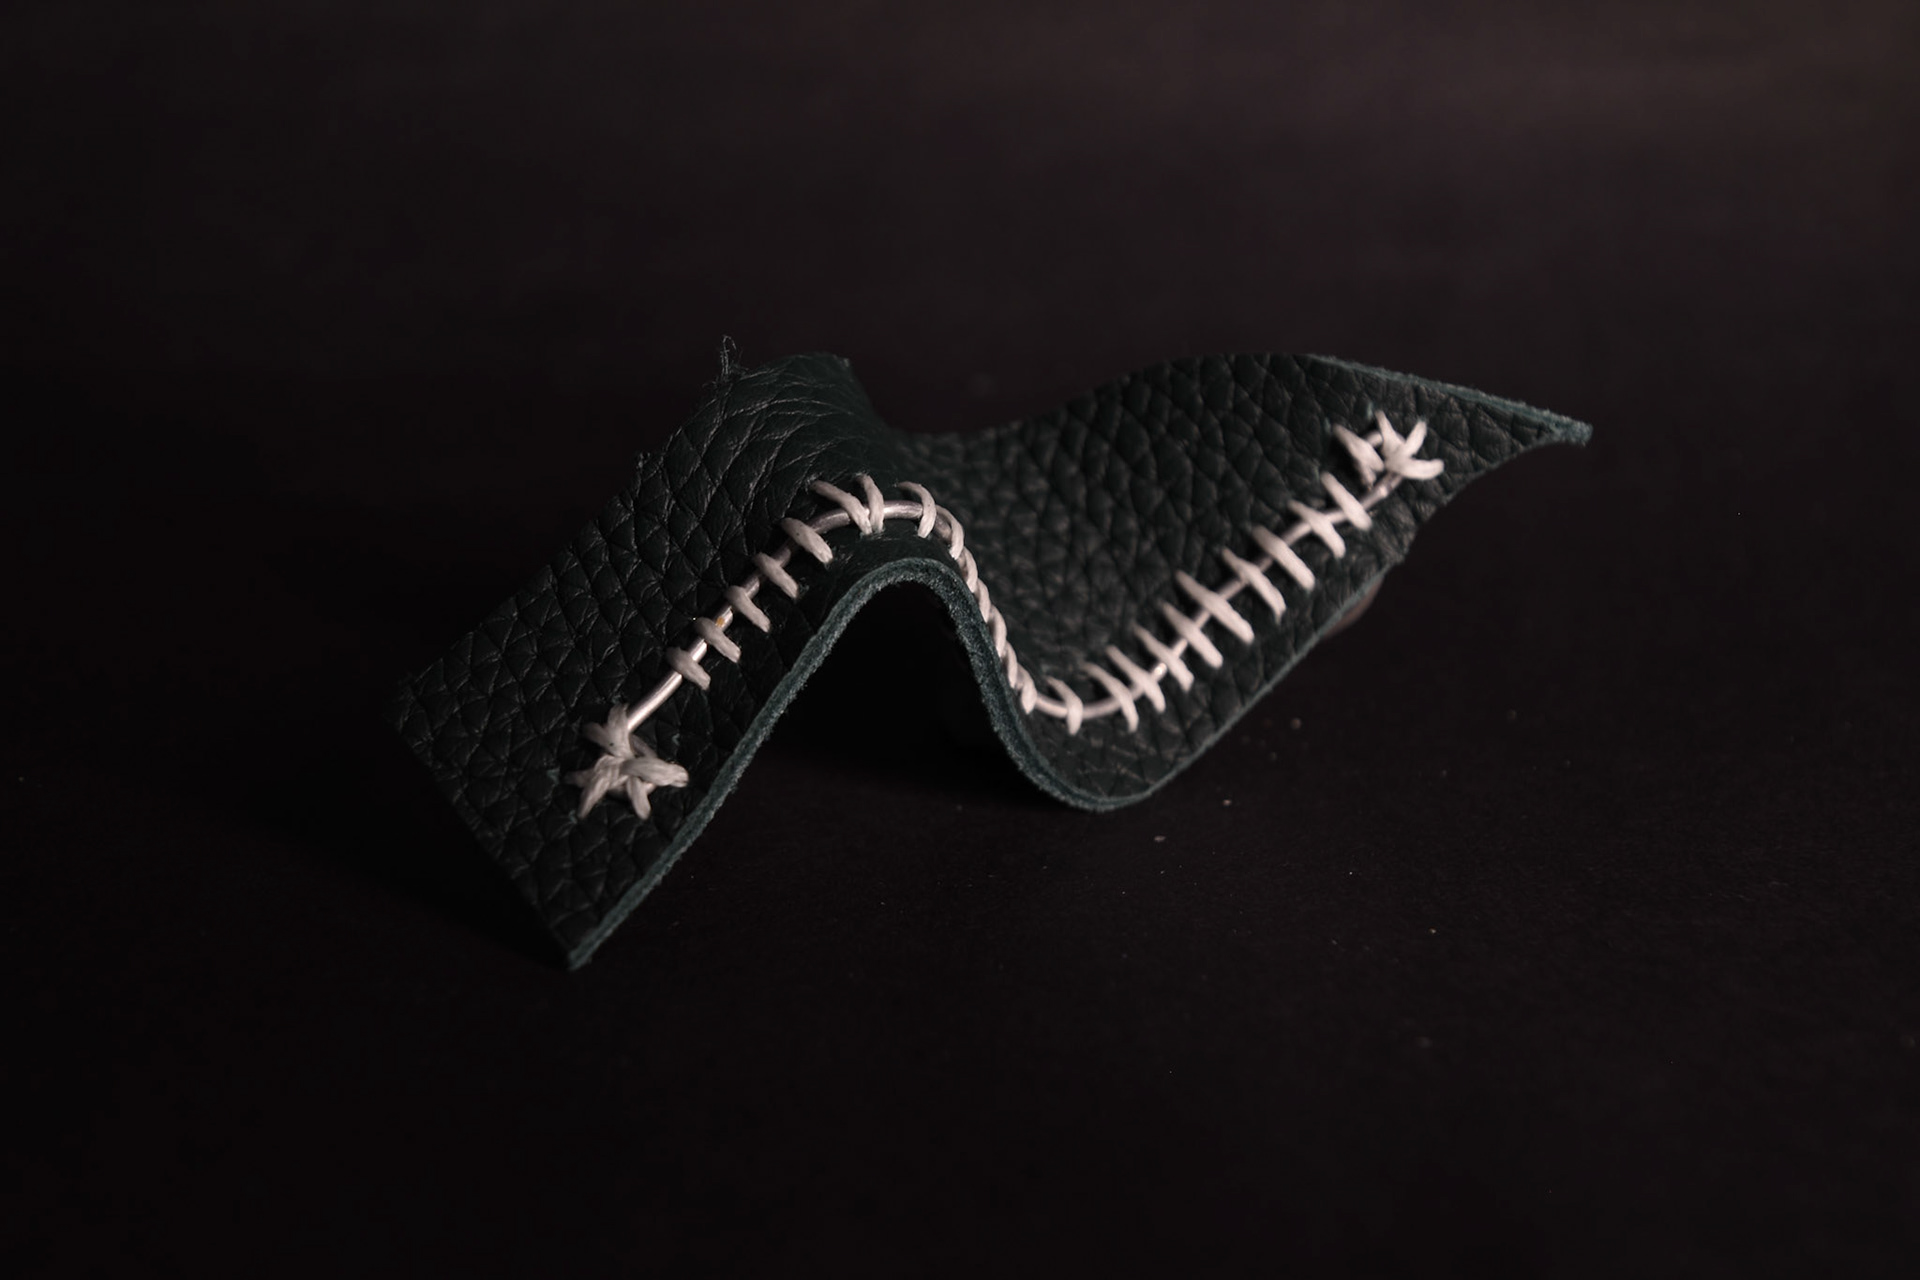
Instead of sheet metal, I looked at using wire to create the bends in the leather. I looked at using copper, brass and aluminium, and found that the copper and brass couldn’t be manipulated as easily as I wanted, so I chose to work with aluminium.
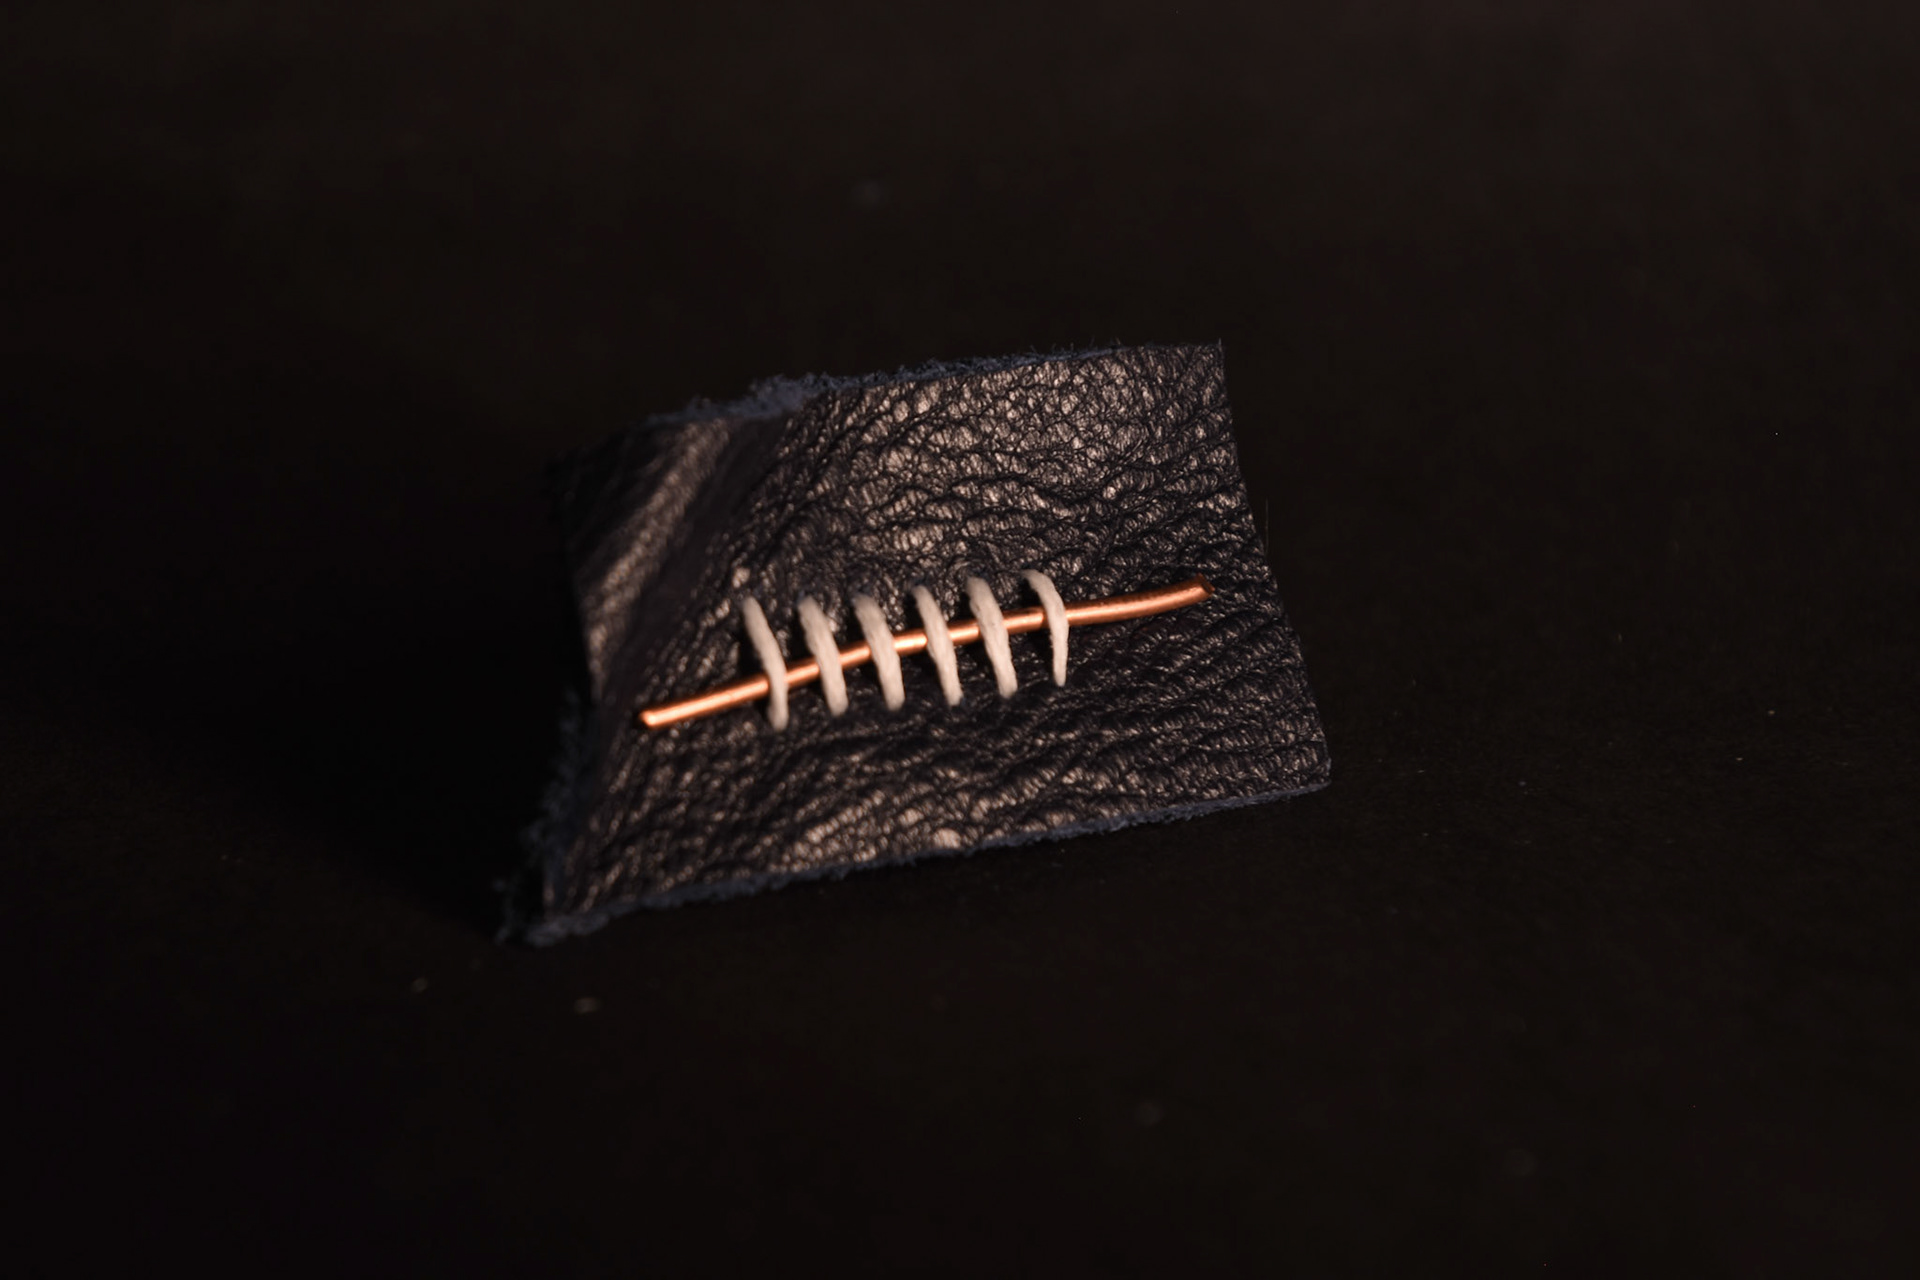
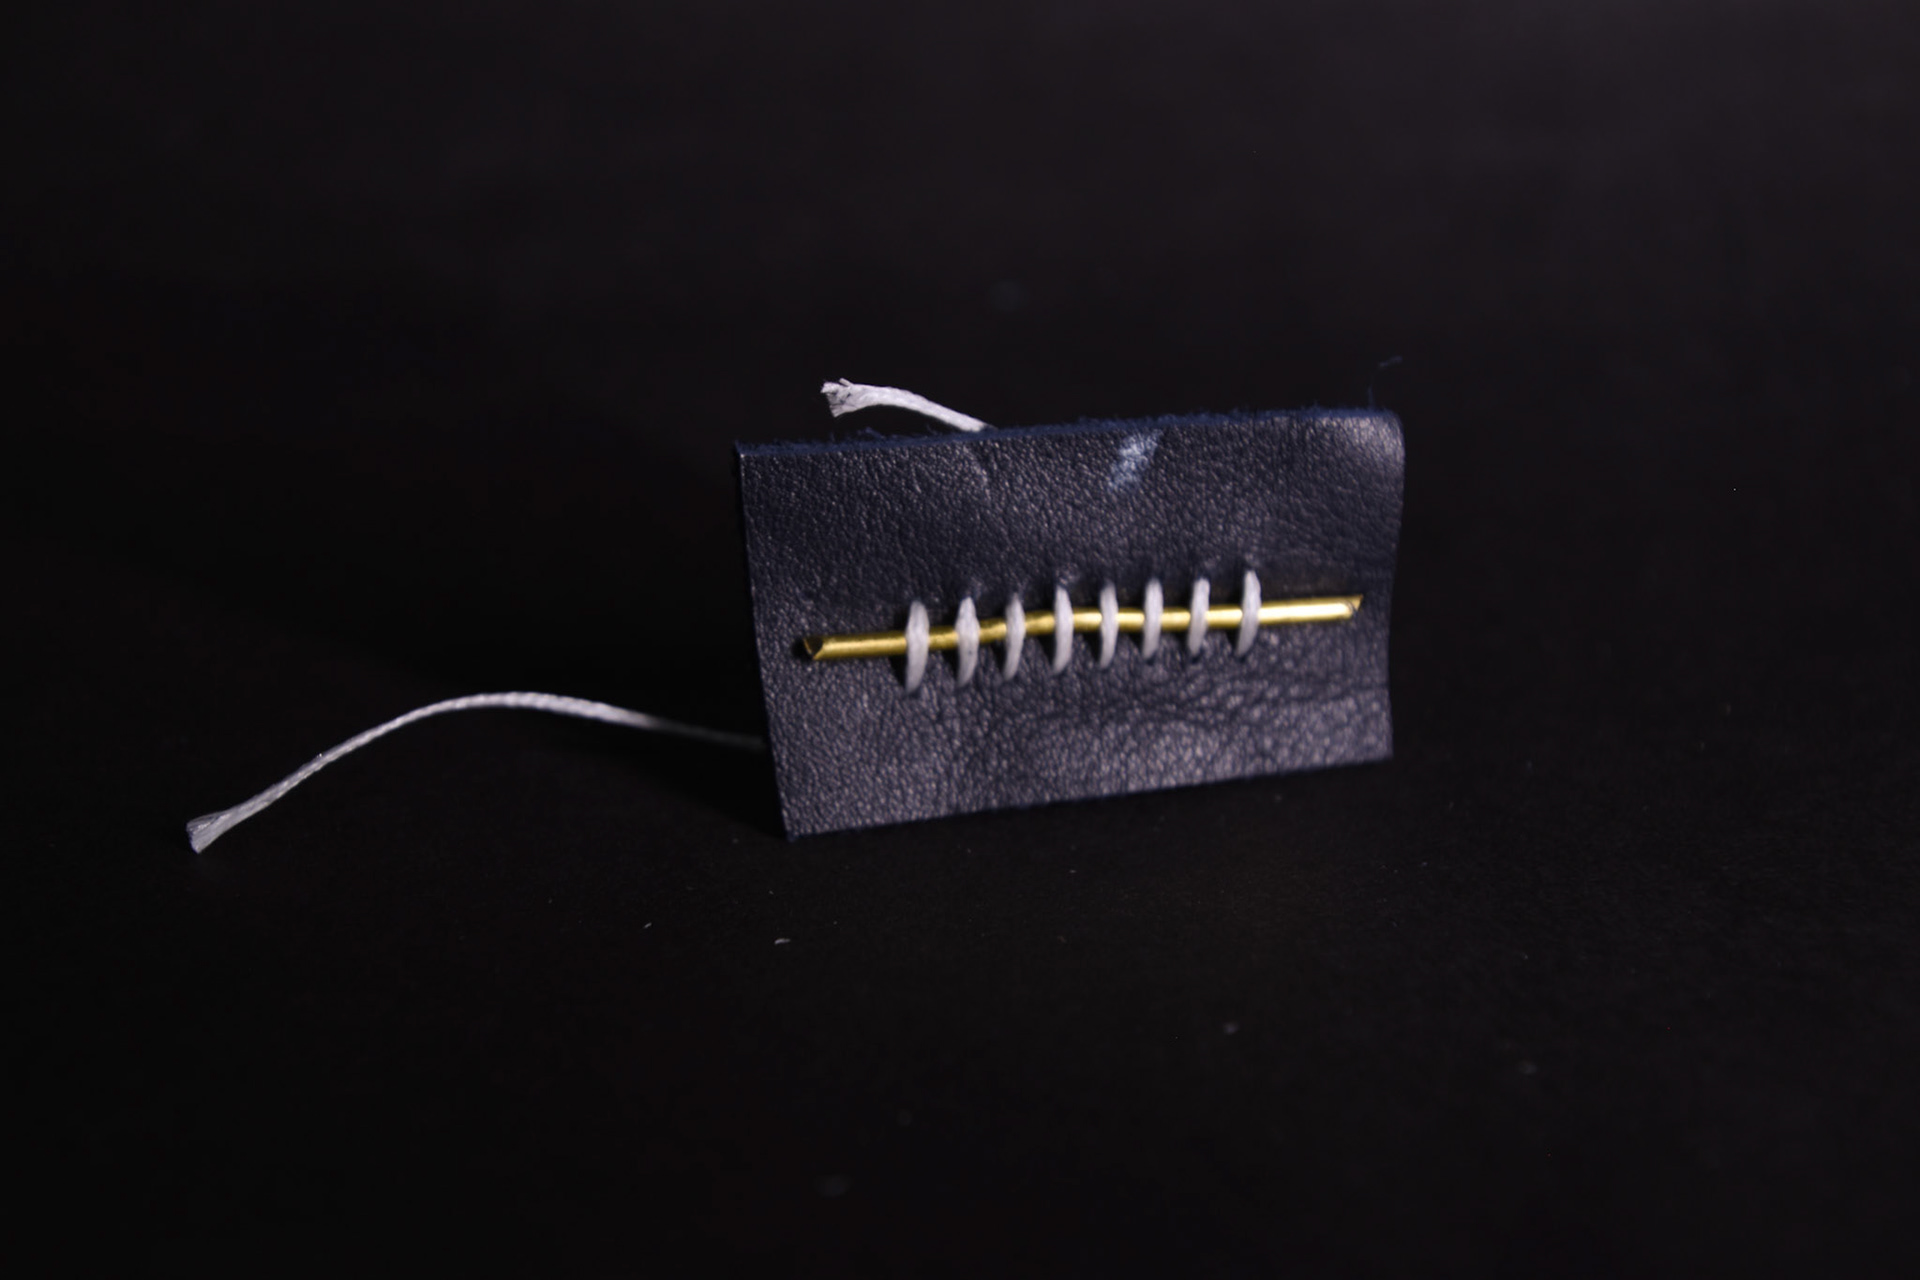
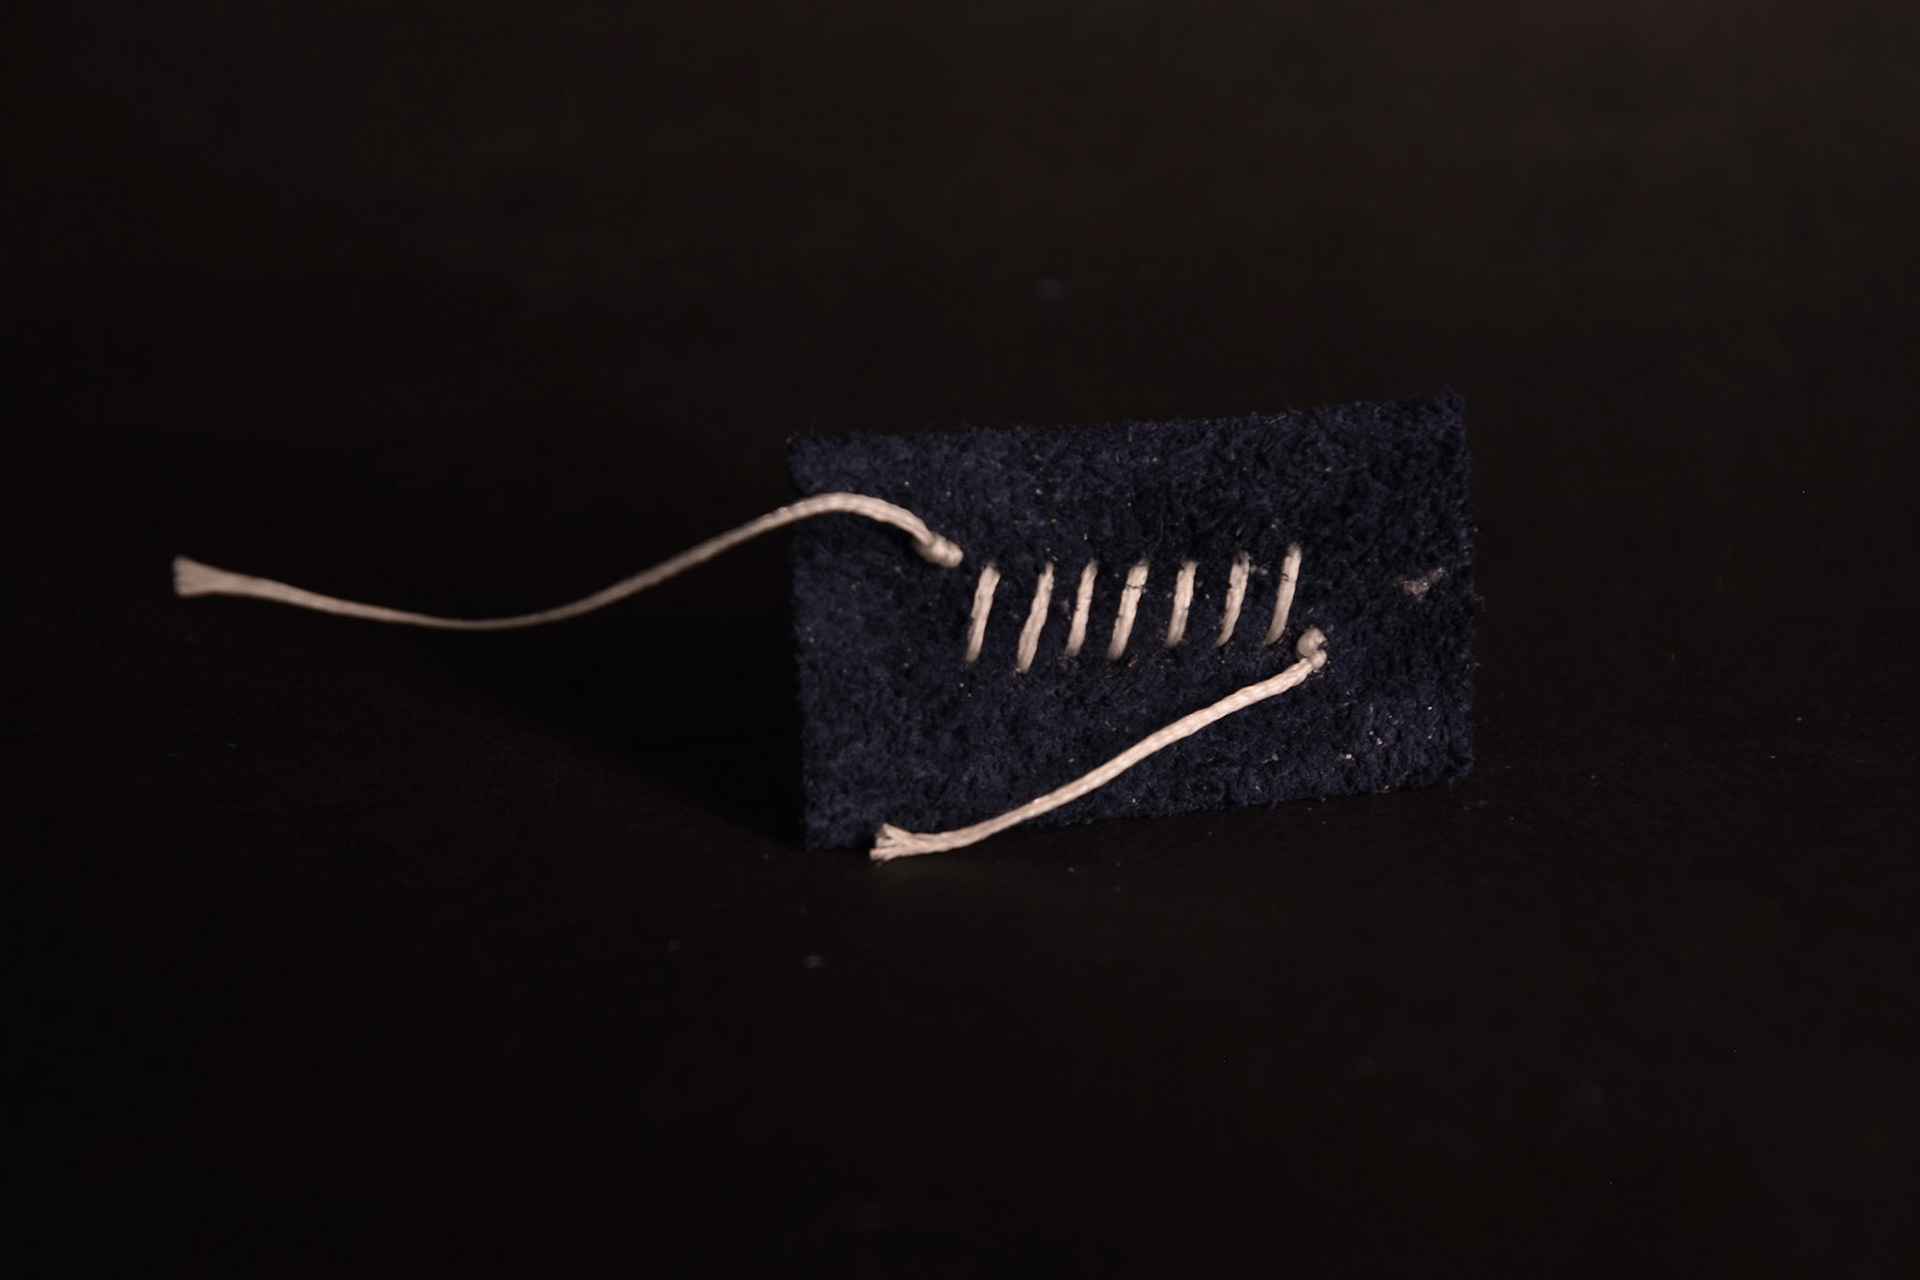
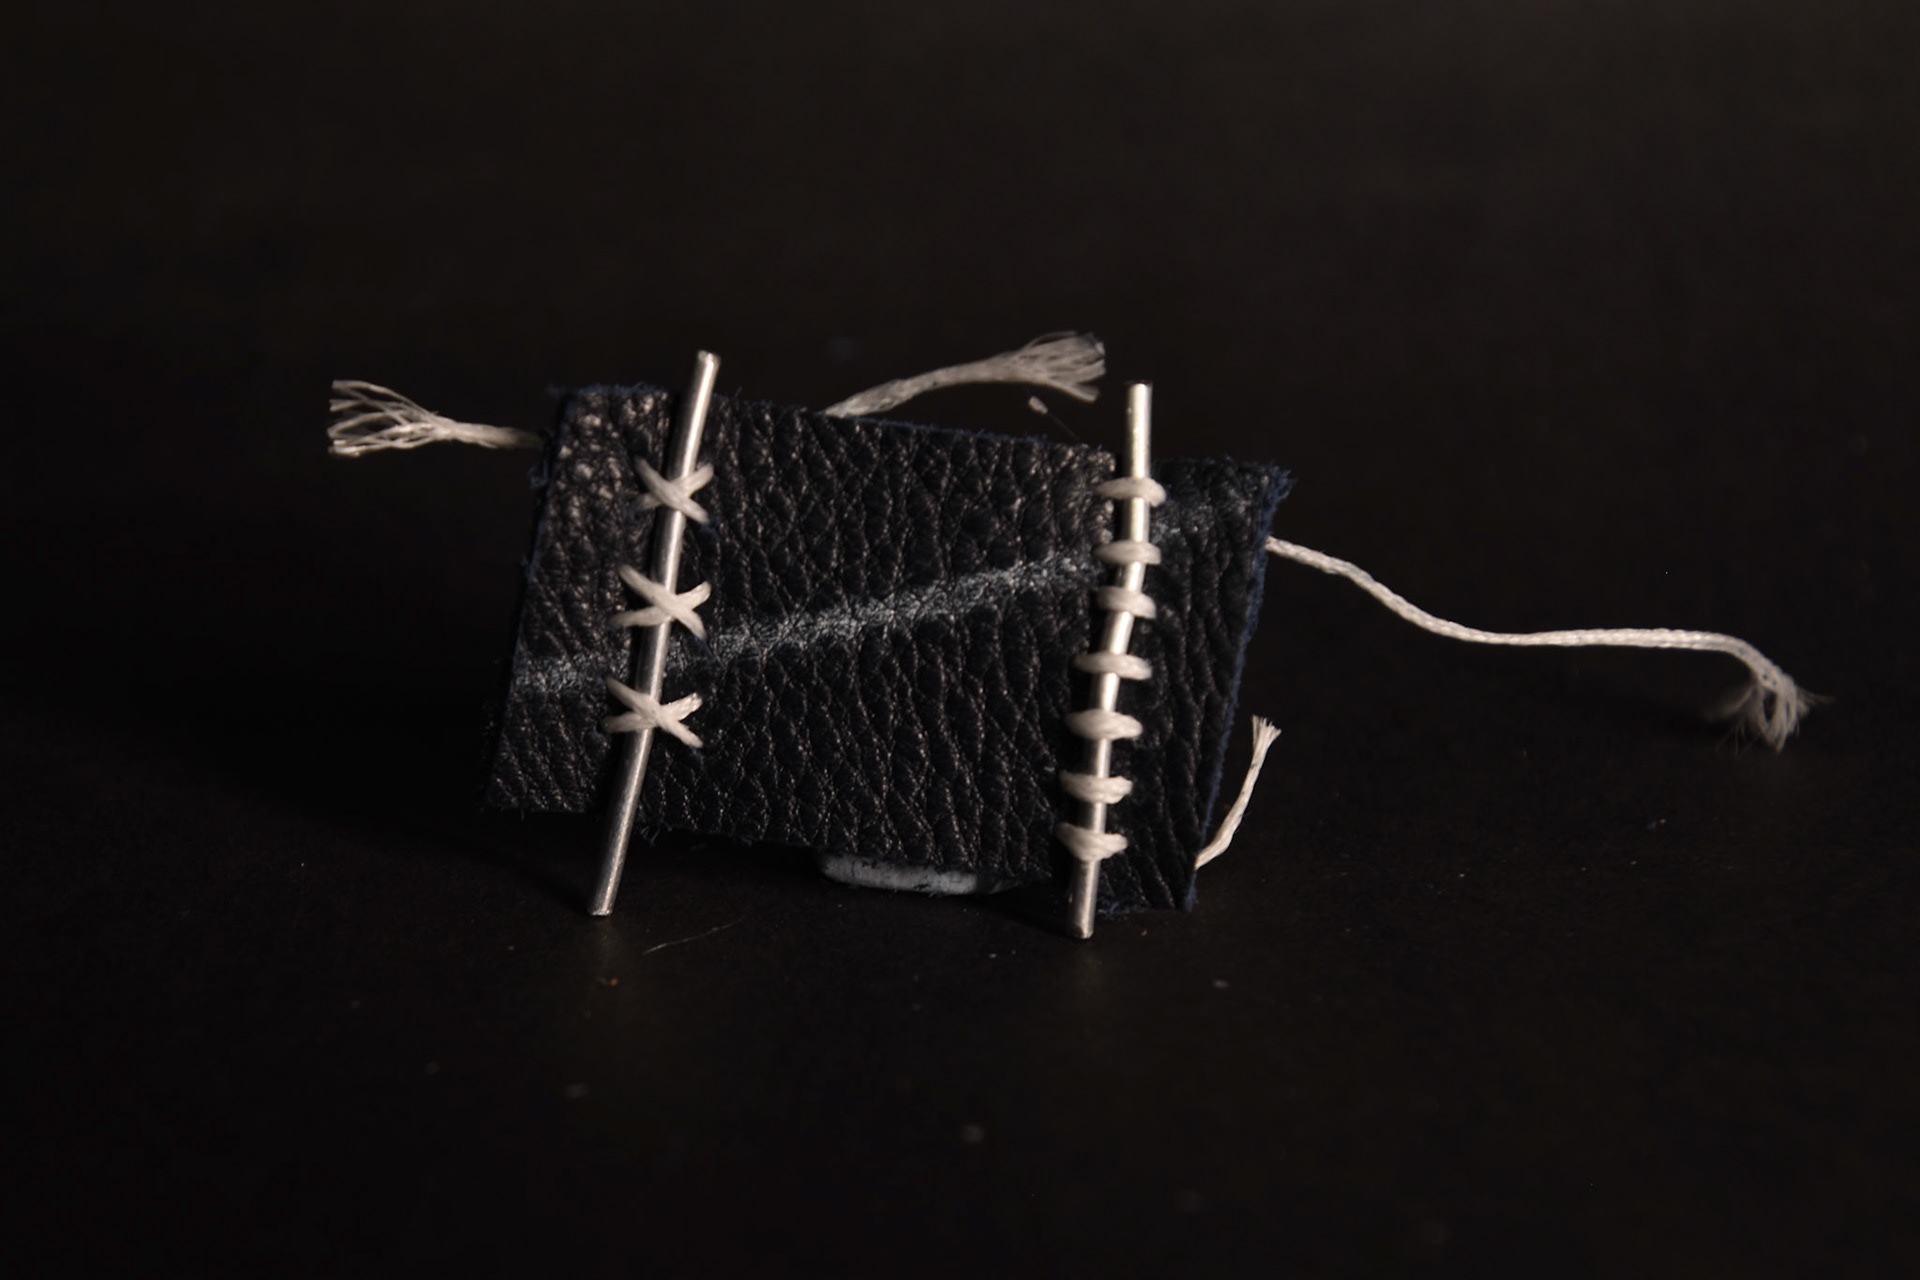
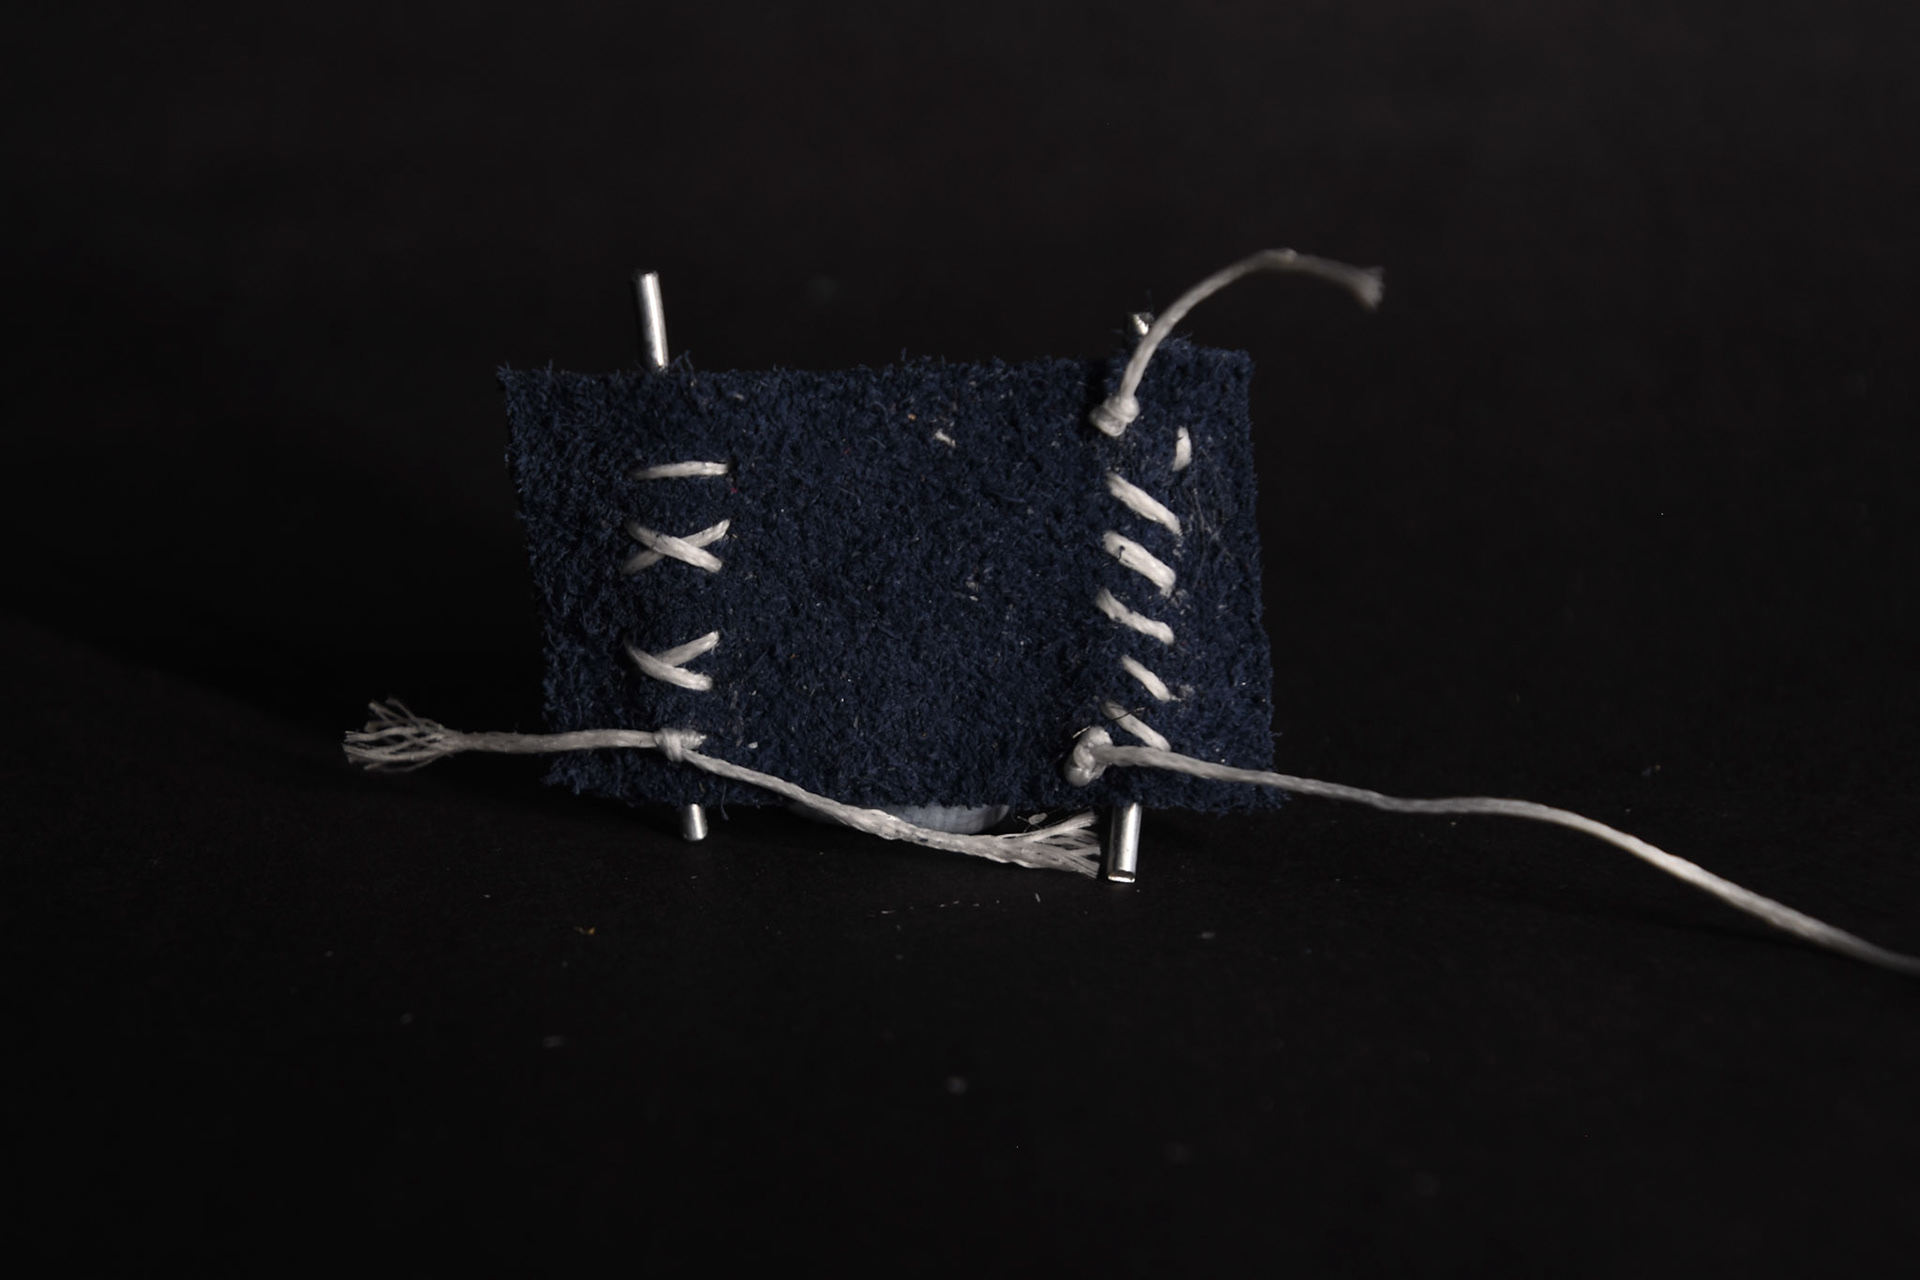
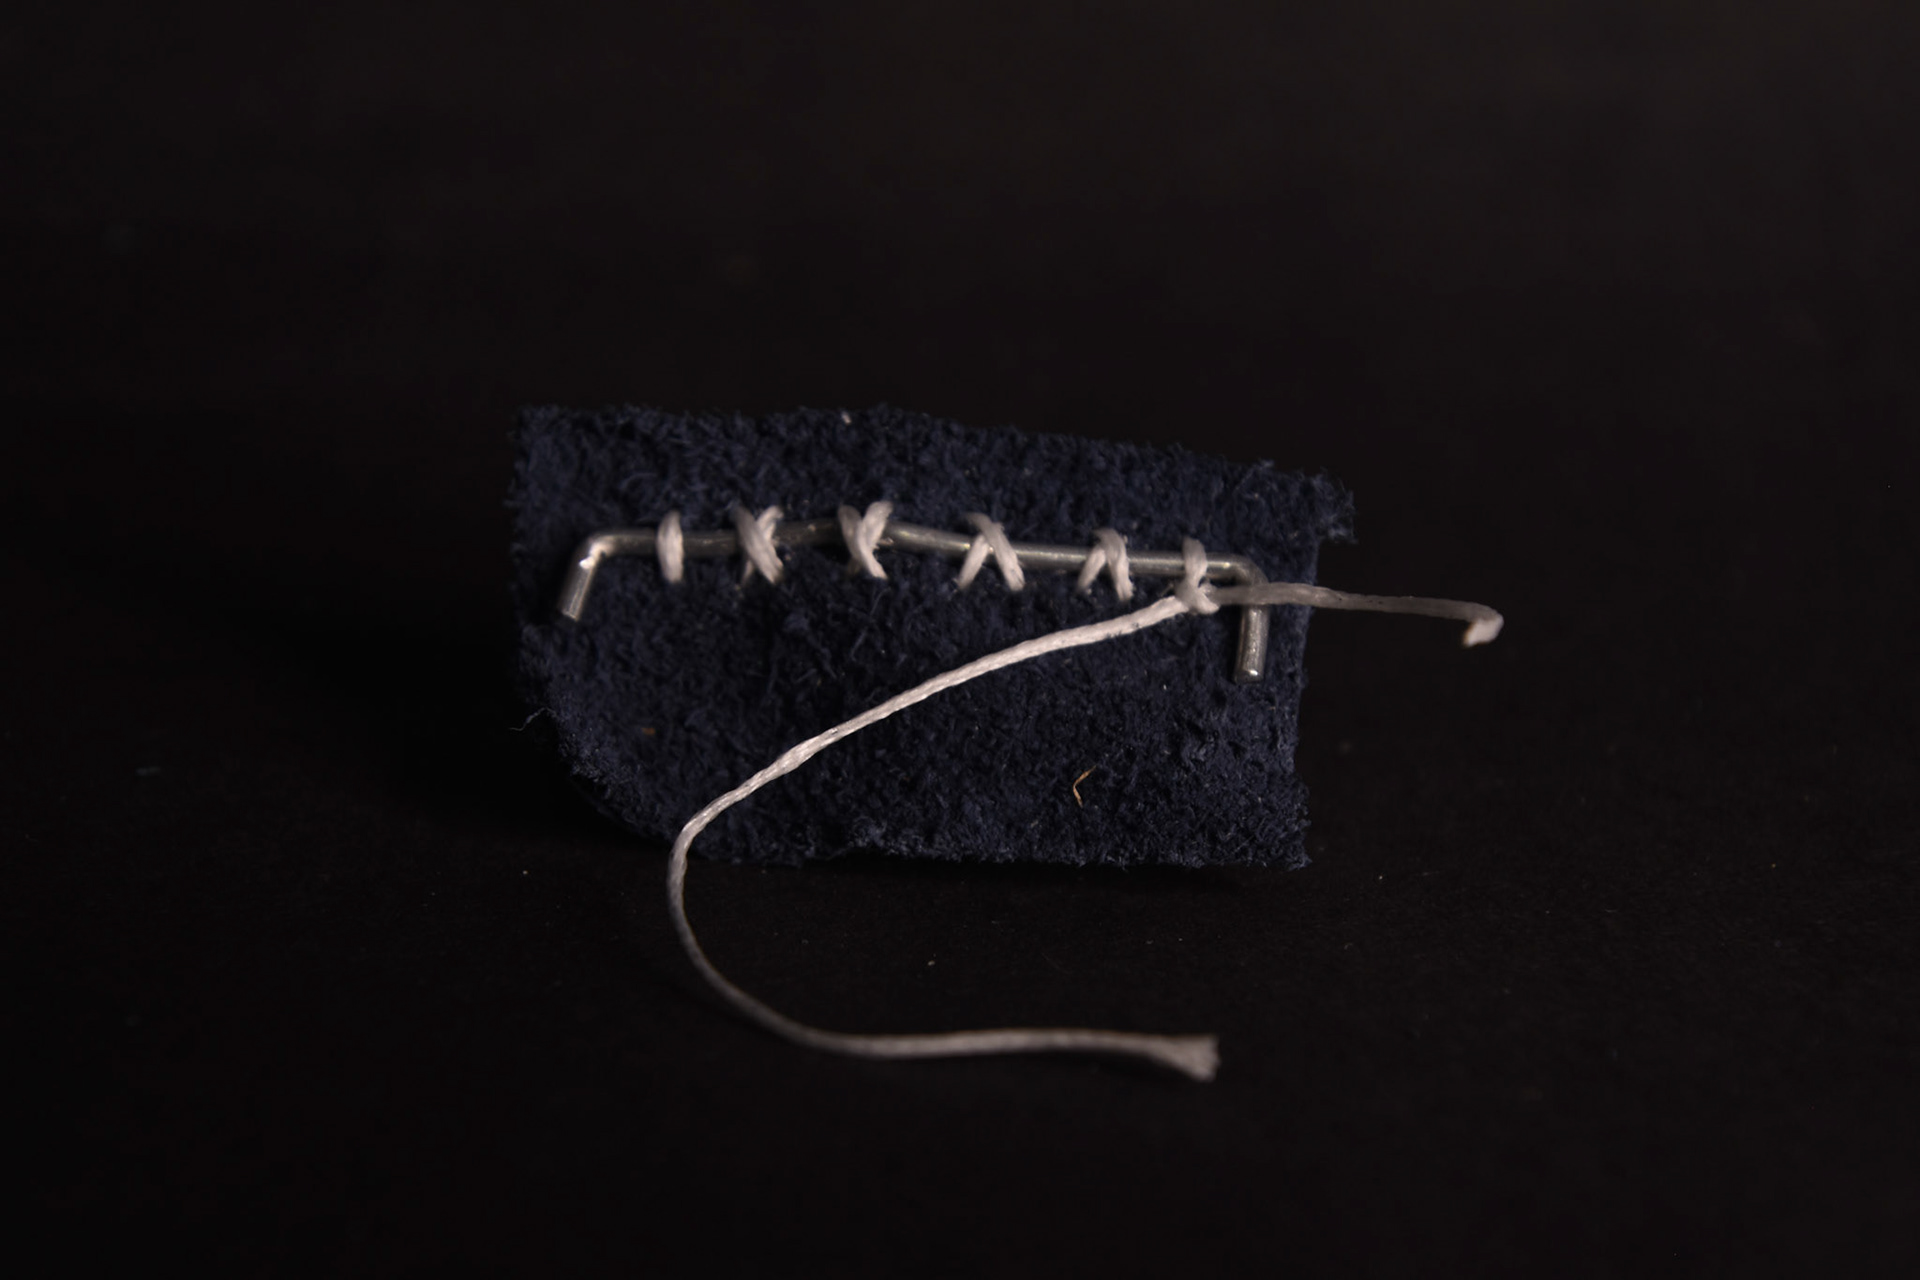
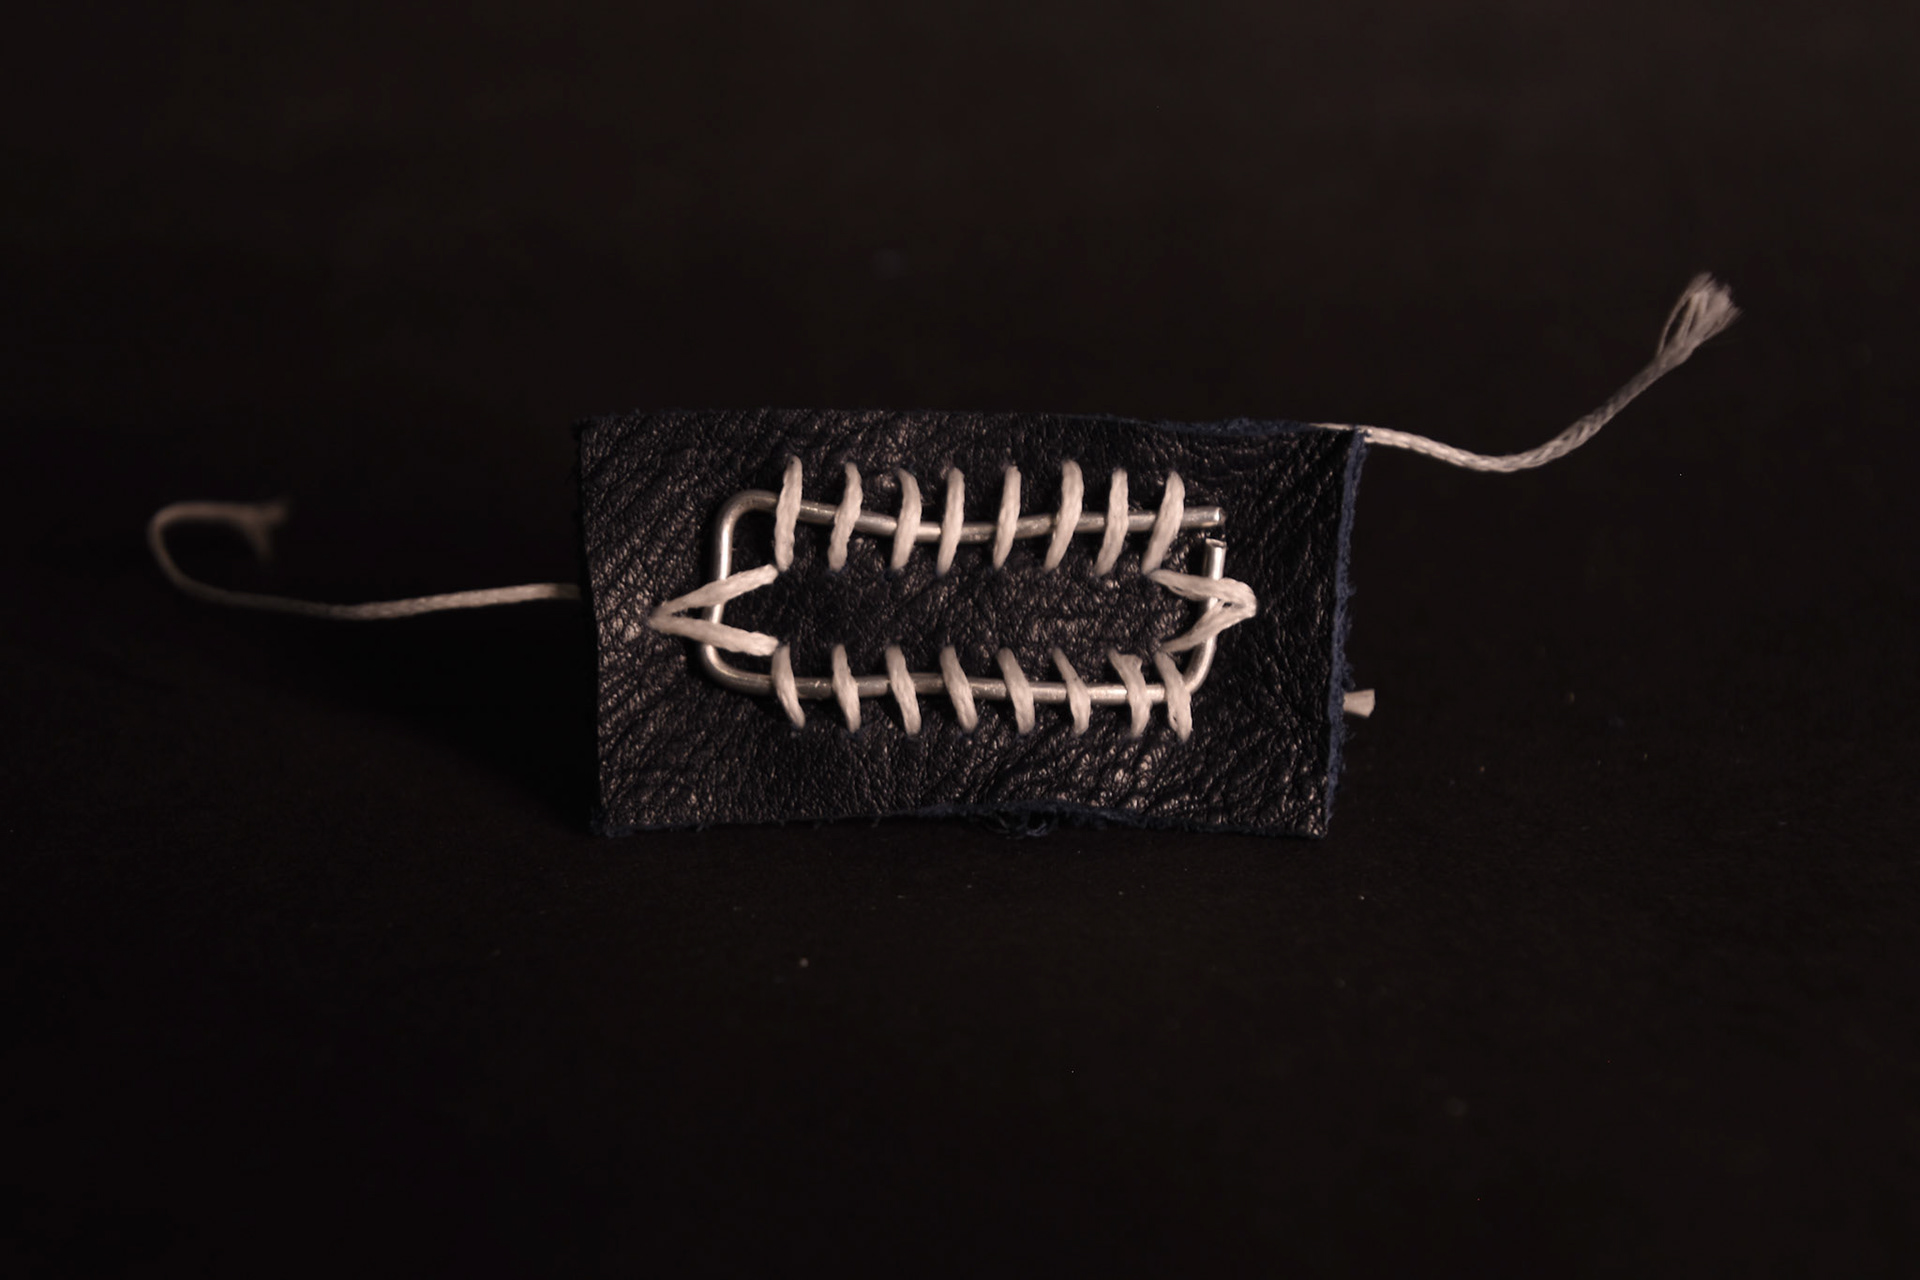
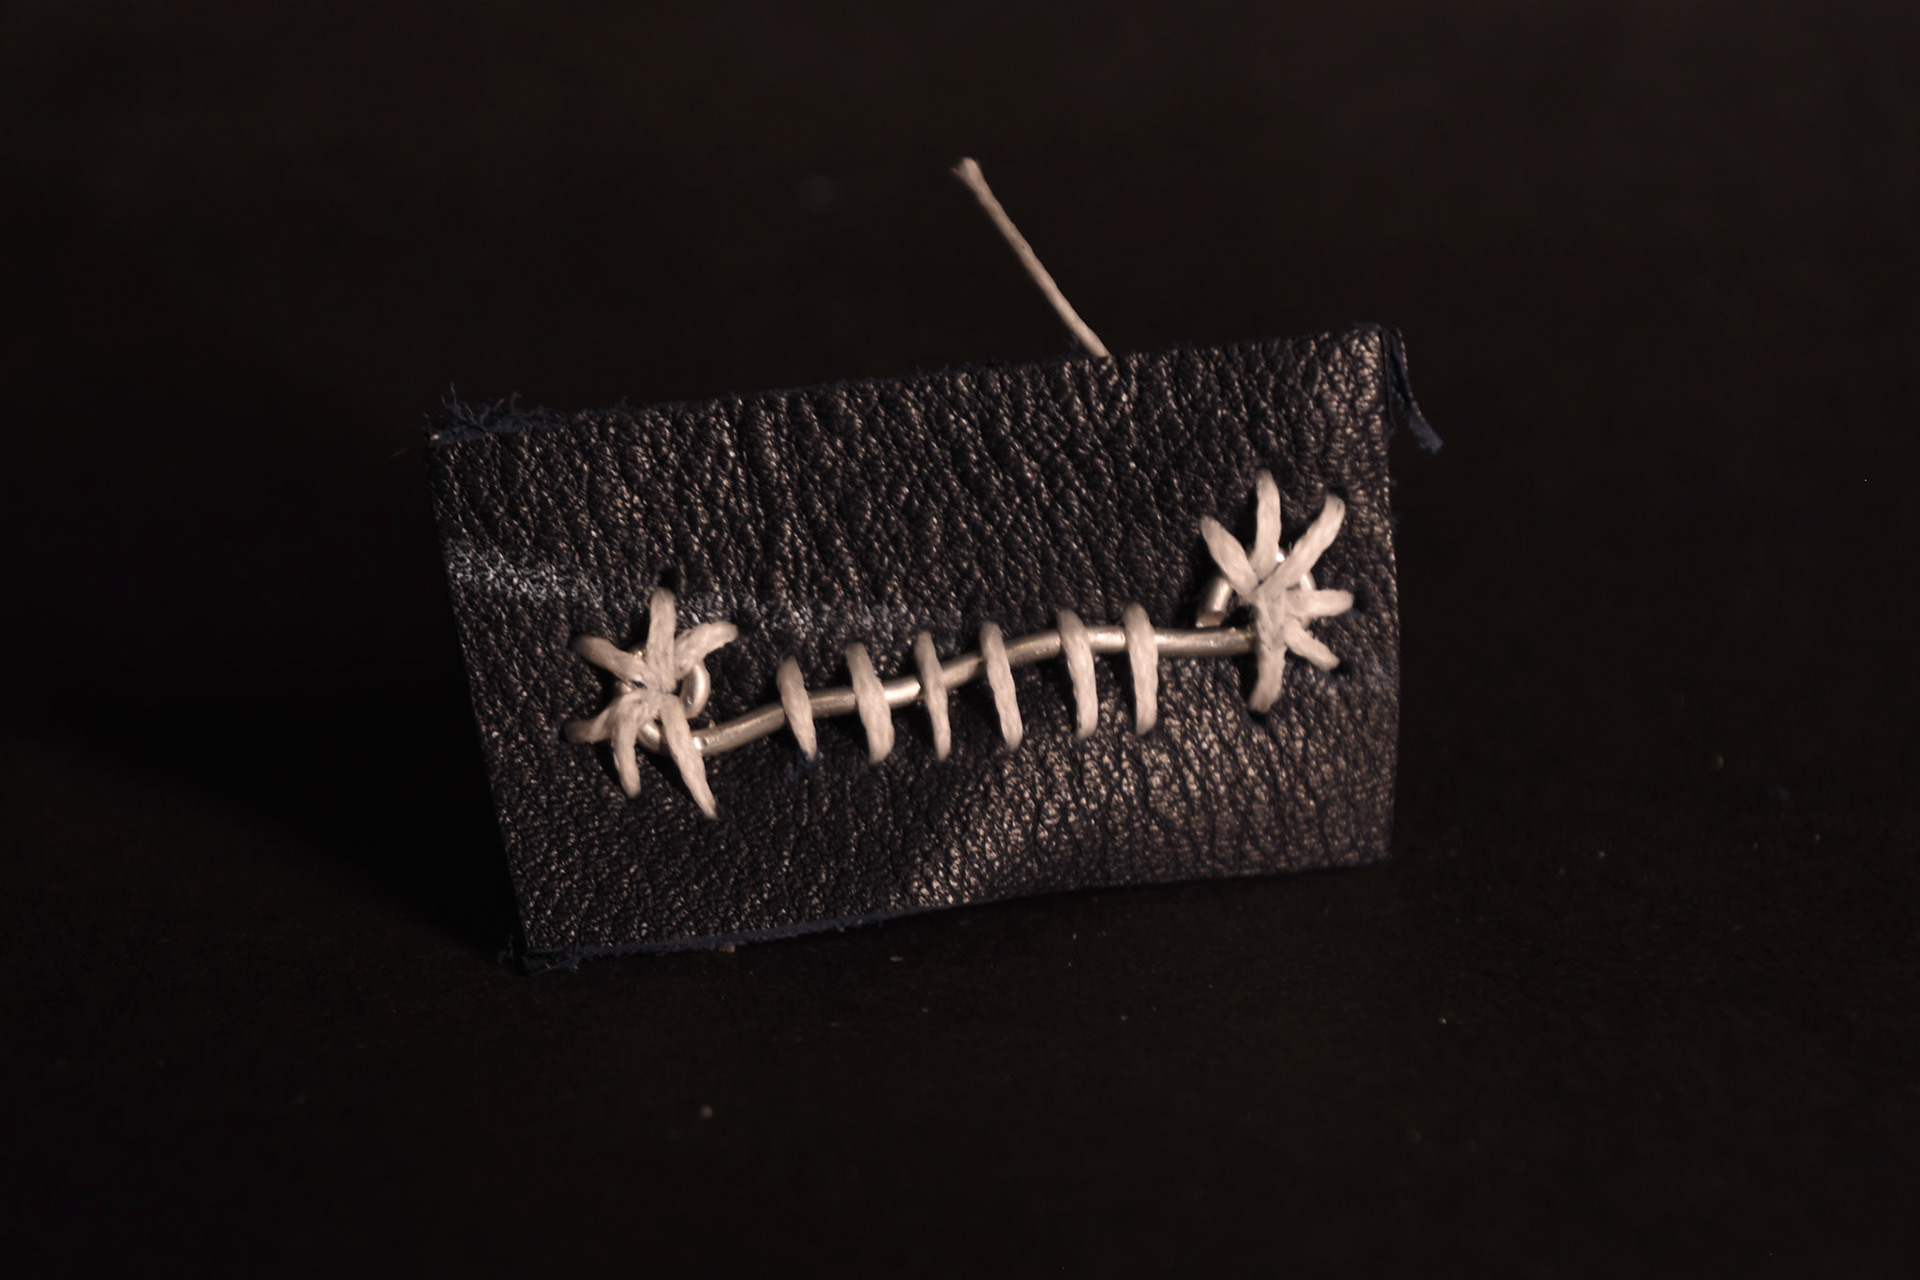
I then needed to figure a way of connecting the wire so that it didn’t slip out of the stitching. I couldn't sew through the wire as I did with the sheet metal. First, I created bent tabs that locked the wire in, preventing it from moving side to side whilst allowing it to rotate and stick out. I also tried creating a square of wire but when I bent this, the connecting ends would push in opposite directions and put the stitching under stress. The last test I created loops of wire at each end large enough for the needle to pass through and created a star shaped stitch to hold the end down. I found that using a running stitch across the wire works best as this allows for easy movement of the wire whilst not putting too much stress on the thread.

Using the looped ends wire stitching, I created a larger test to ensure that the method could create the curves and motion I wanted to bring from my NOMA primary research.